
REVERSE ENGINEERING
RE3VERSE ENGINEERING AN EVERYDAY OBJECT FOR #DES100
Reverse Engineering
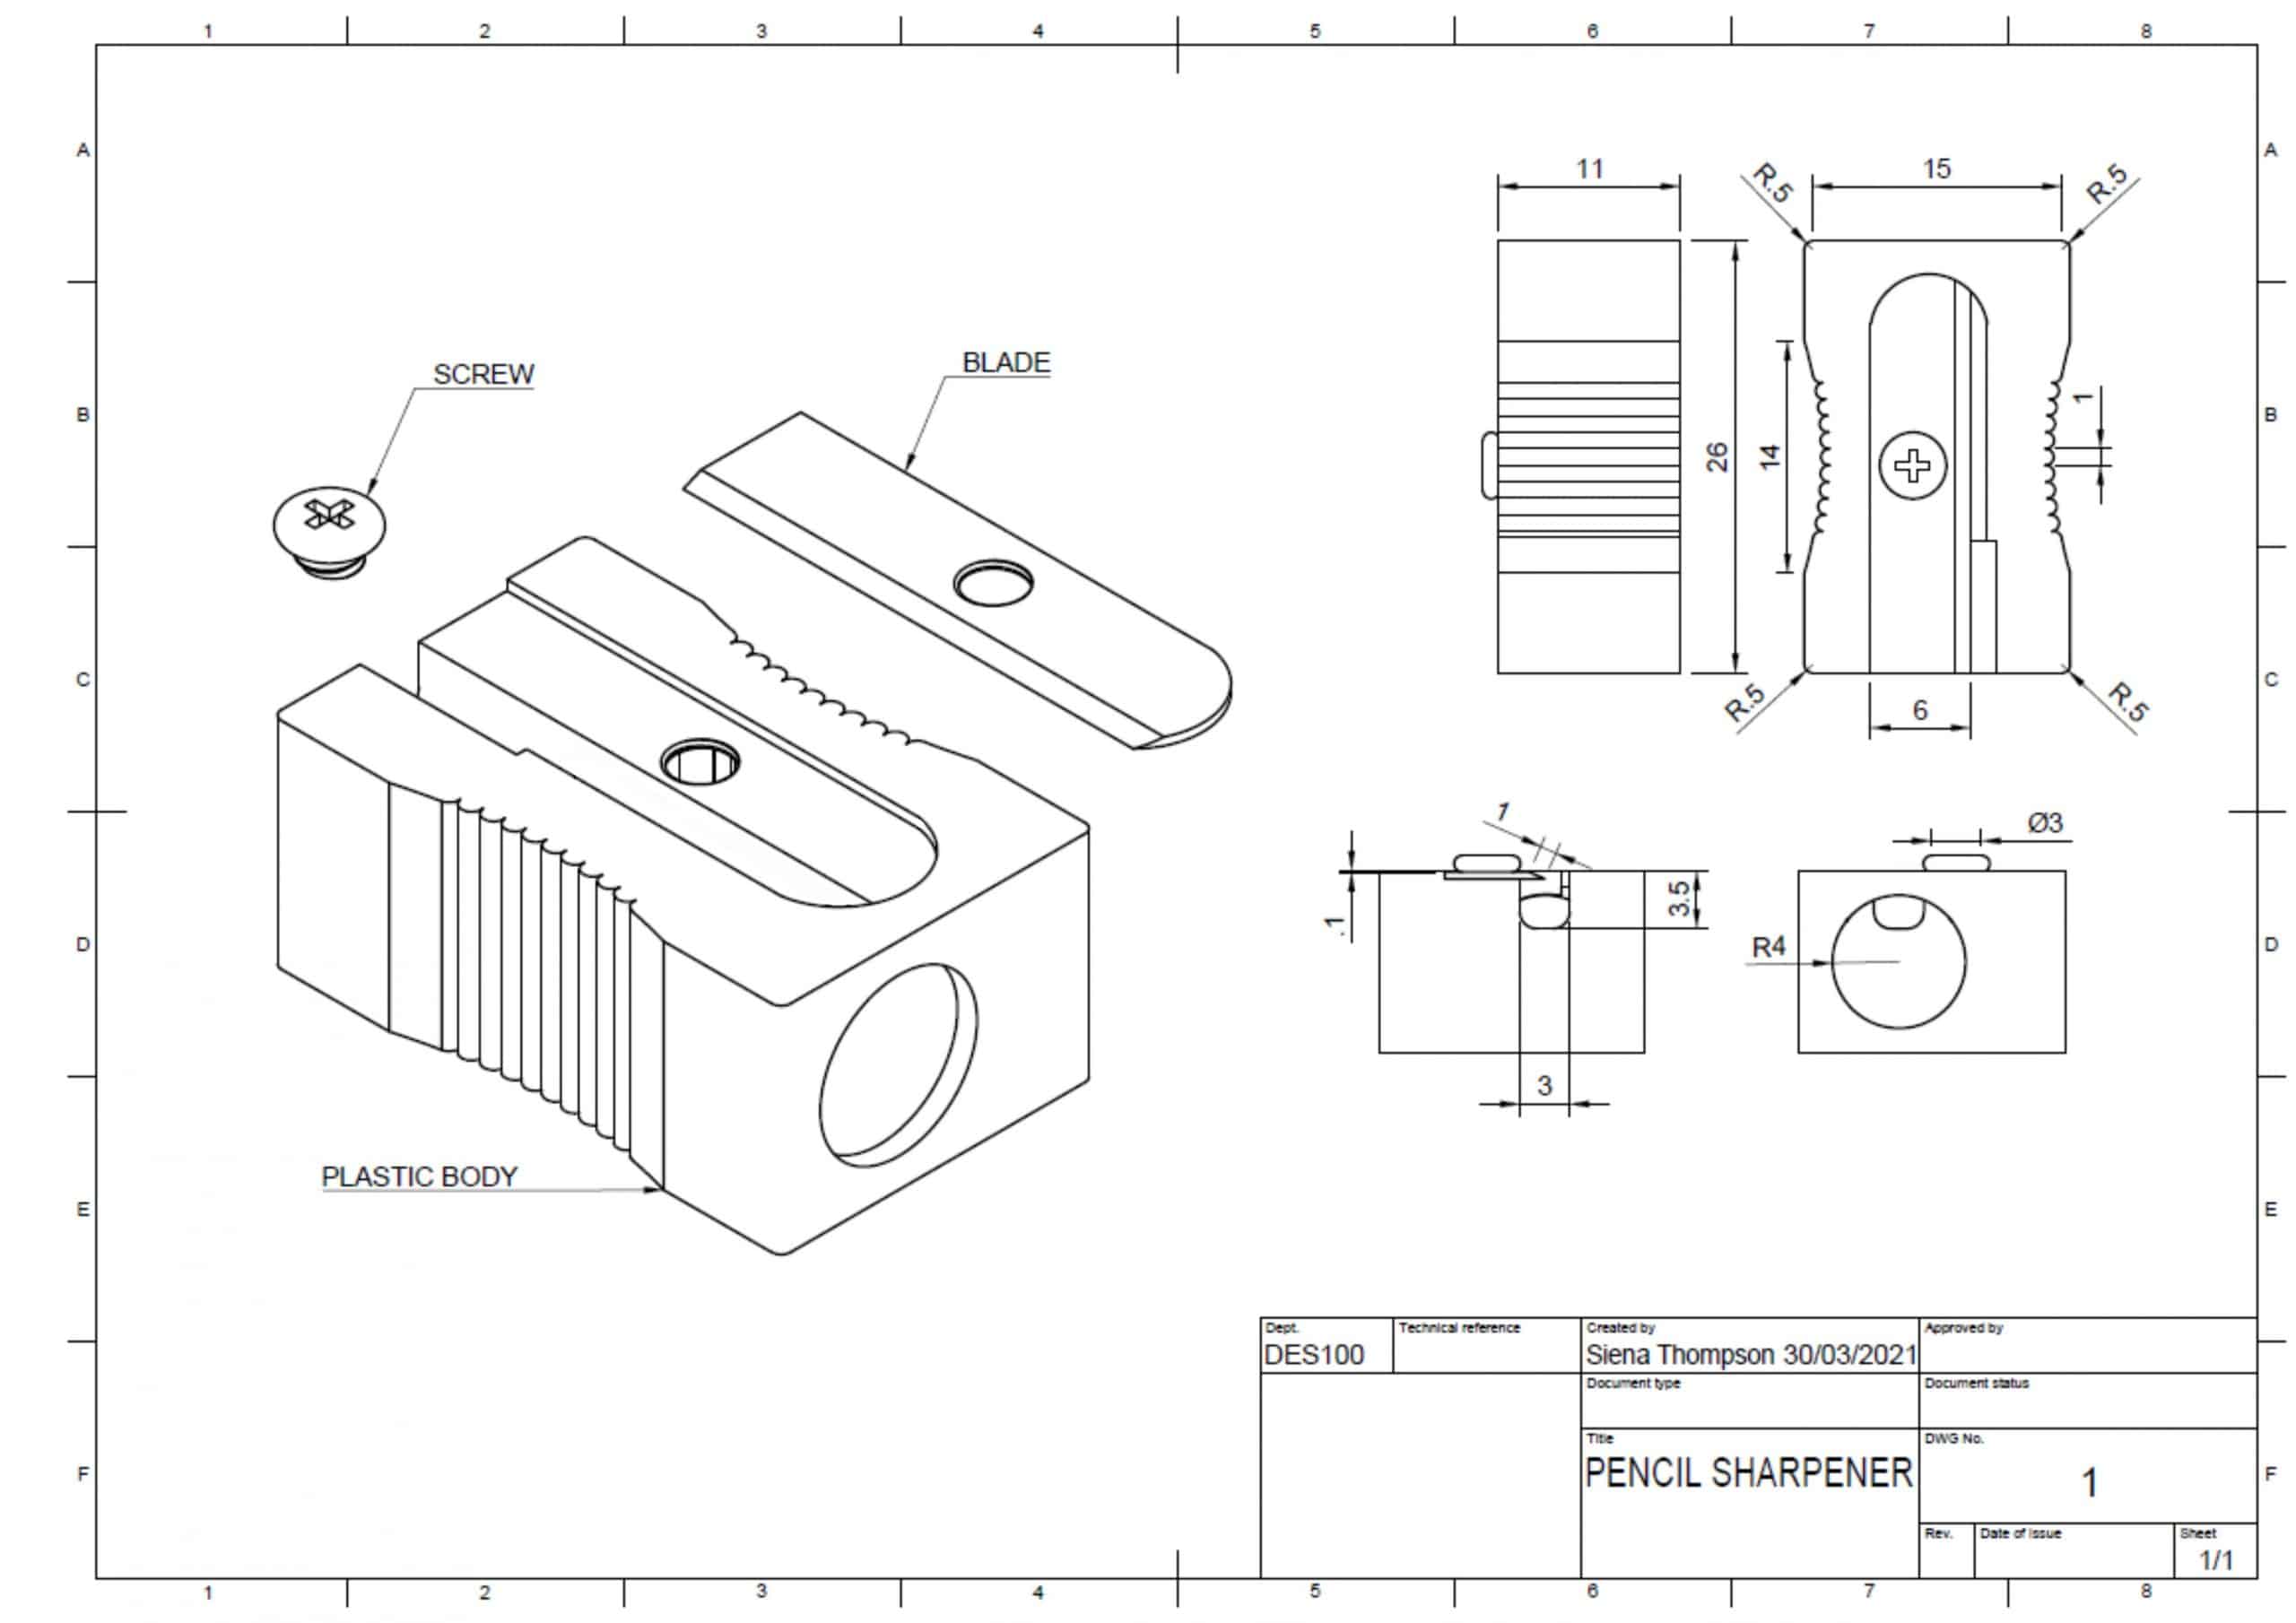
Choose an everyday object and reverse engineer it to produce a 3D model, render, and a specification drawing.

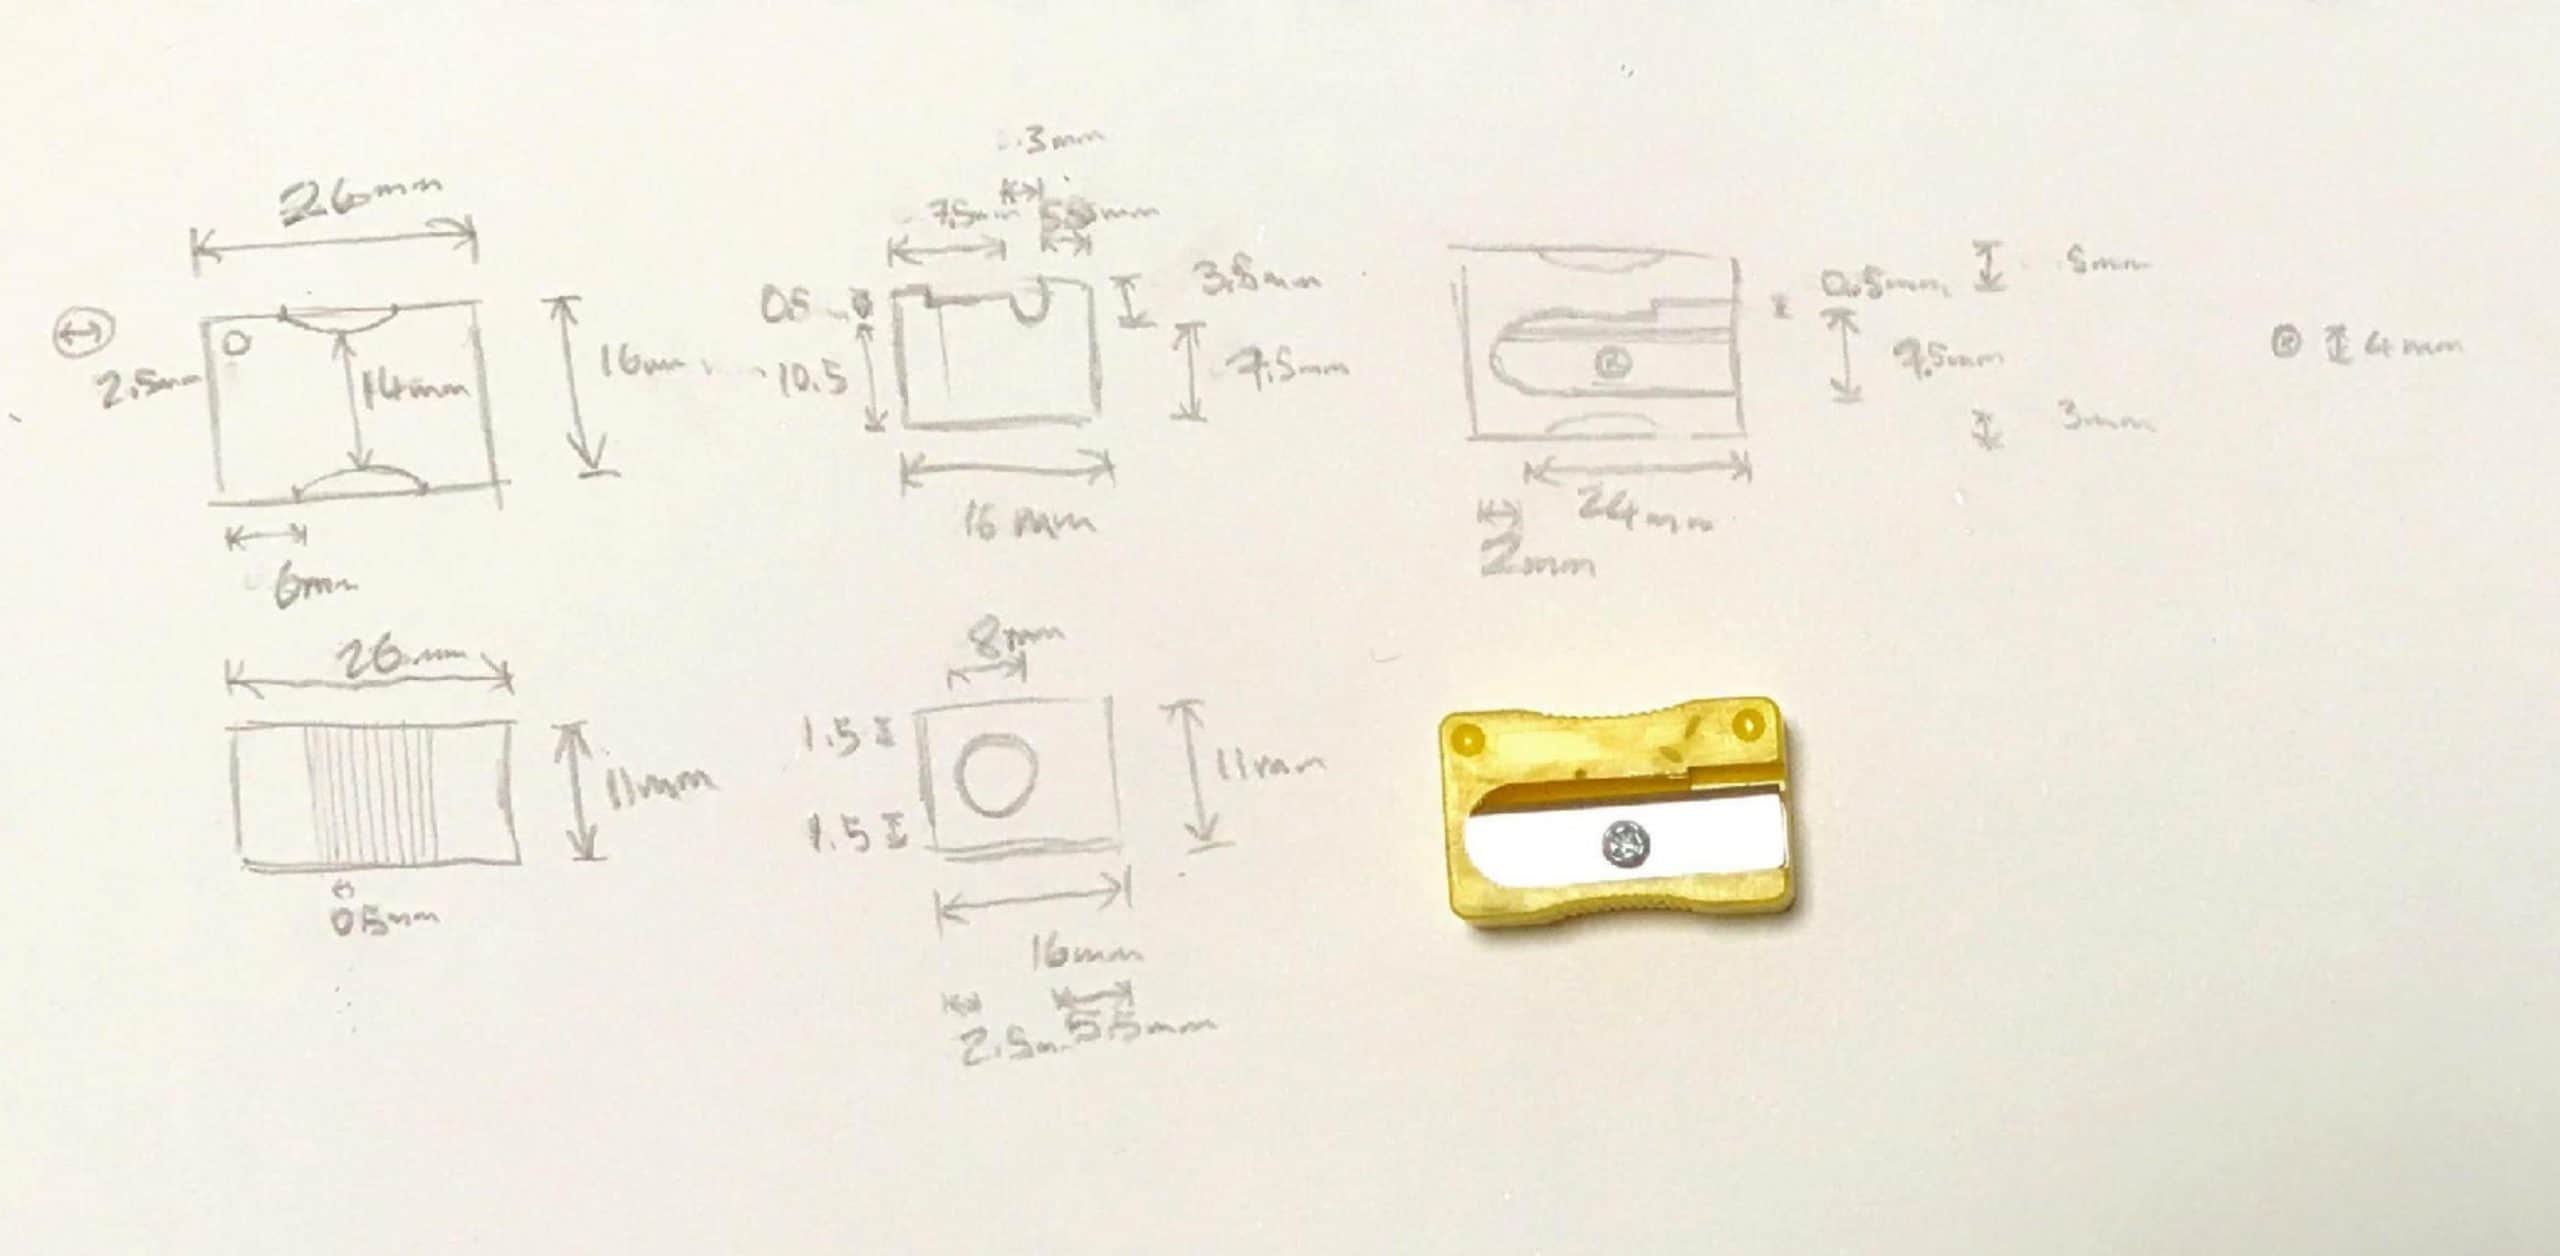
I chose to reverse engineer the common pencil sharpener. A simple object, which was unexpectedly intricate. I began by making rough sketches of all the faces of the object, then added measurements. Because this is such a small object, it was quite difficult to make out measurements at some points, so I ended up using the 0.5mm section of my ruler quite a lot.
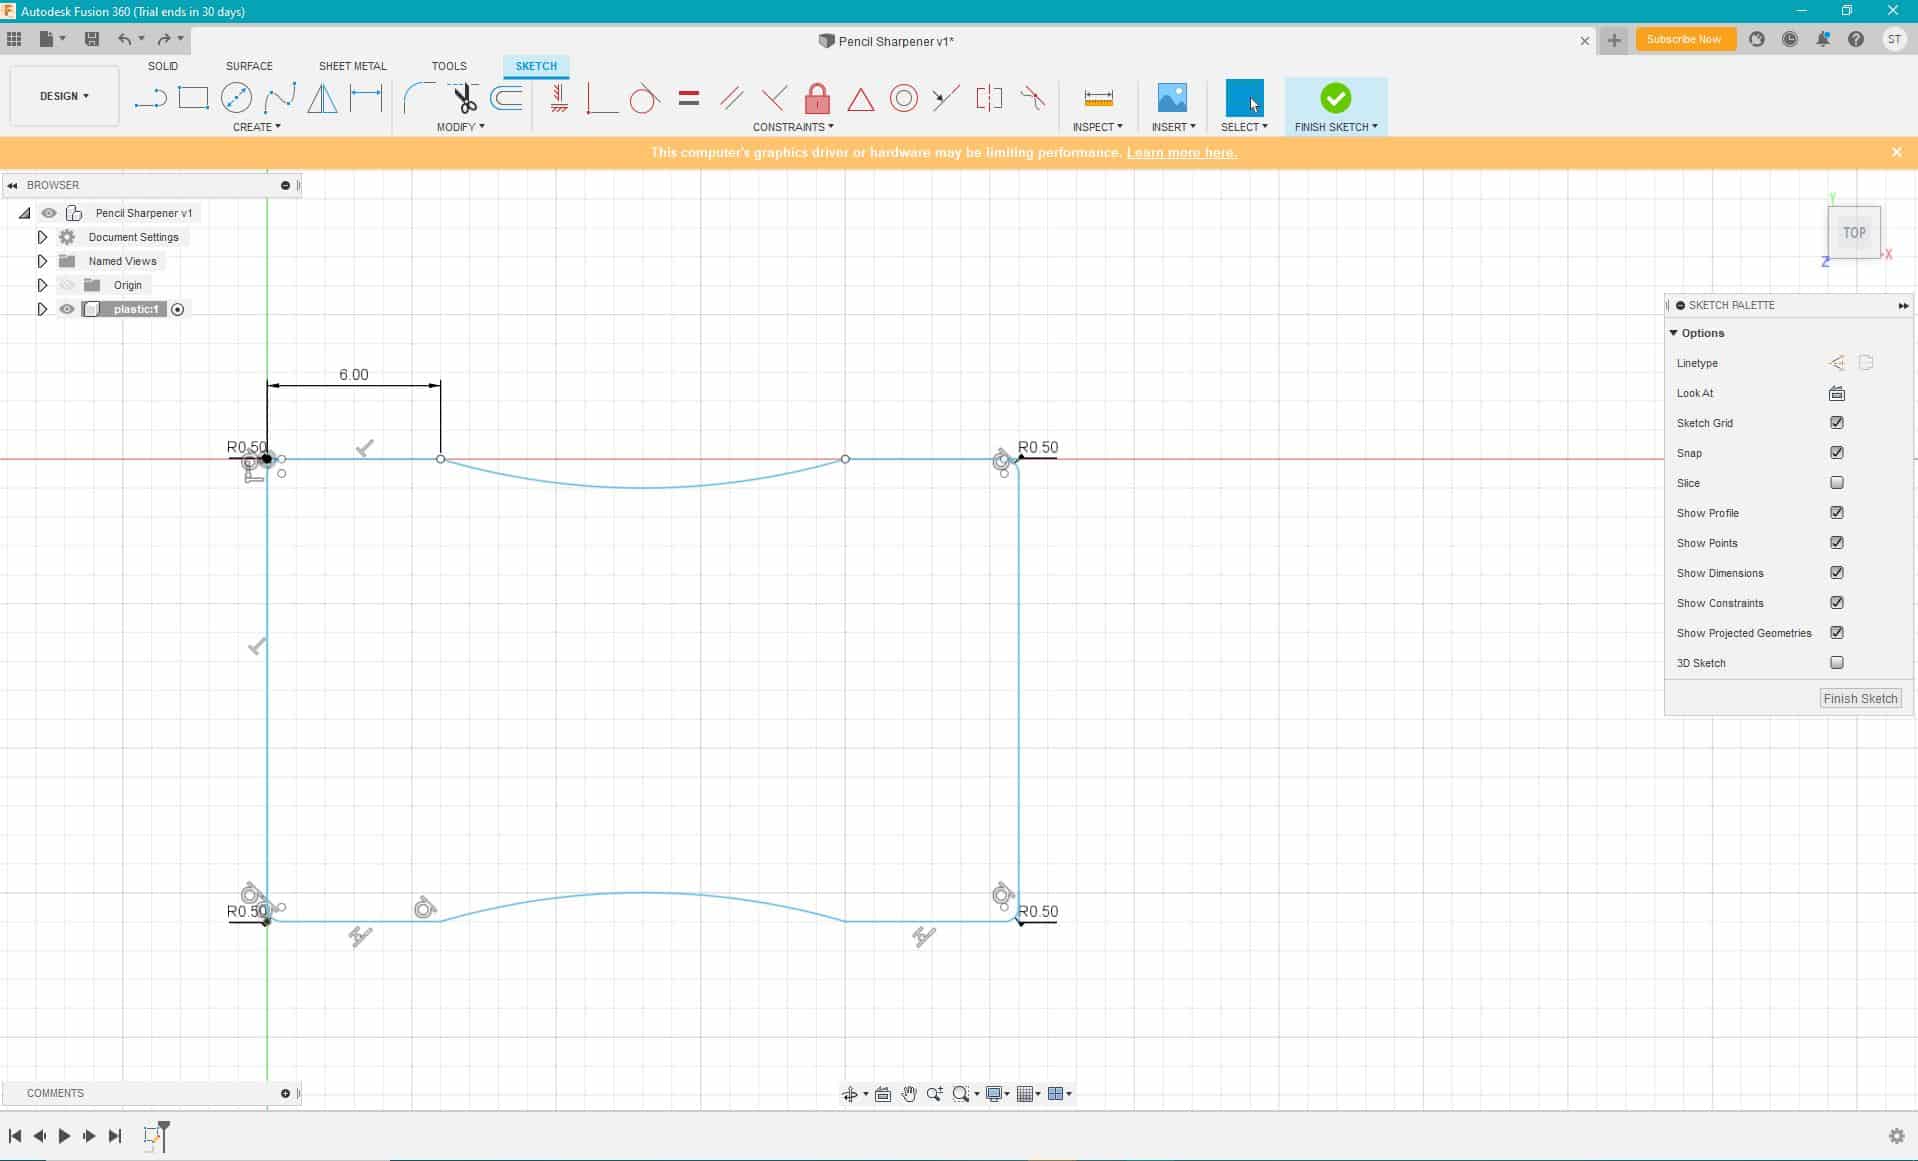
I chose to do the modelling process in Fusion 360, as I find it easier to use than Rhino7. I started by drawing the outline of the top face, which I could then extrude to make a basic 3D object.
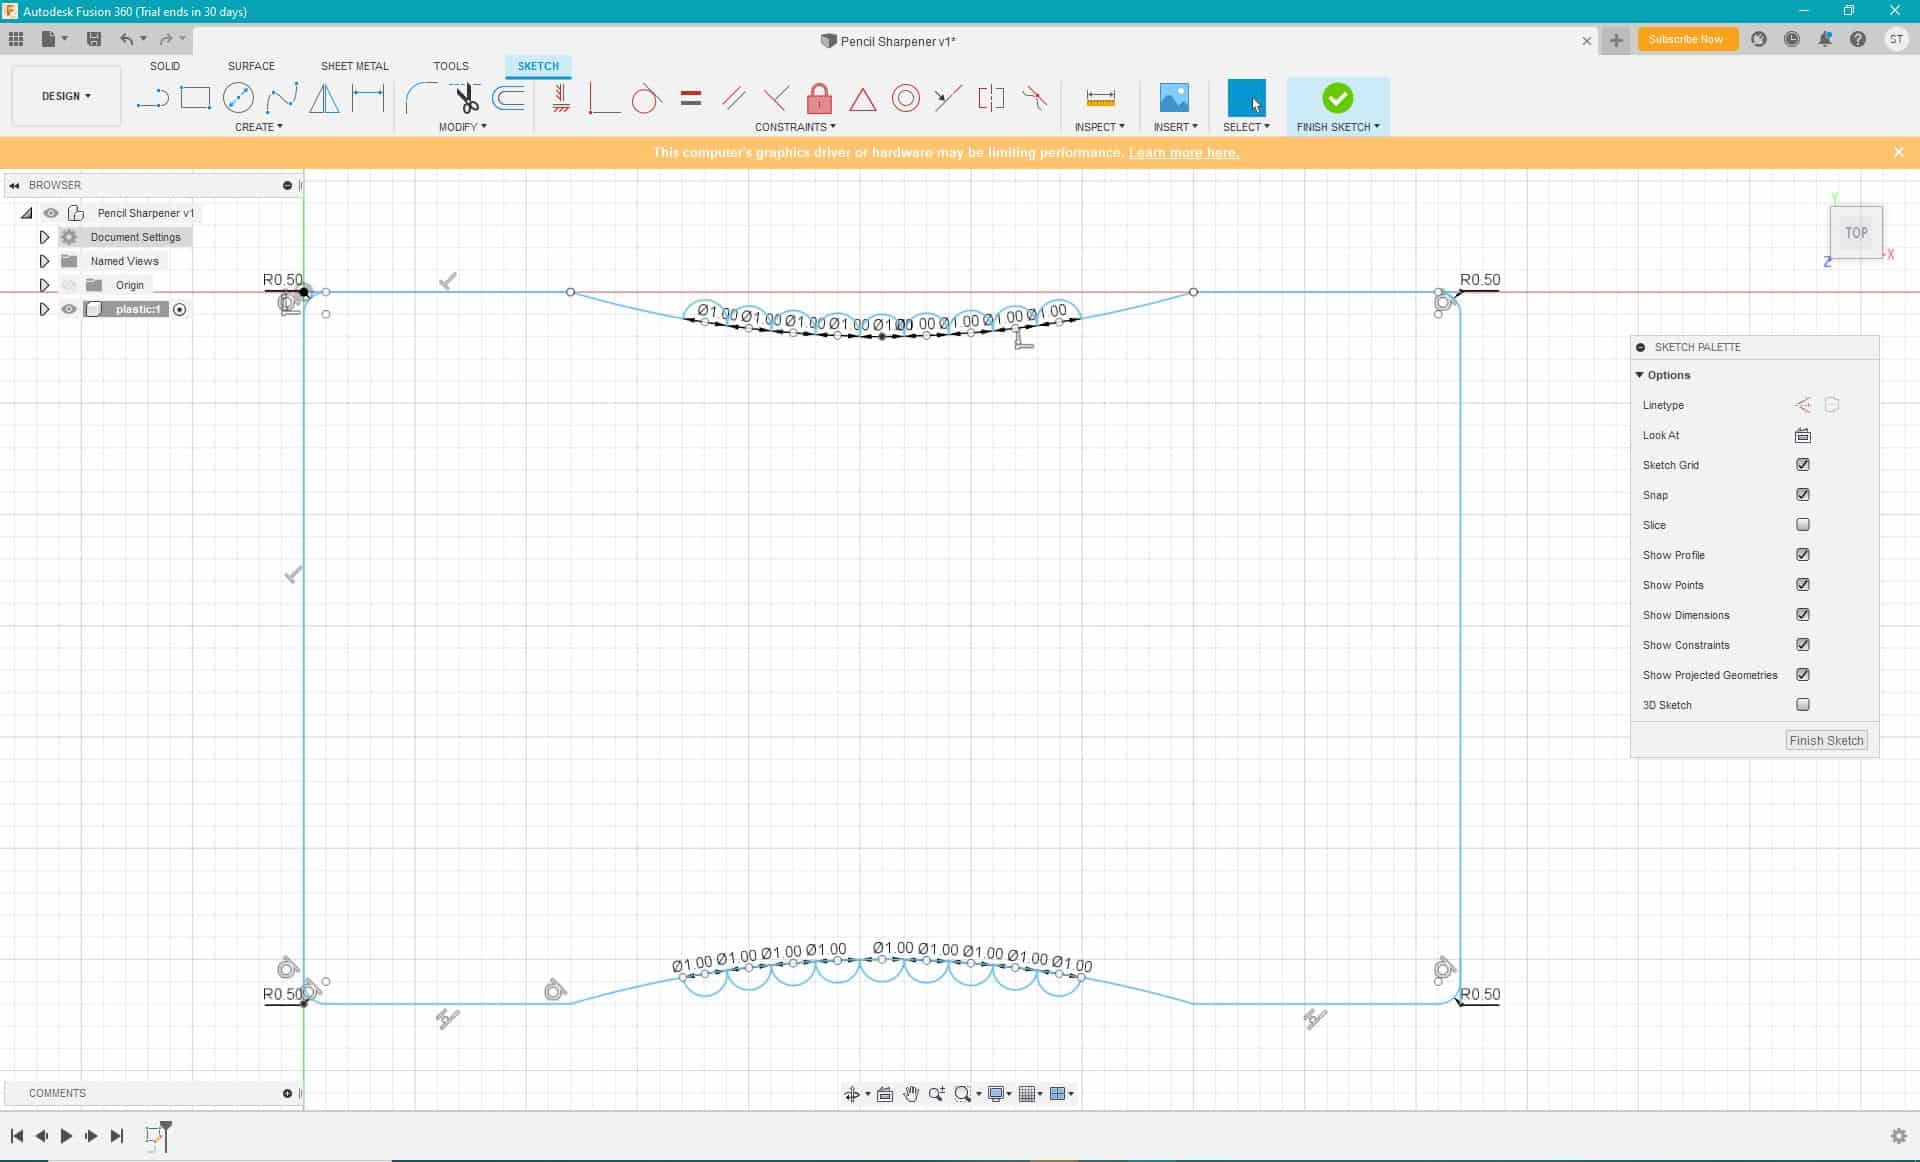
I added the tiny ridges along the edge of the pencil sharpener, but when I was finished it didn’t look quite right, and after re-measuring I saw that they were actually more indented than I had assumed. I moved them in further and adjusted the lines to accommodate.
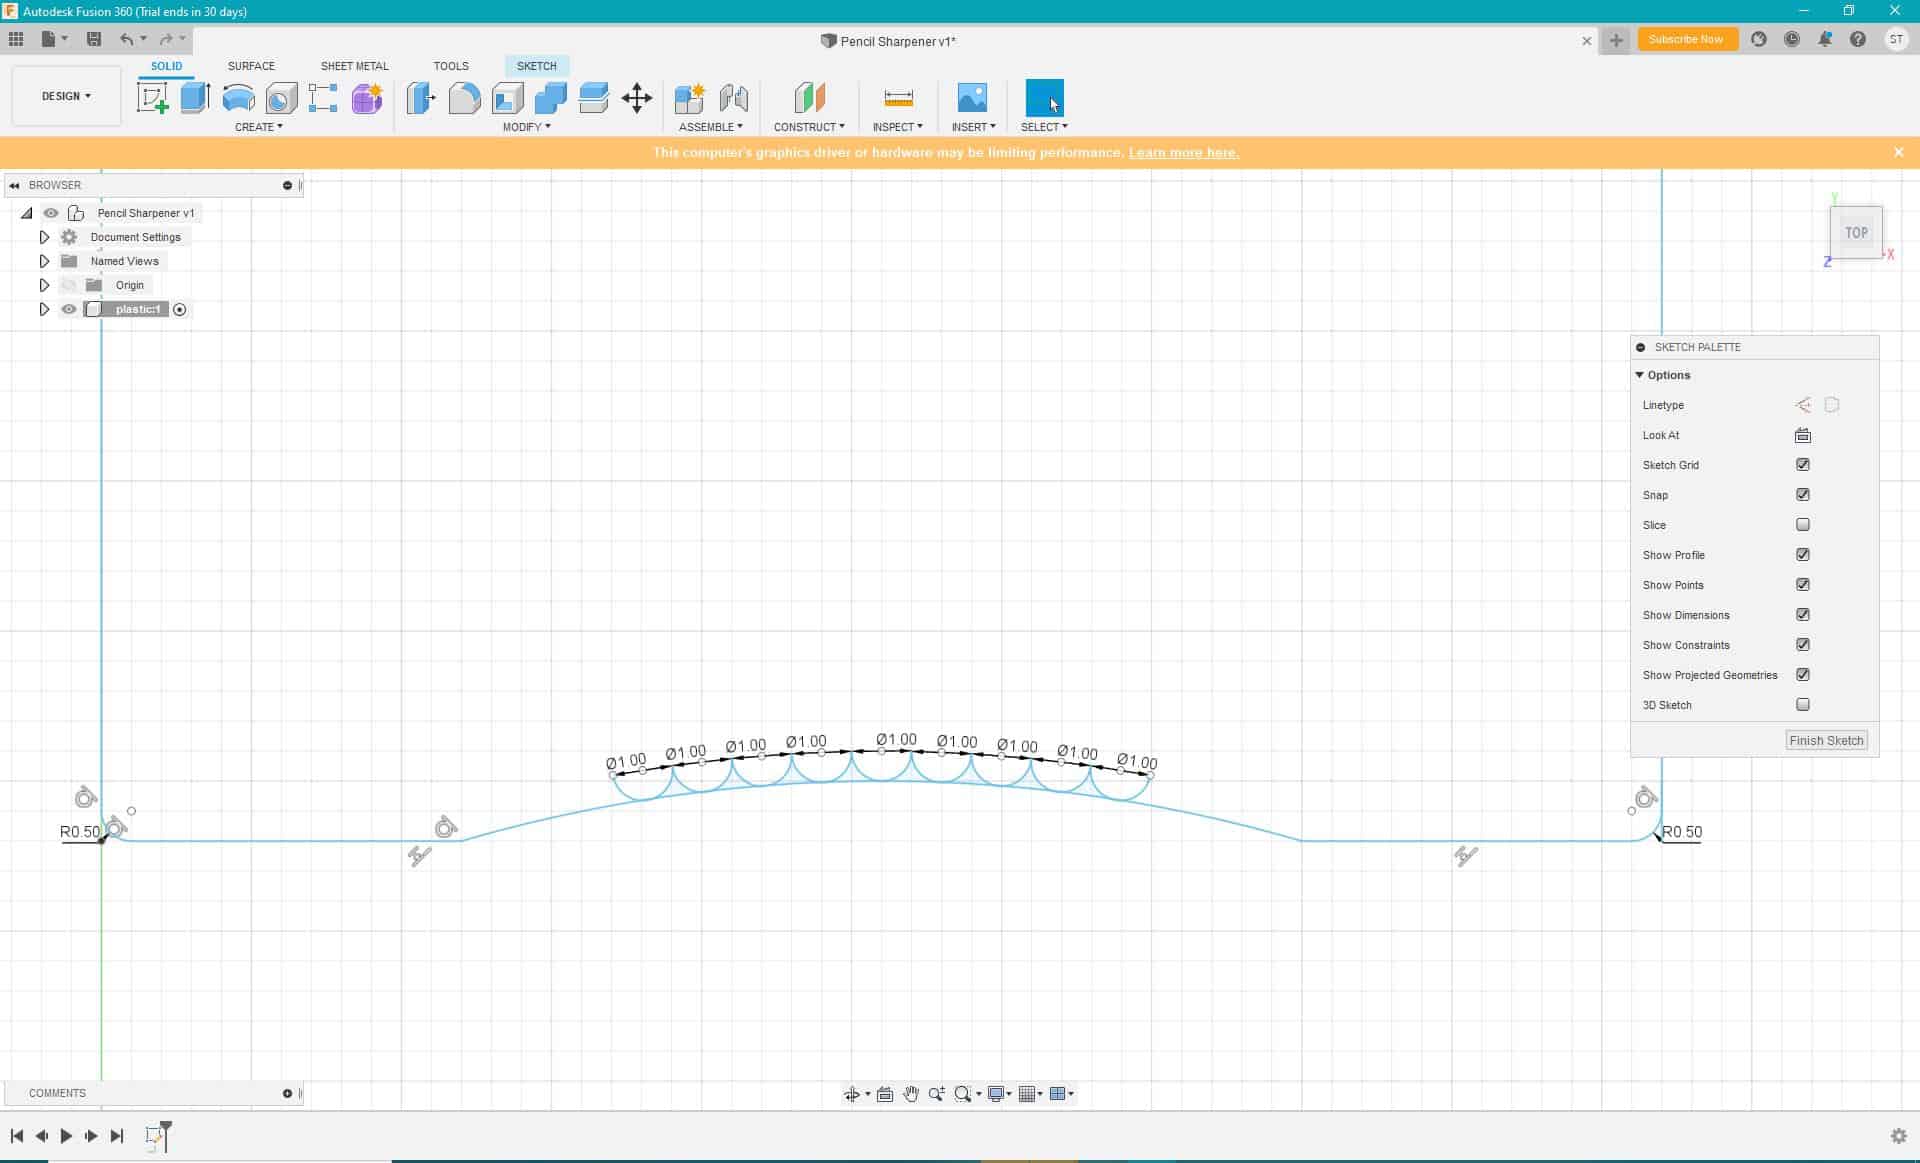
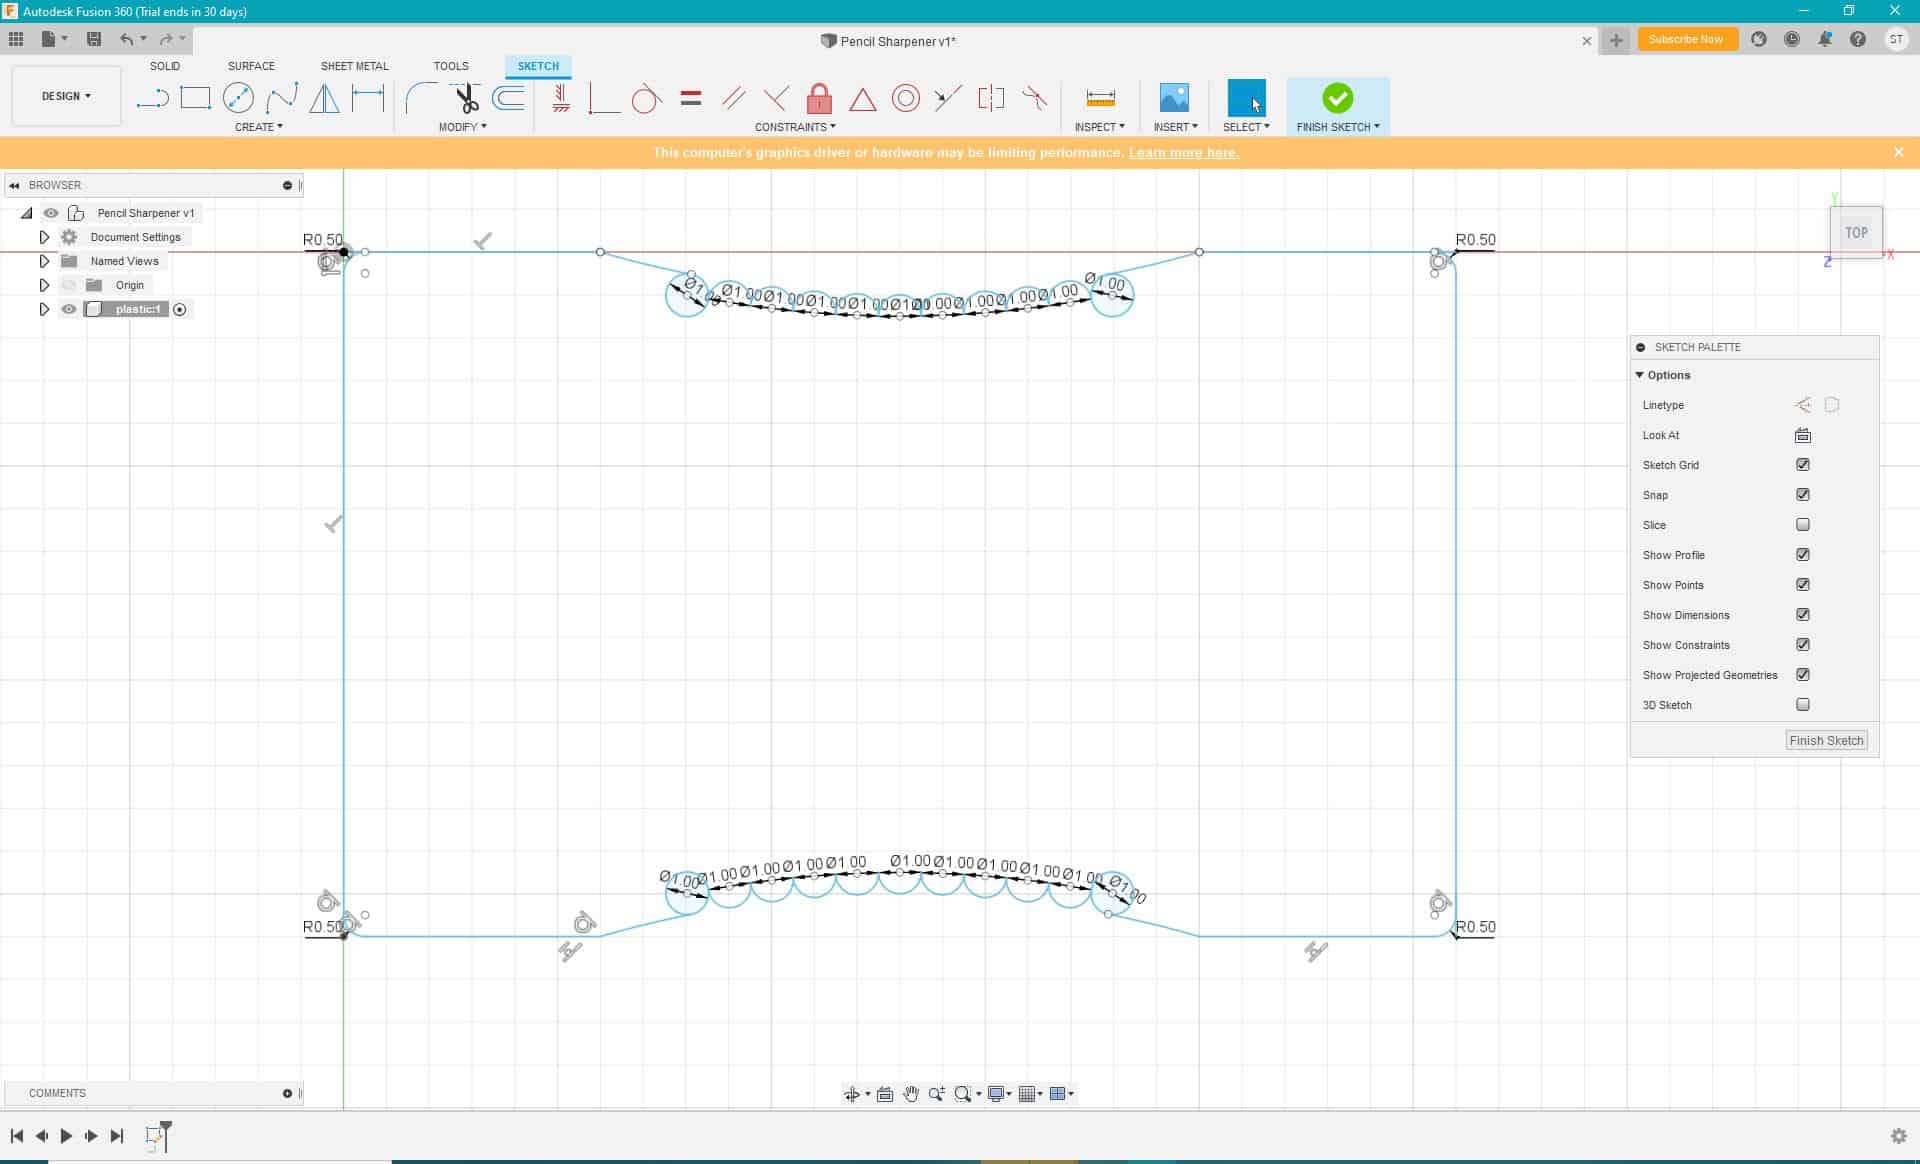
My drawing wasn’t registering as a closed shape, which it needed to be in order to extrude it. To fix this, I ended up deleting the problematic side of the drawing and mirroring the good side. I think that this was good as it ensured that the base design was perfectly symmetrical.
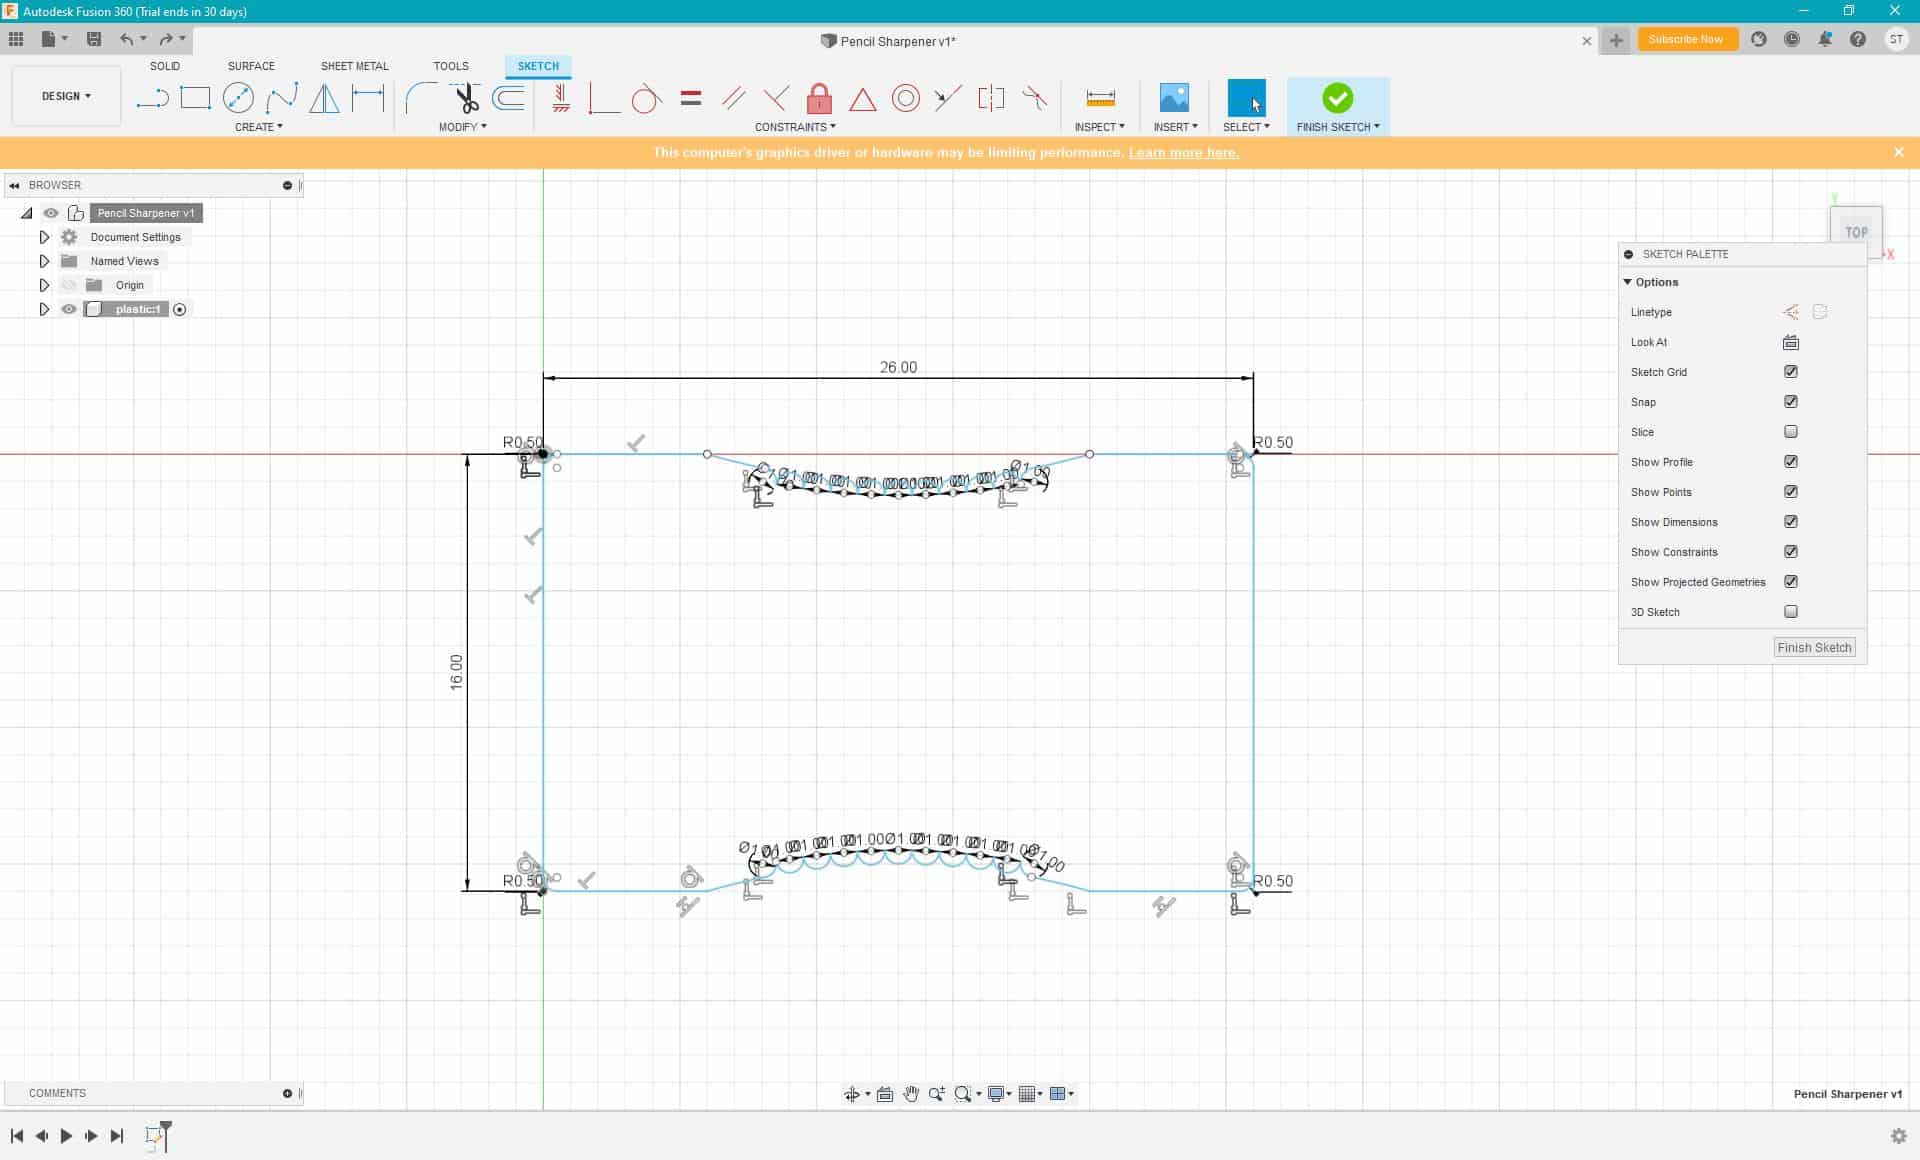
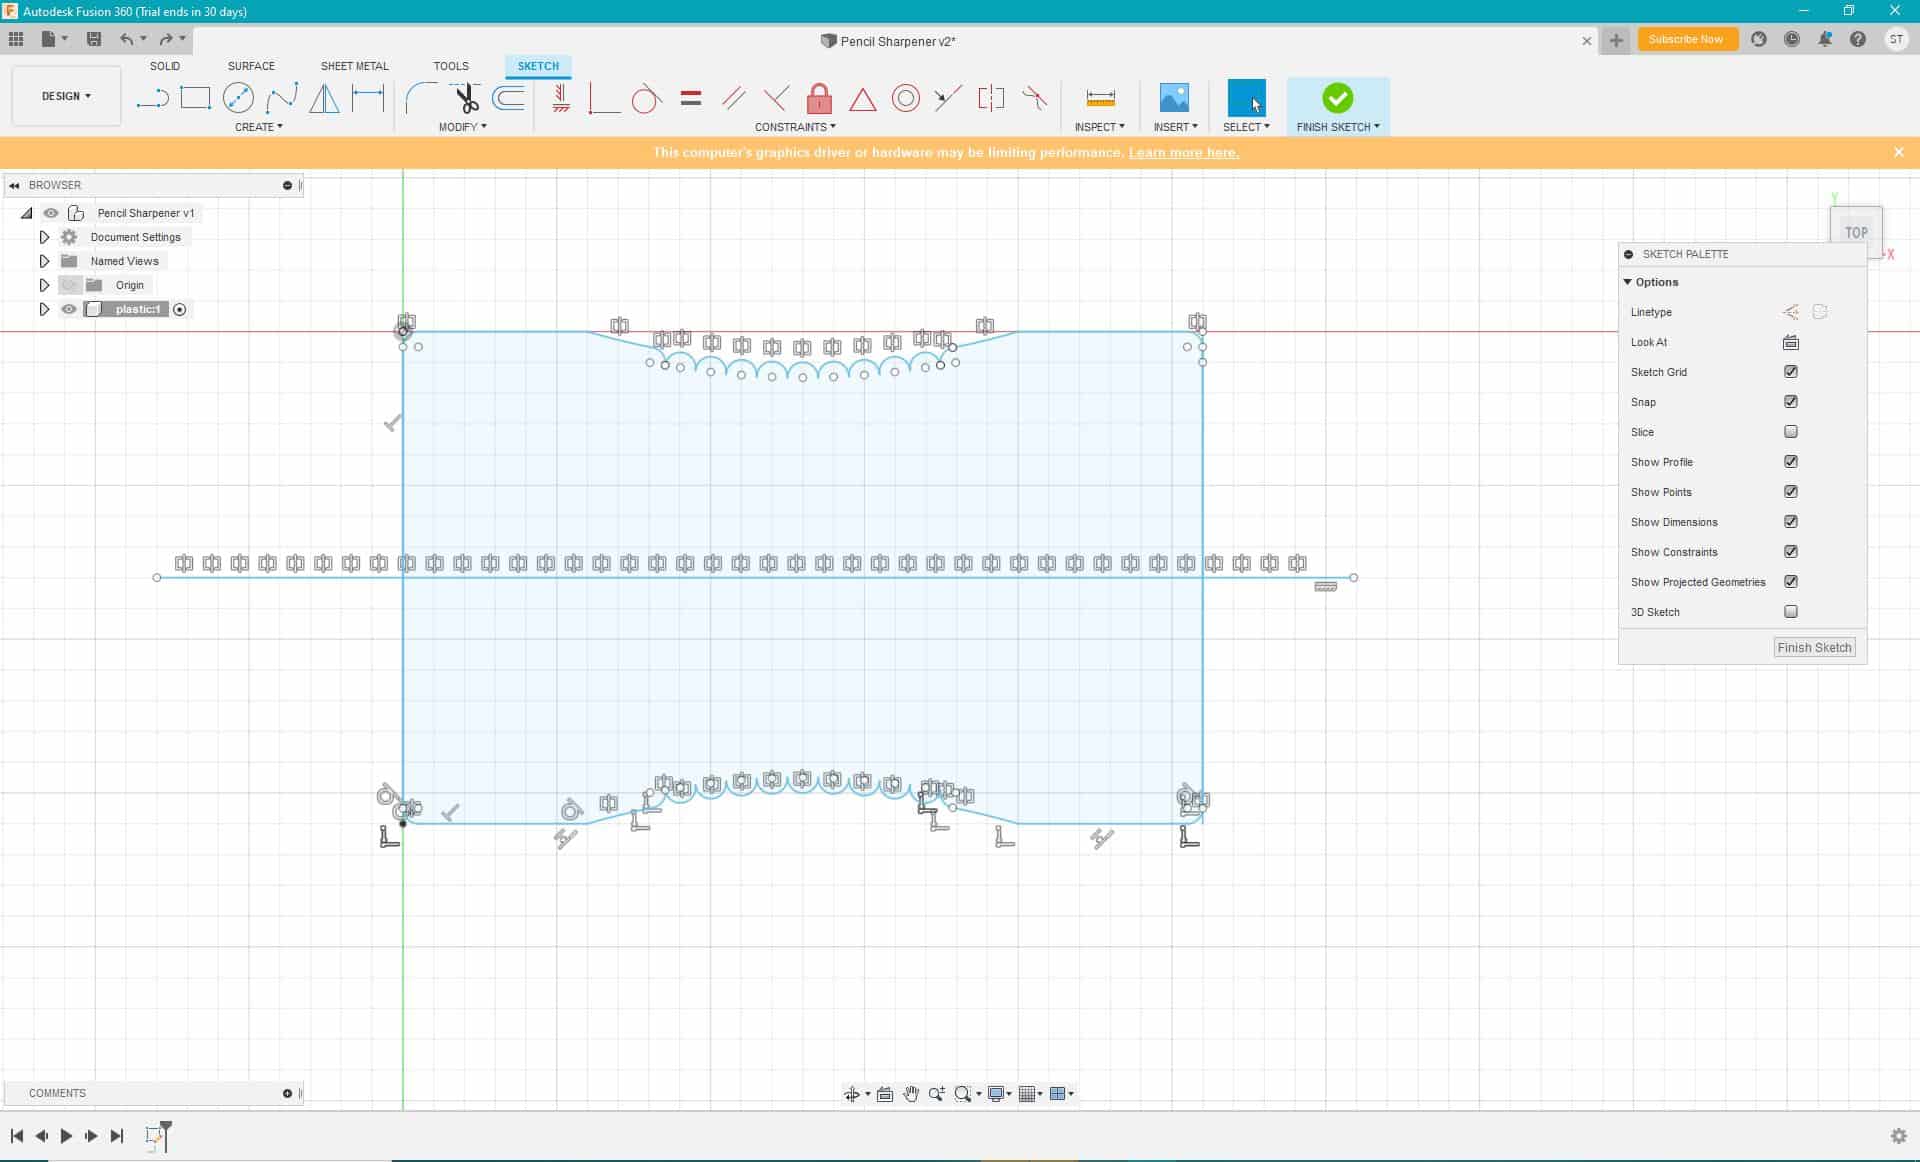
I then extruded that surface up 11mm, to create the base design of my pencil sharpener.

Next, I used the shell tool to hollow out the shape, and give the plastic the same thickness, removing the excess material. I then needed to add the tunnel that the pencil goes in. I did this by first marking out where the openings were on each face.
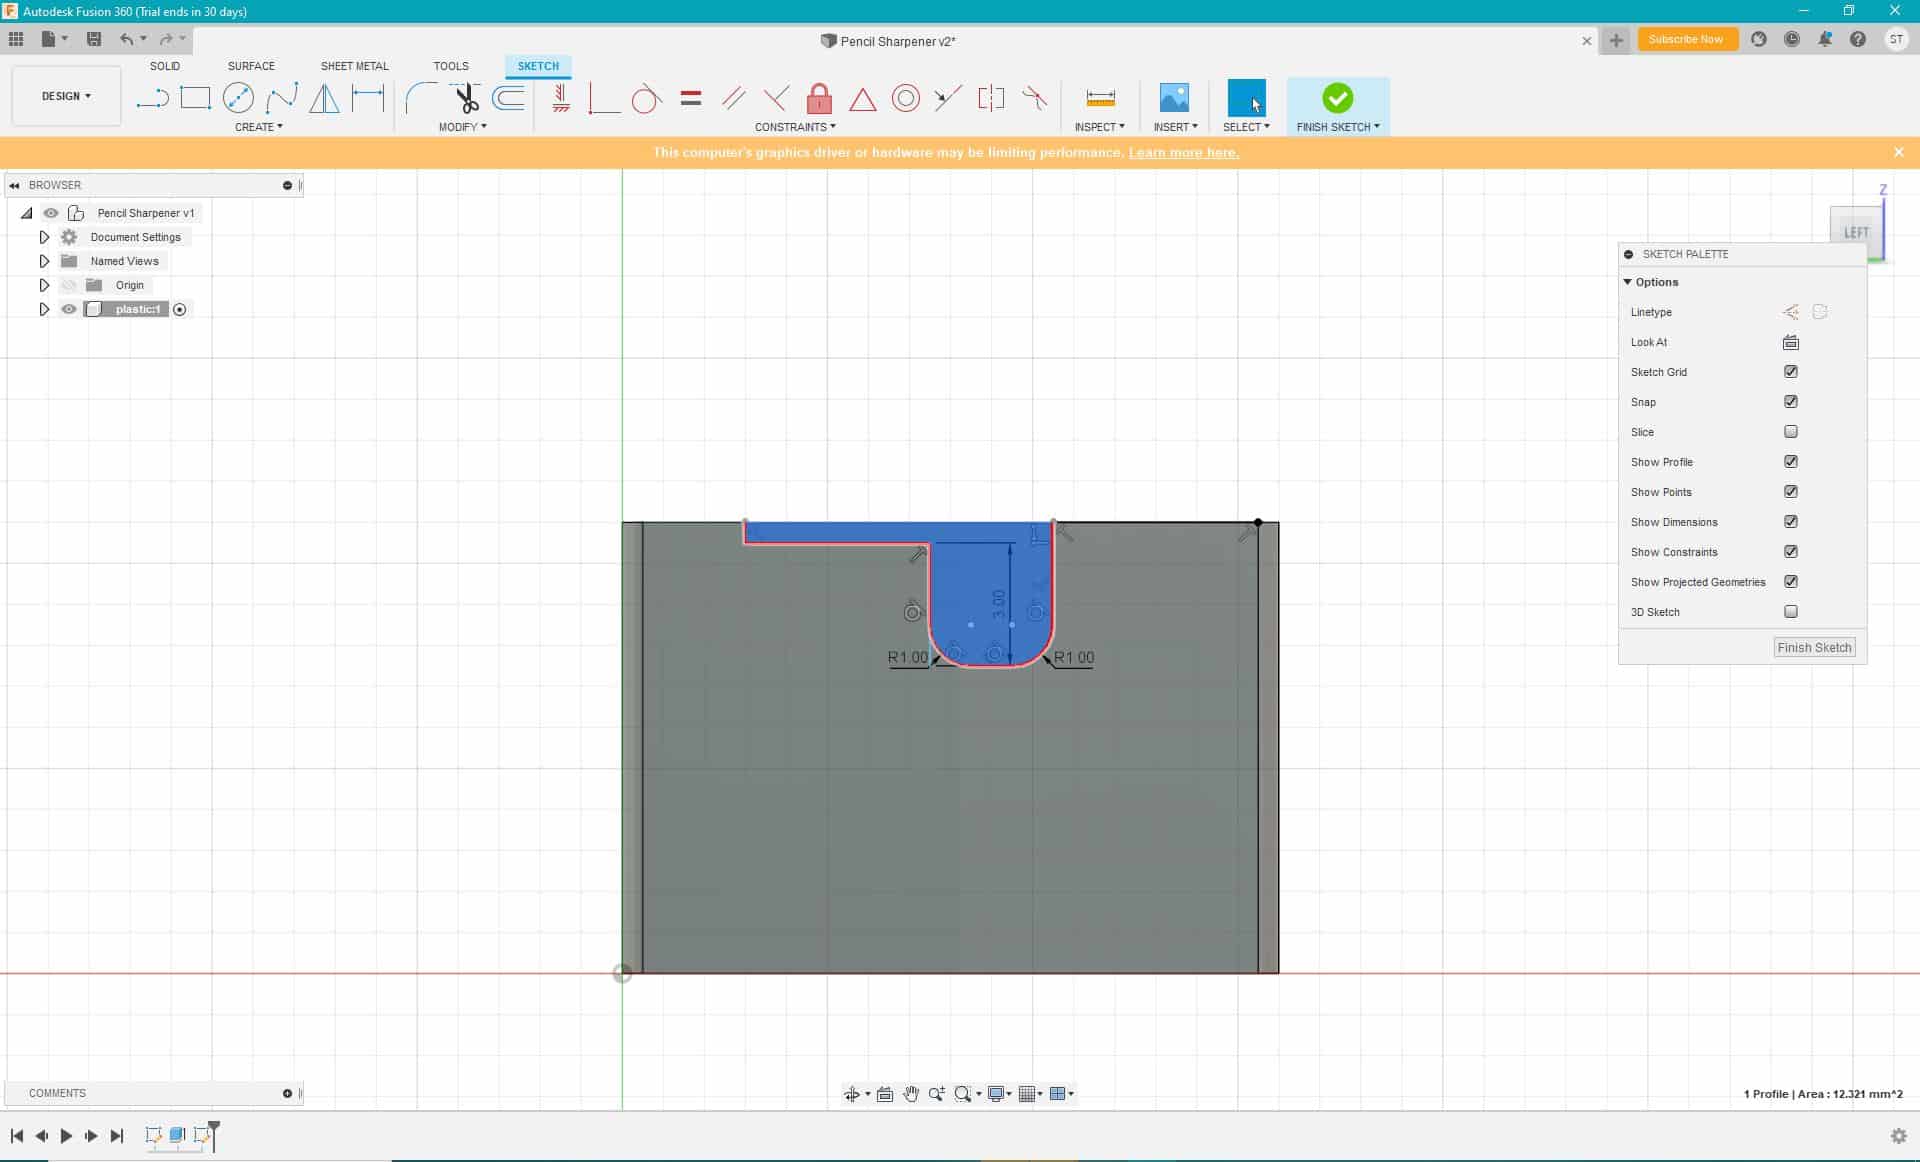
There is a small, straight open faced tunnel, then a larger conical shape connects that to the largest hole. I created this using a the loft tools and many, many tutorials, and am super pleased with how it turned out.
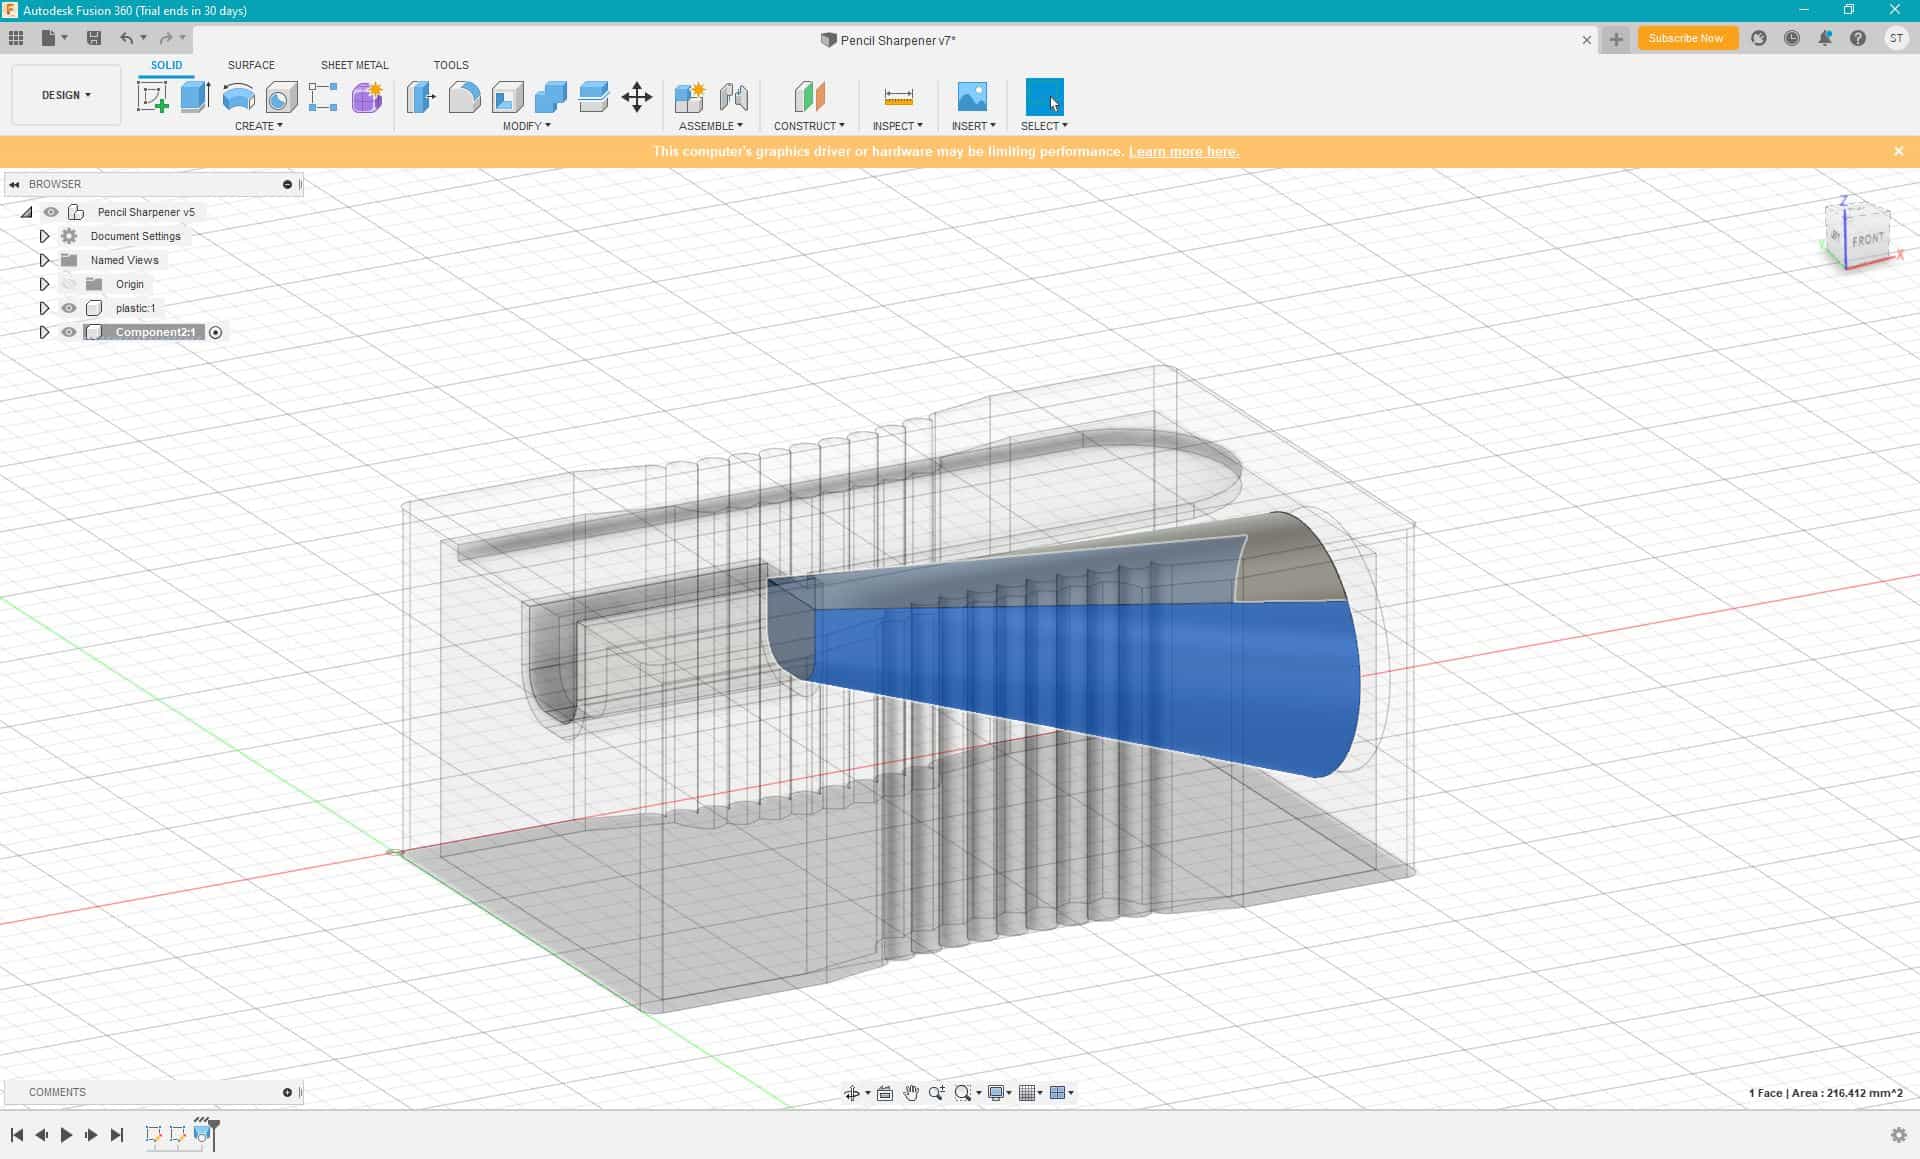
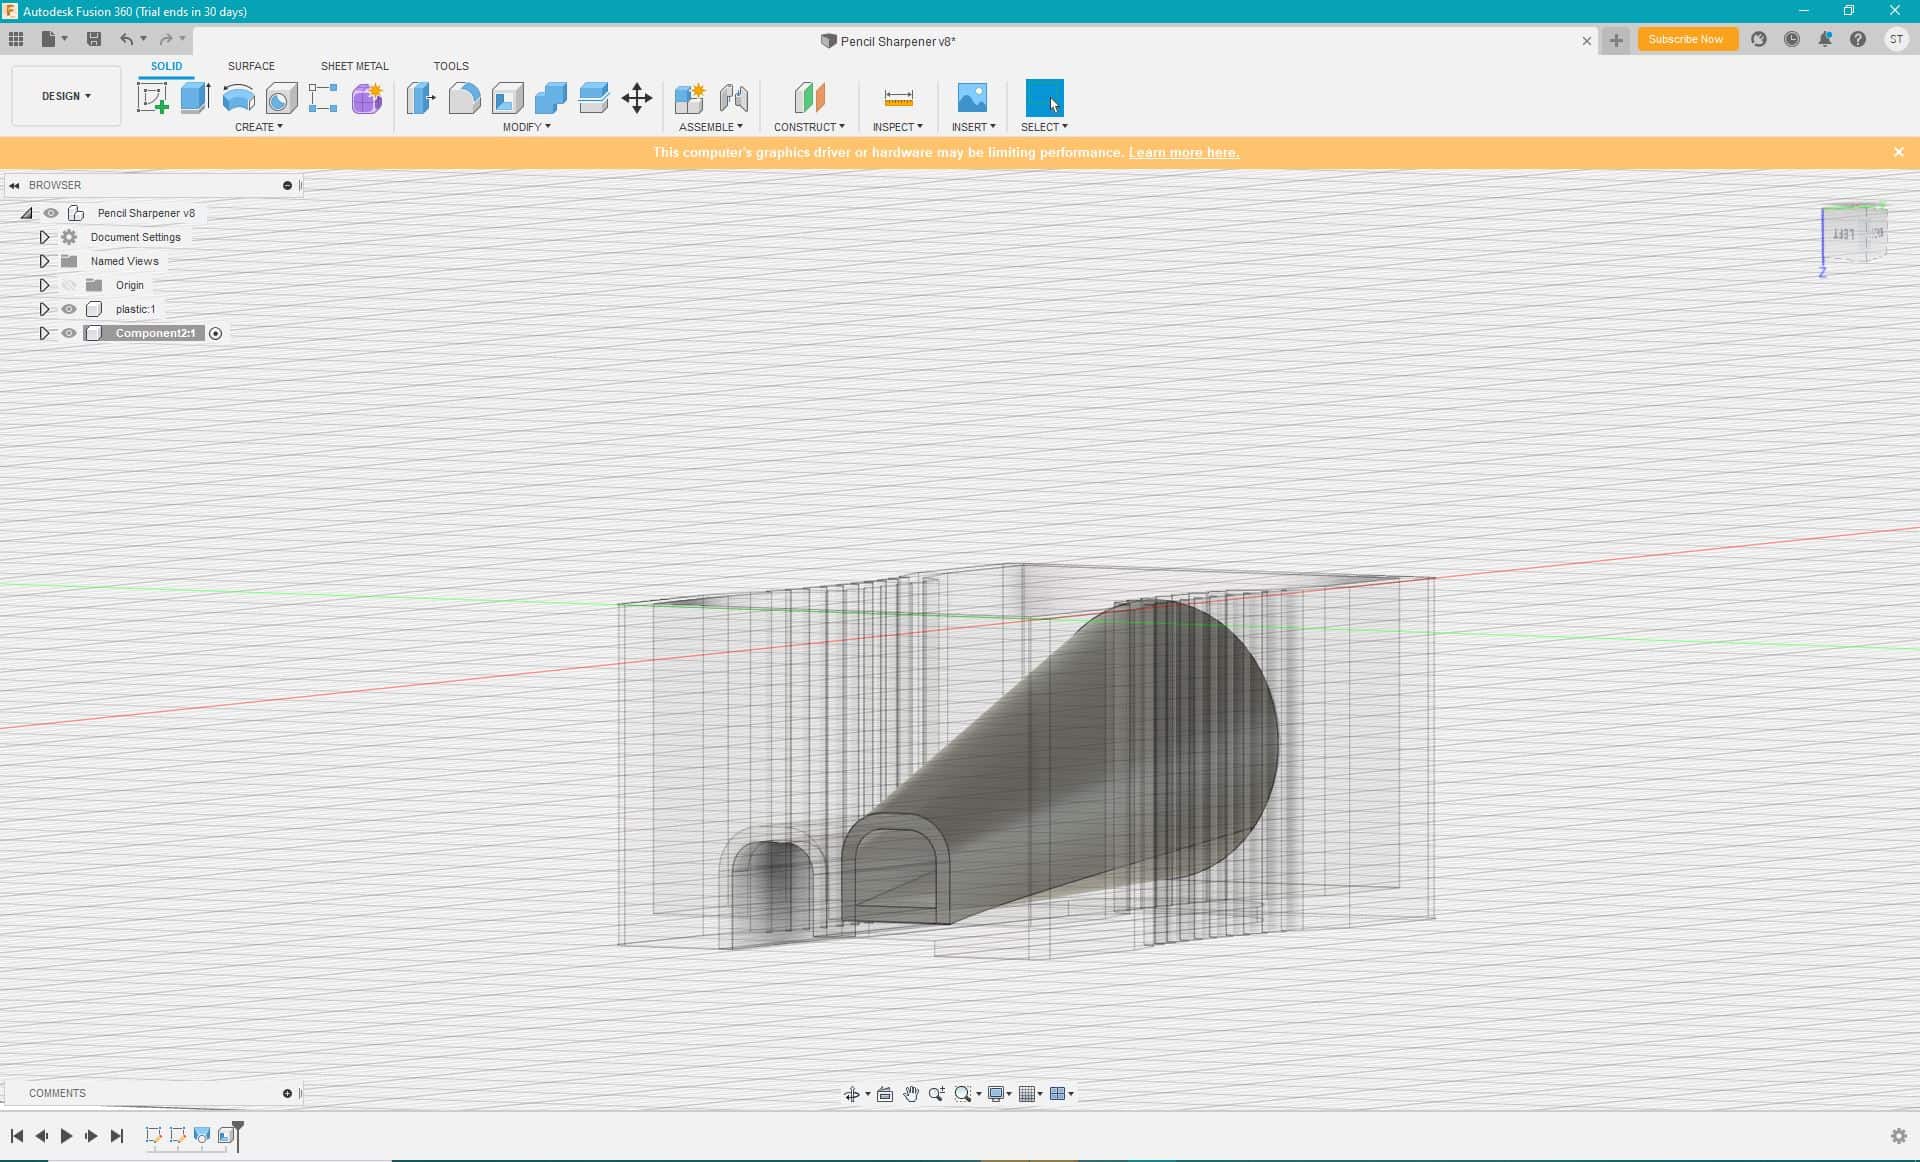
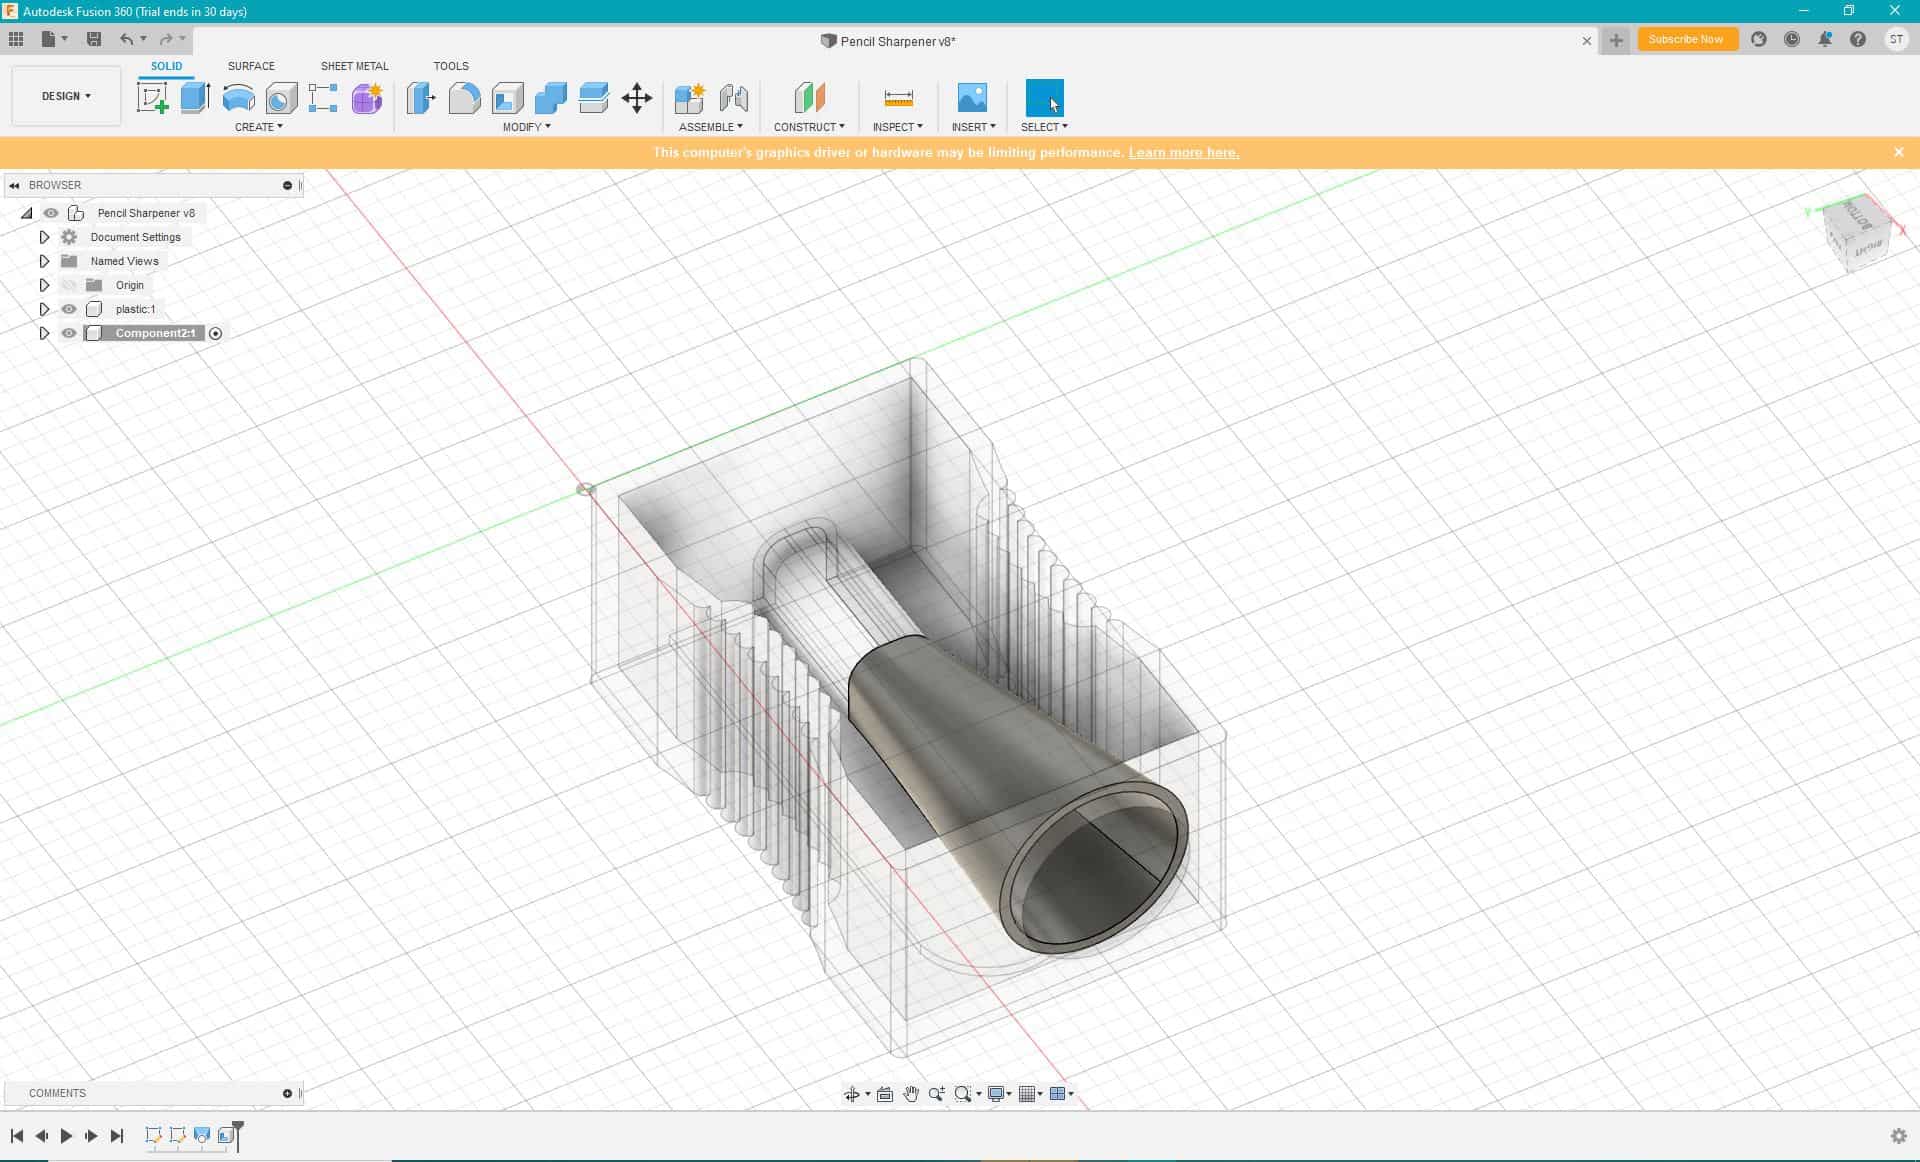
I then made the indent where the blade sits, and joined all of those separate pieces to make one completed base component!
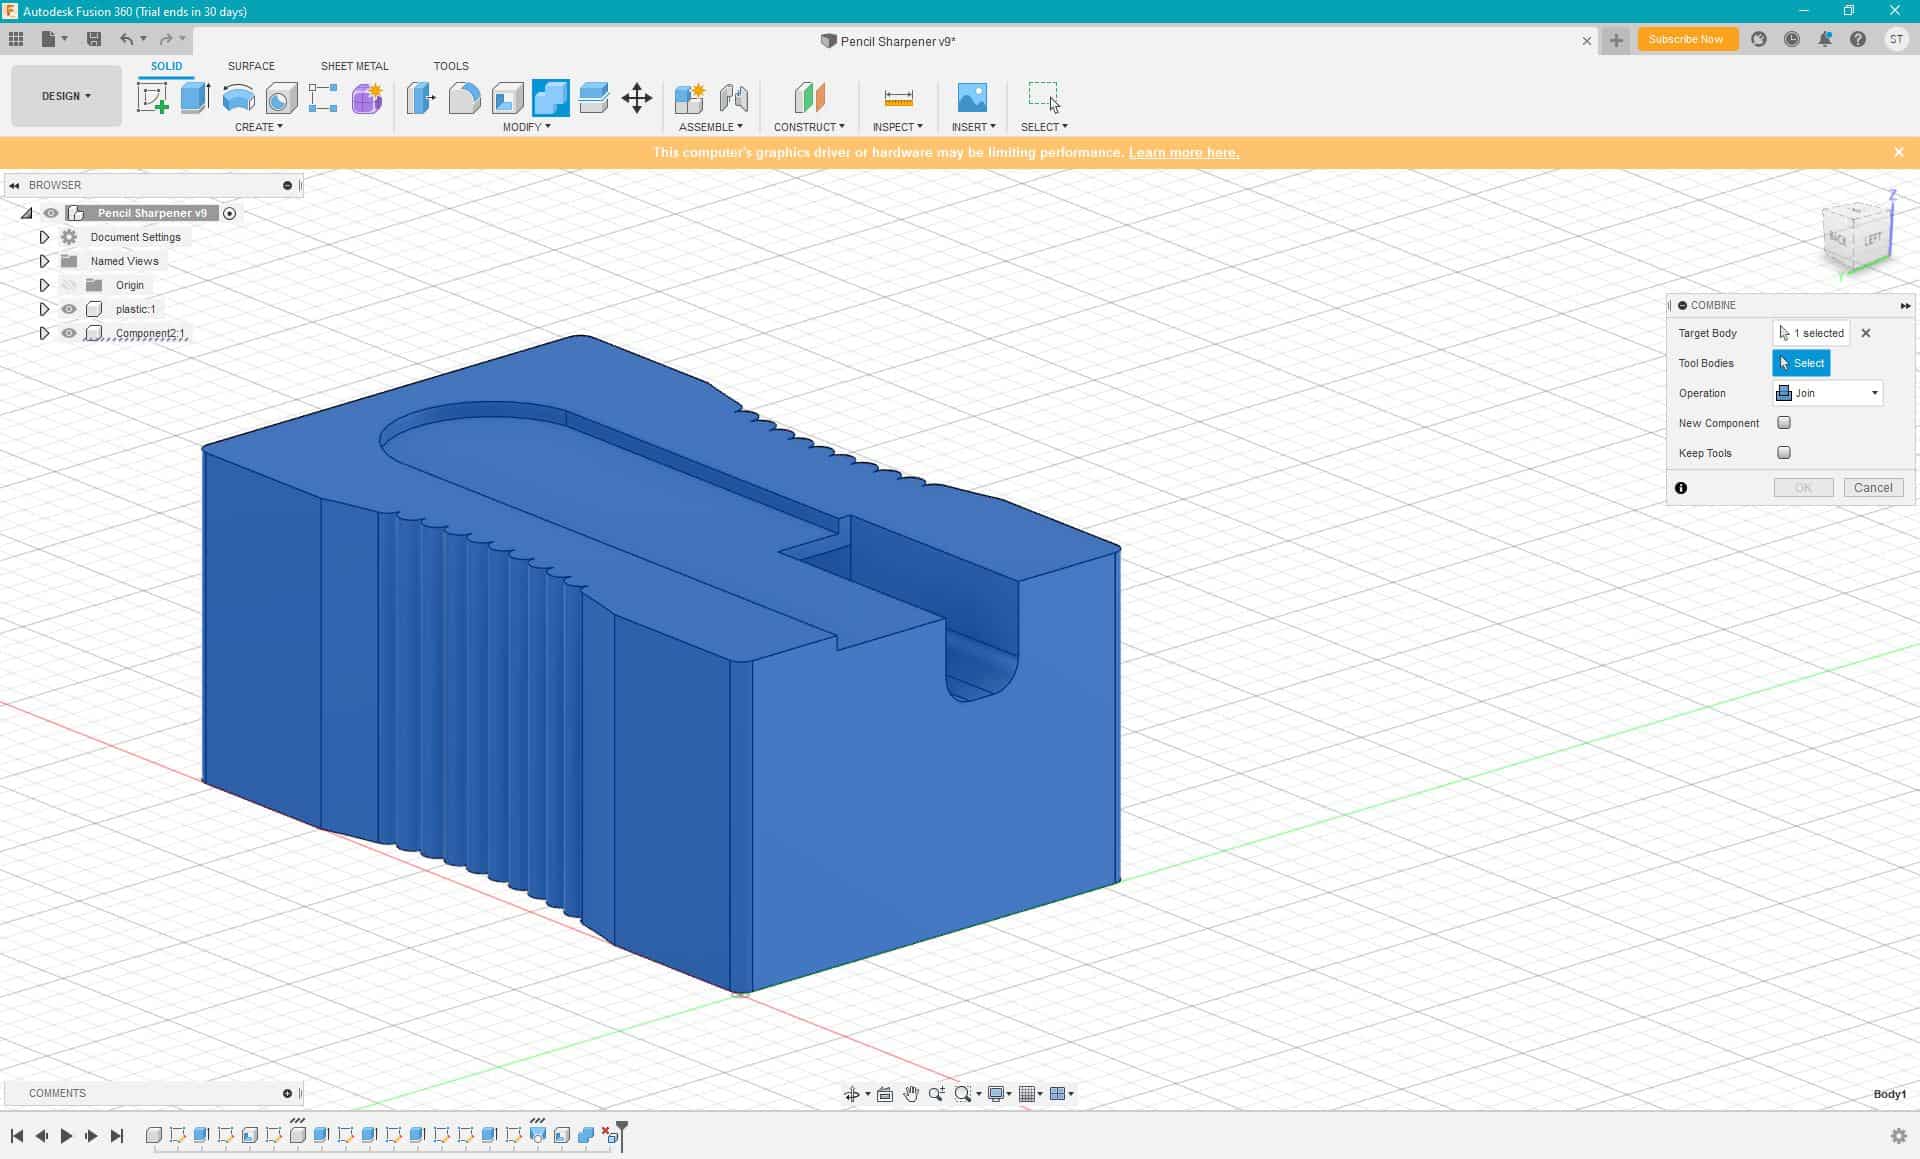
To make the blade itself, I made a new component and modeled it on that.
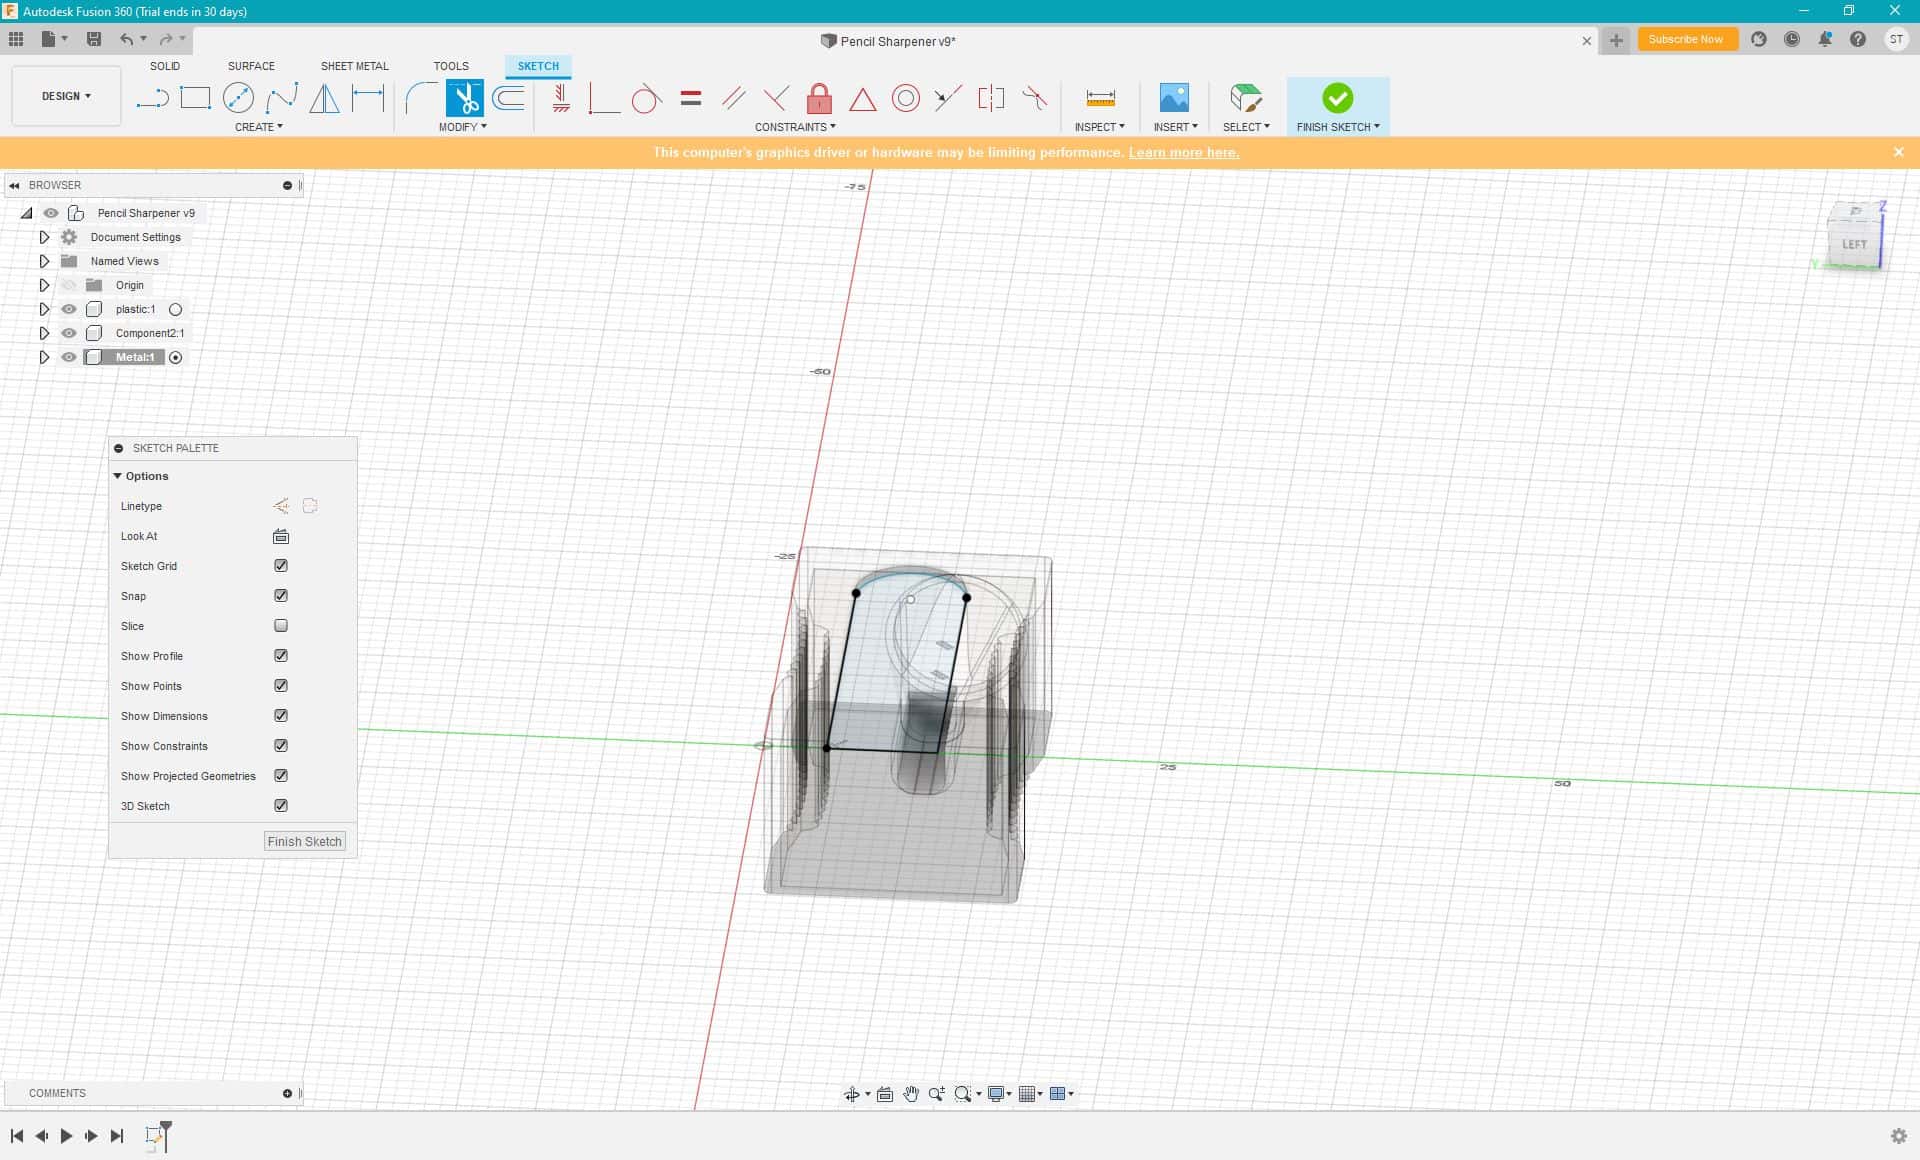
For the blade to attach to the base, there is a screw which holds them together. I made the hole, then used the thread function to add the thread on the interior of the screw hole.
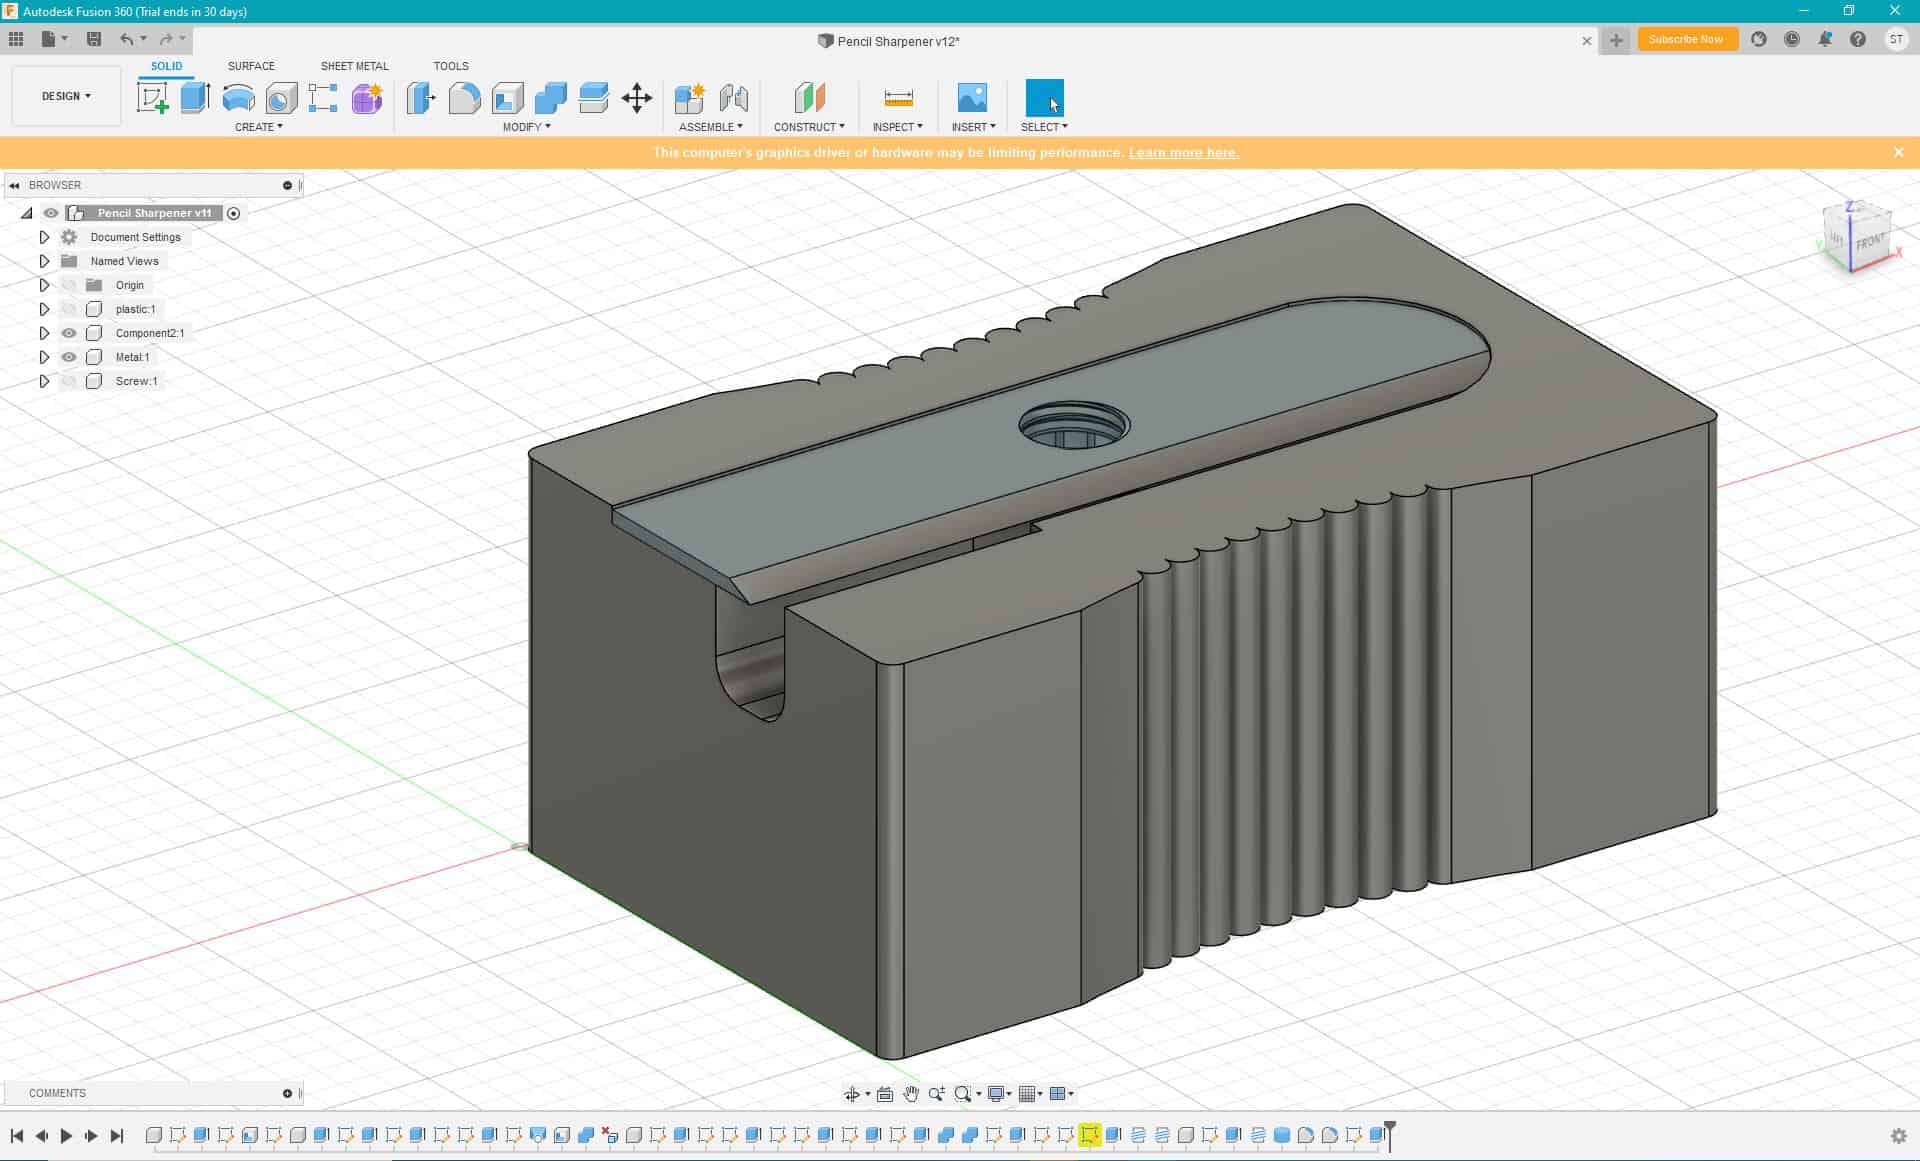
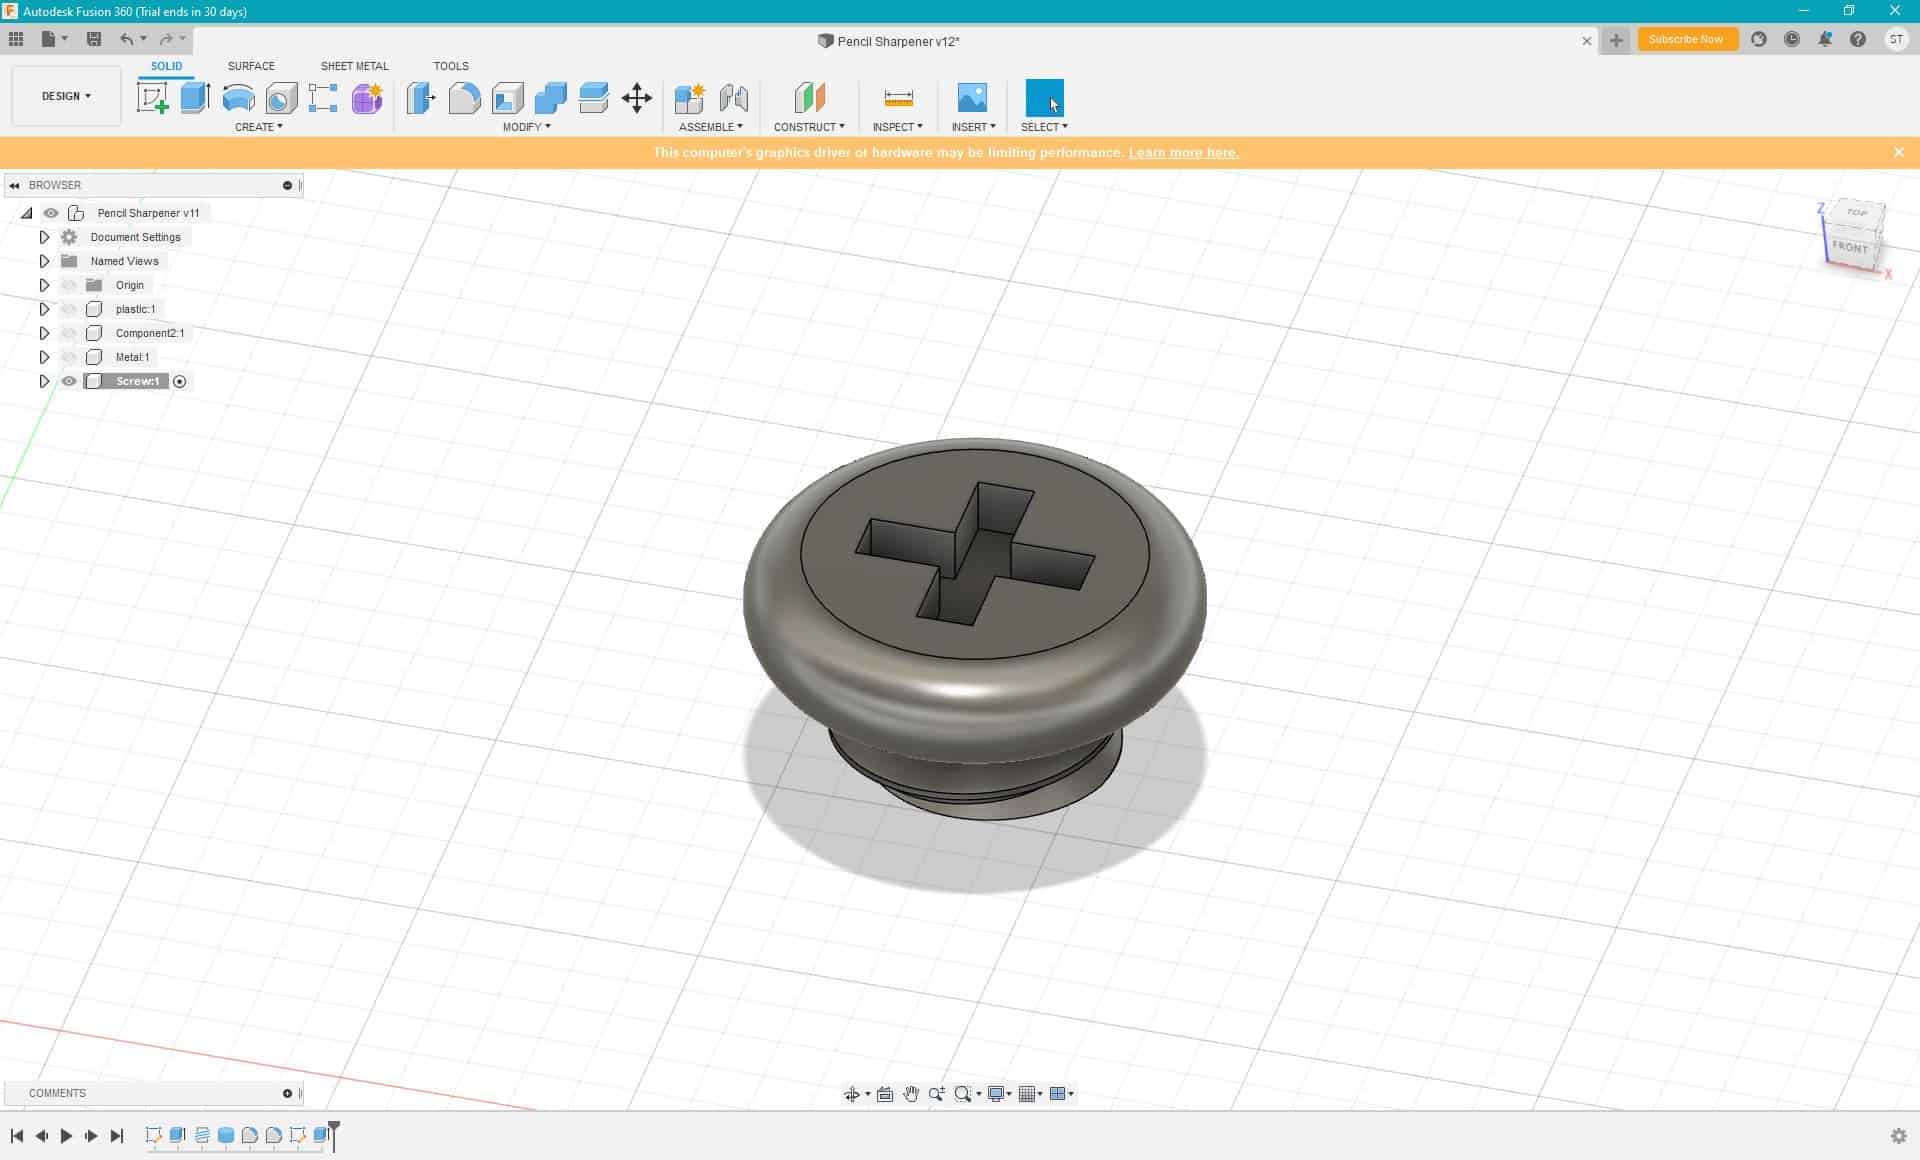
I repeated this same process on the exterior of the screw itself, with the same dimensions so that they line up. For the screw head, I made a cylinder, rounded the edges and extruded the drive down. This was one of the easiest parts of the model making process, but brought everything together and finished it off.

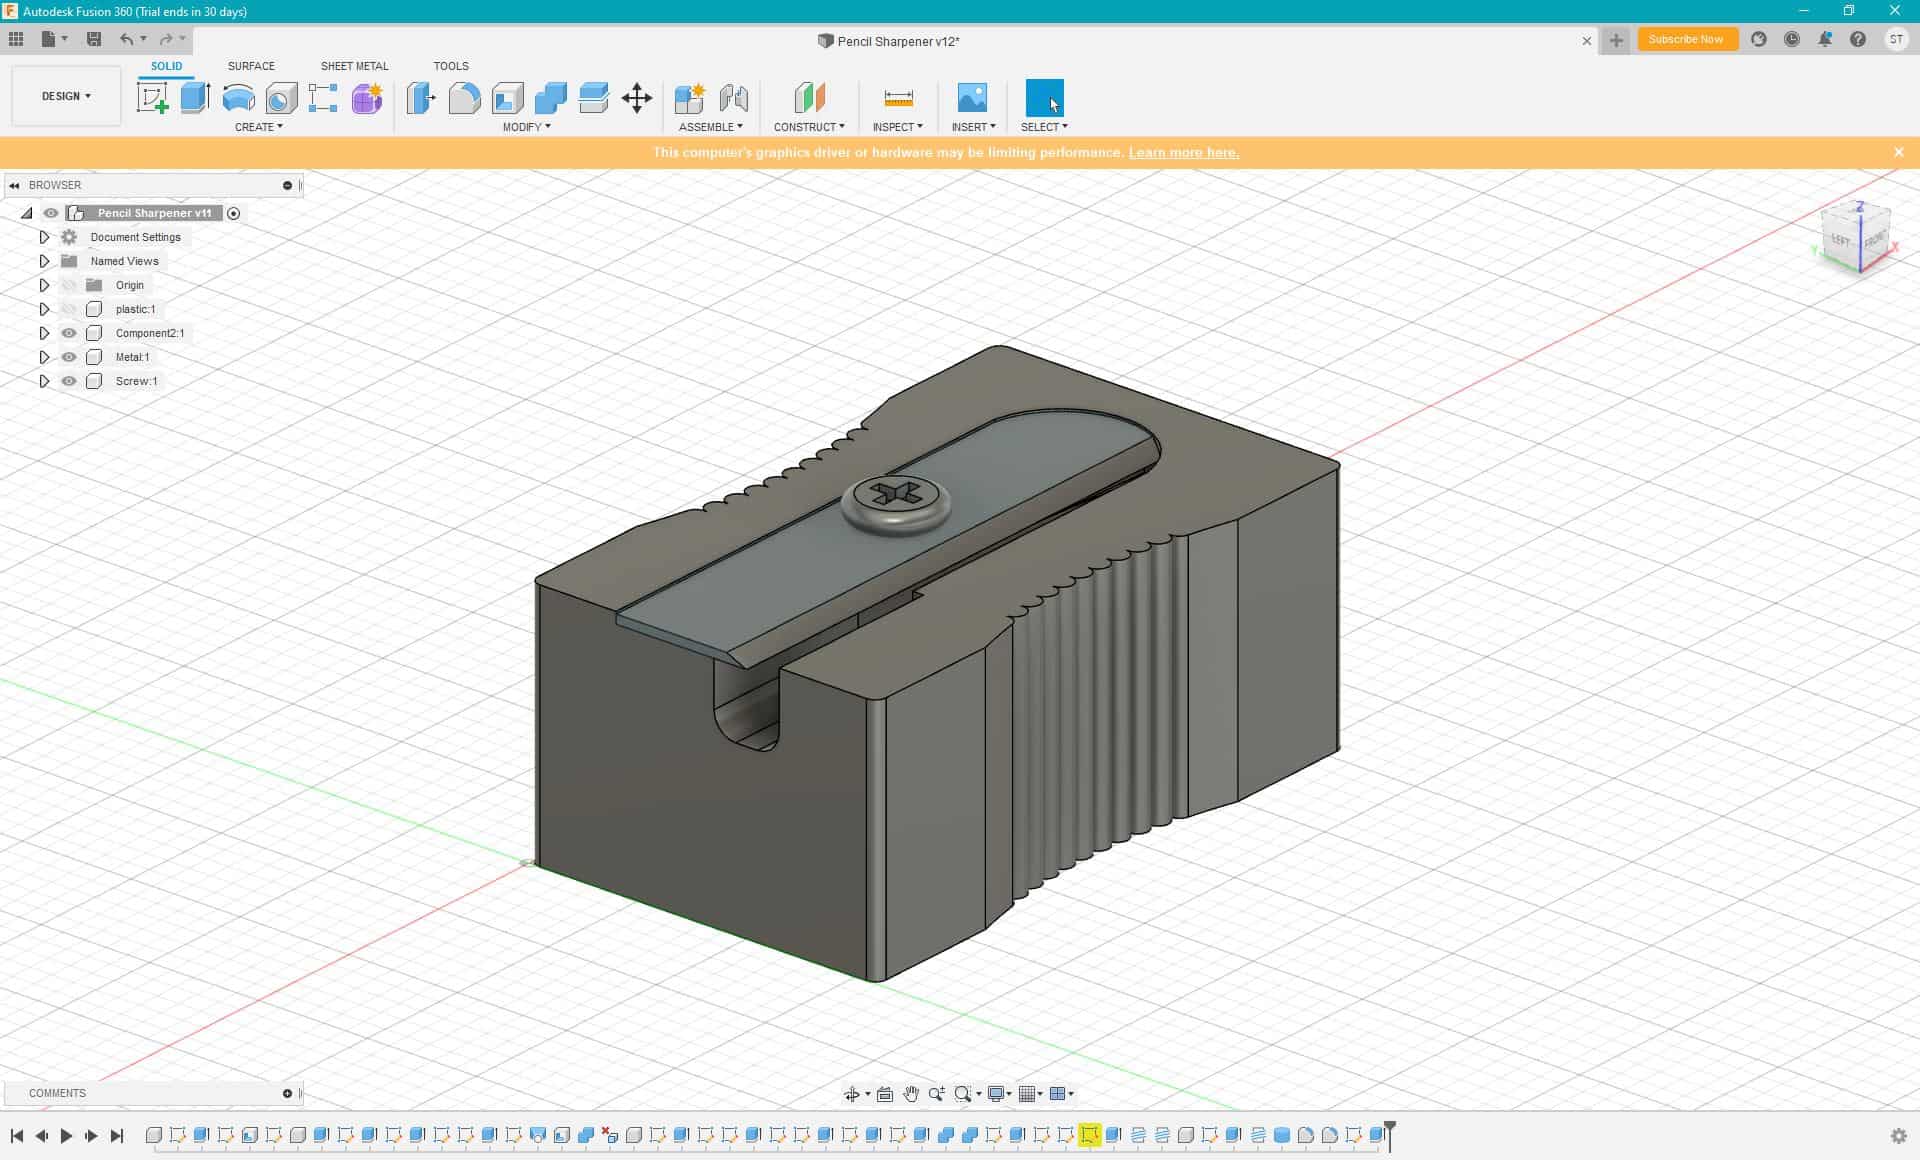
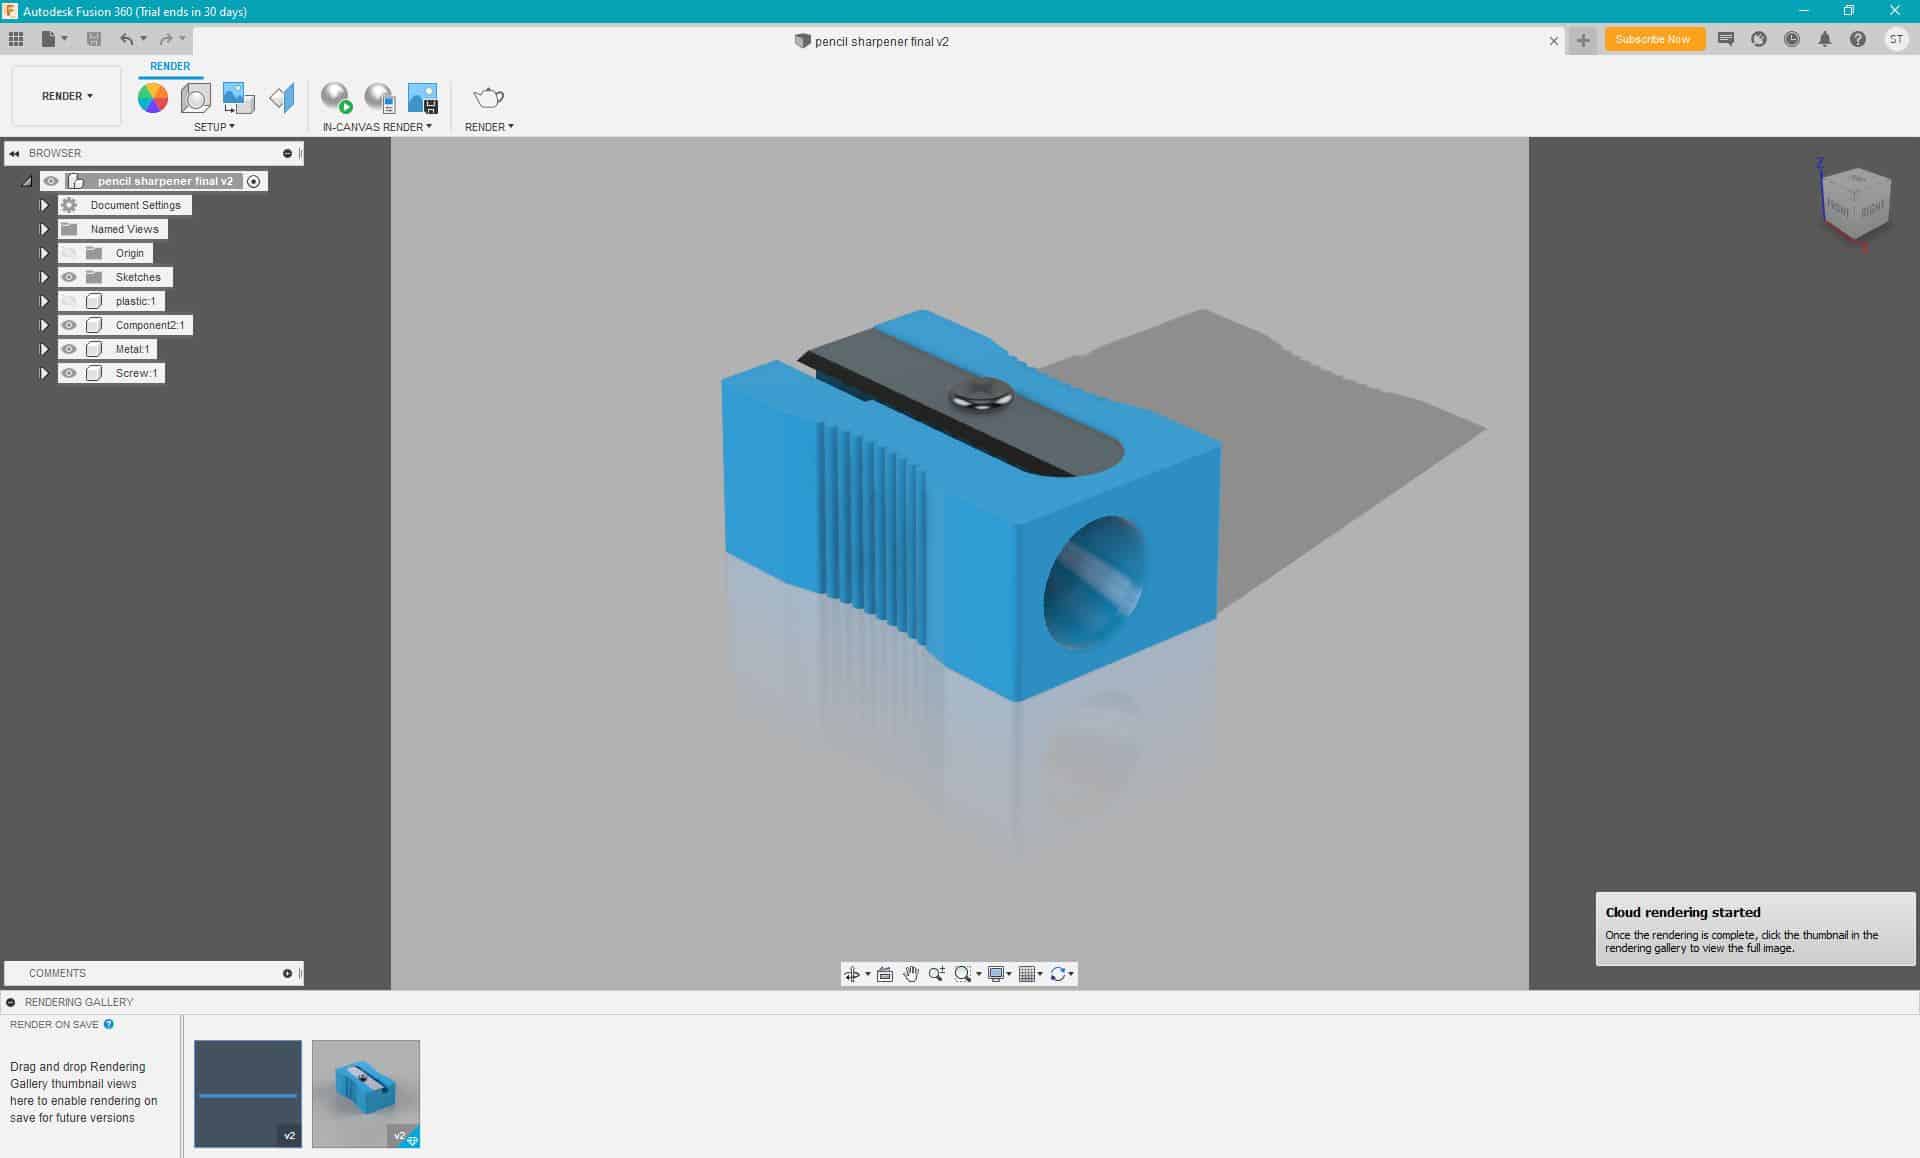
The finished model!
I looked at different colour and material option to apply to the model
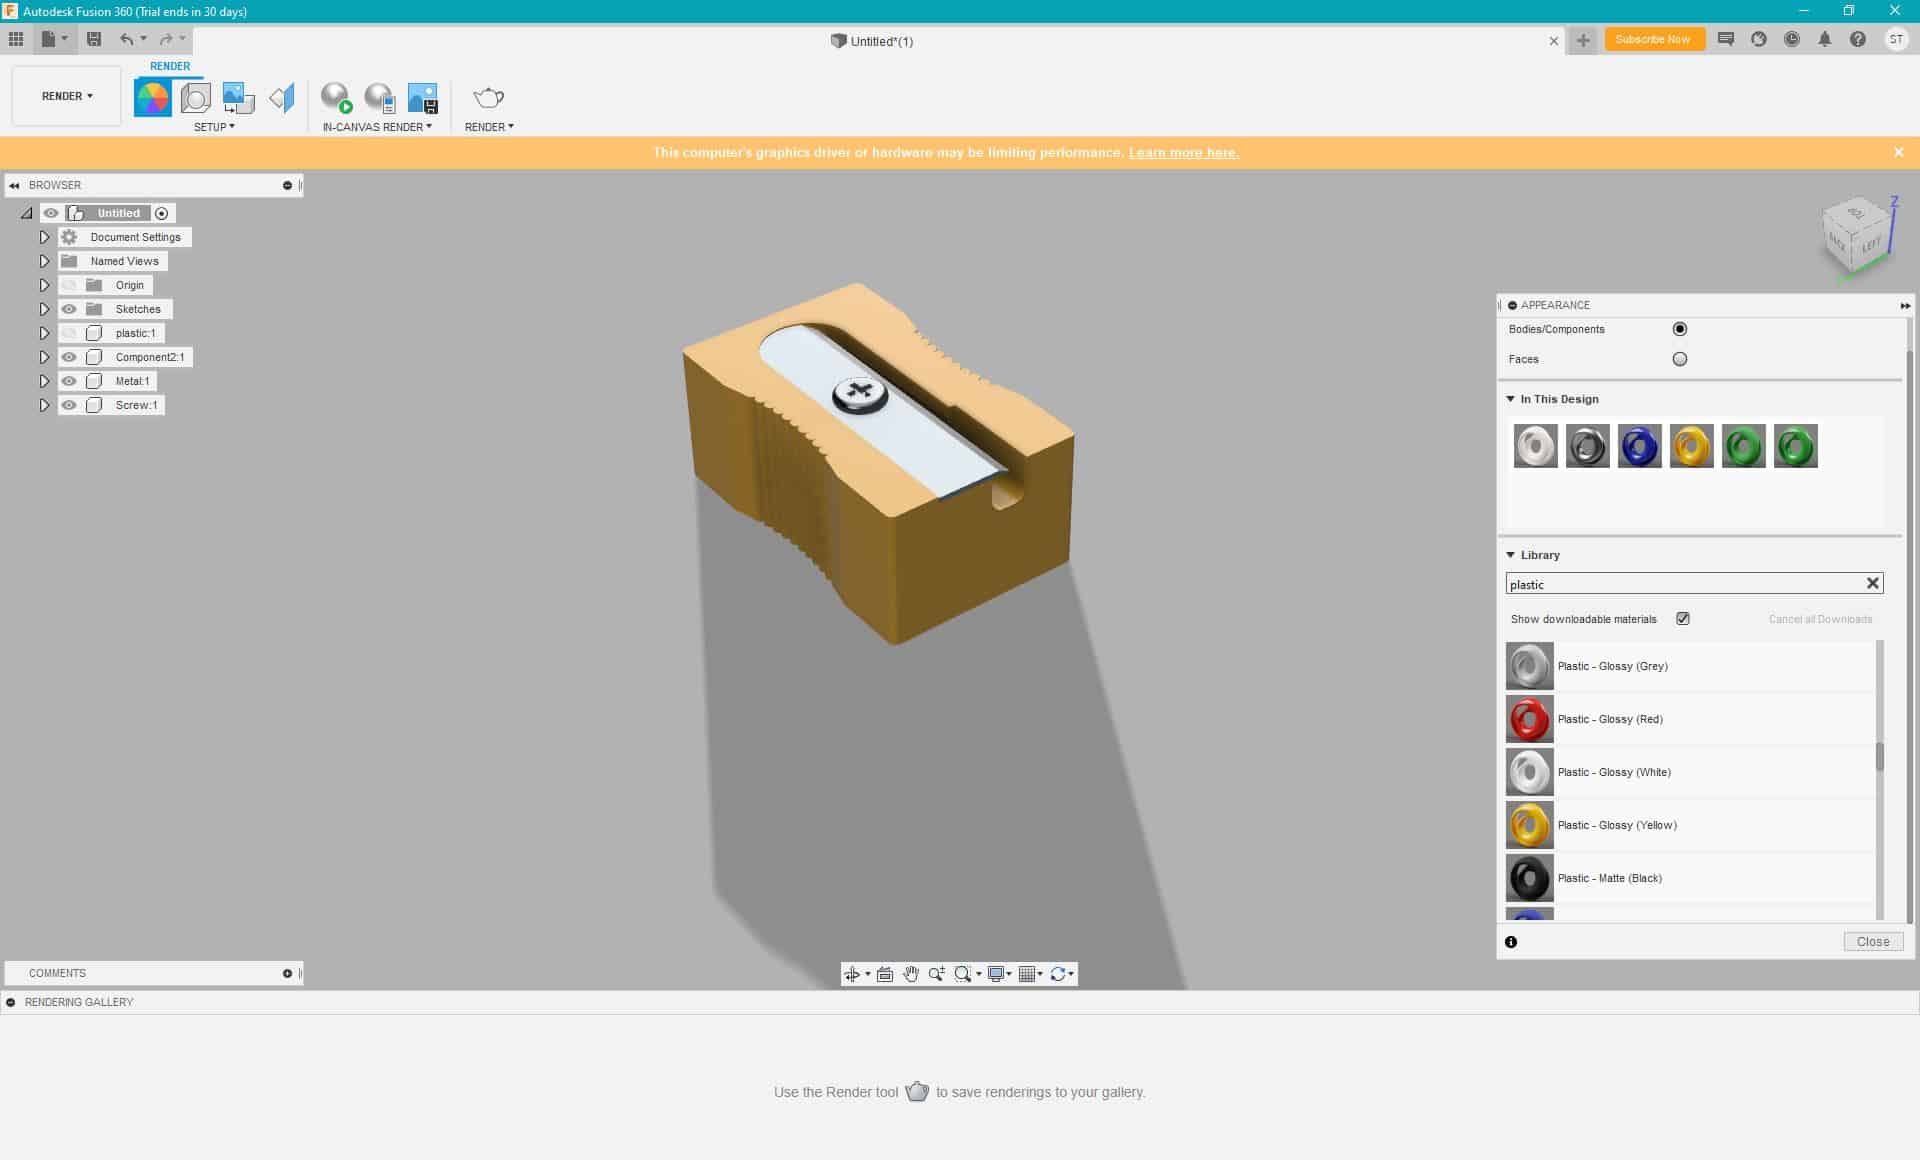

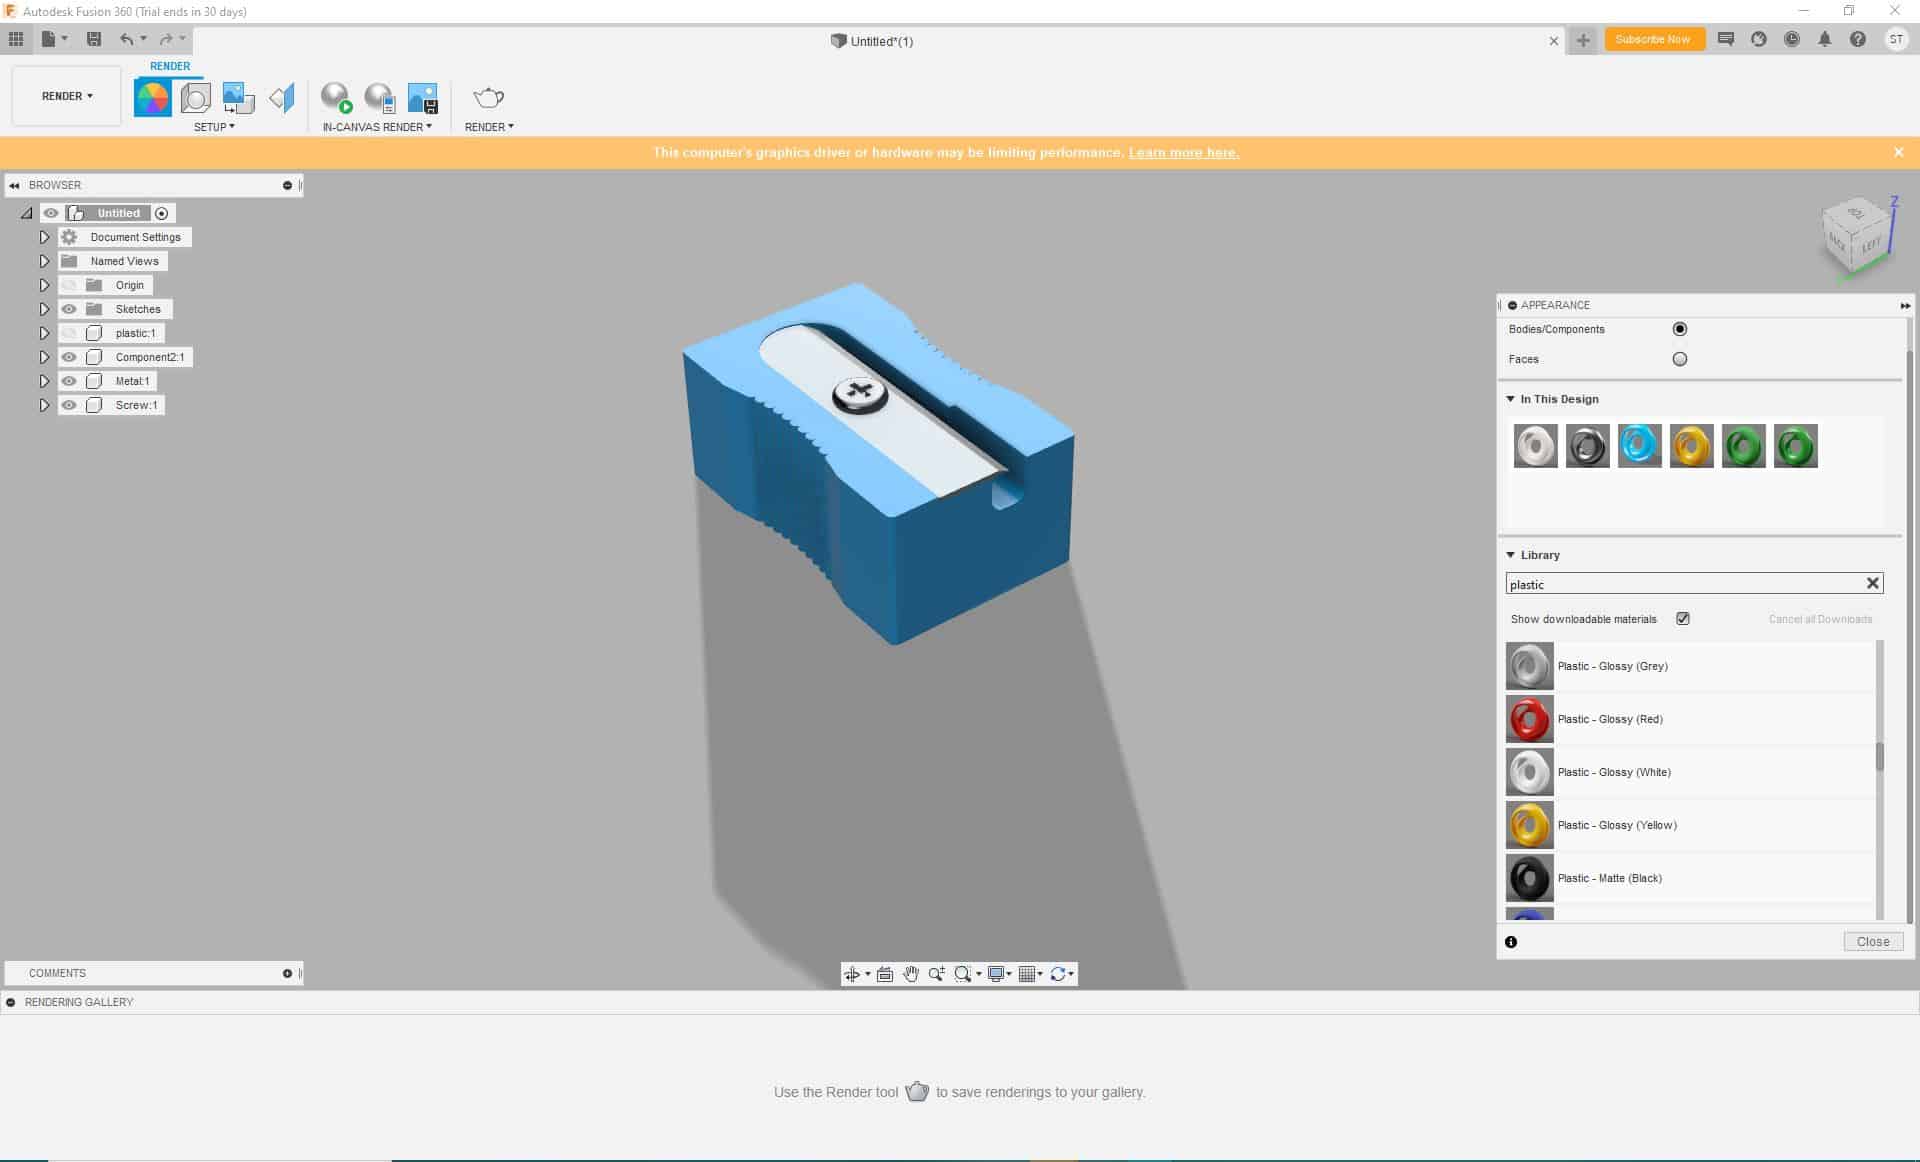
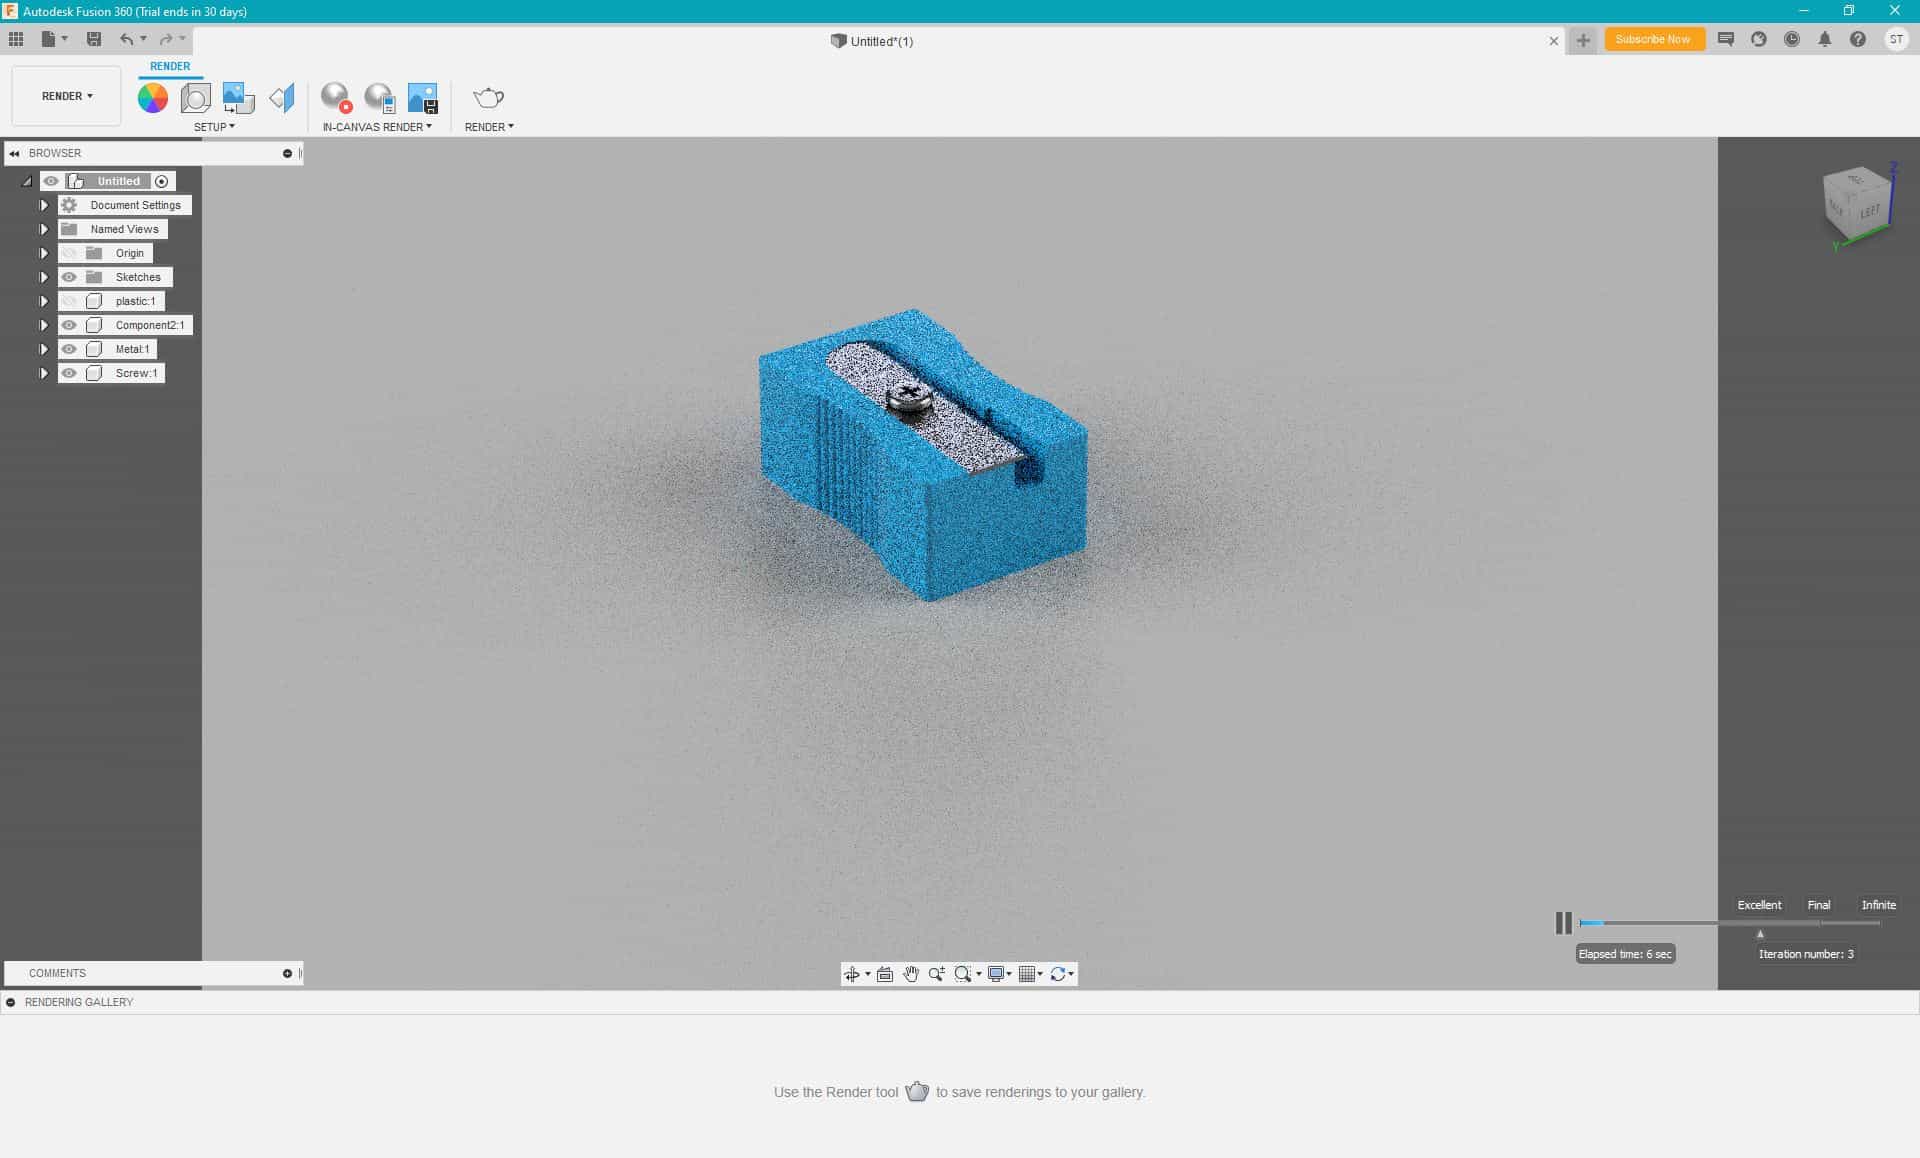
I tried rendering it, but it didn’t come out quite as well as I wanted.
I then took the design into the animation mode, to create the exploded view.
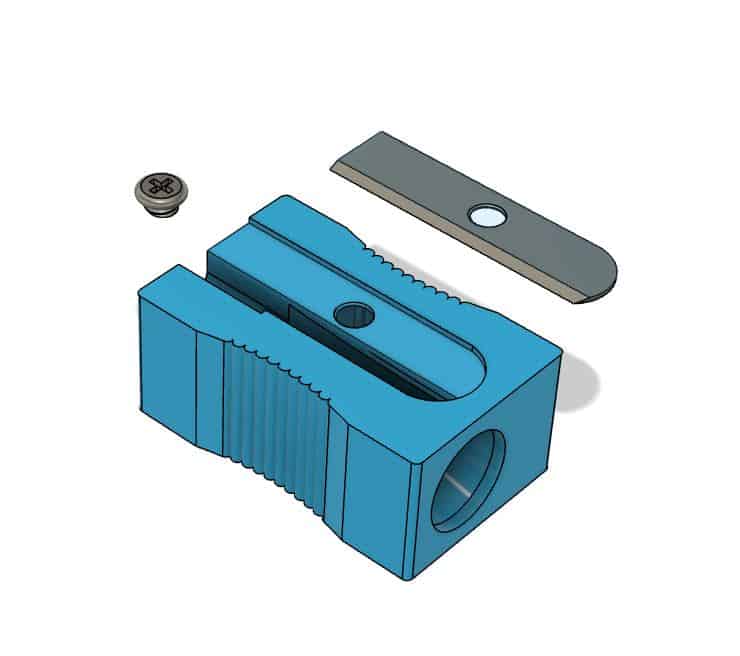
I made my orthographic and exploded view drawing.
Reflection
When I decided to reverse engineer a pencil sharpener, I didn’t think that it would be as difficult as it was. Fusion360 was new to me, so I think that was a big factor in the added difficulty. The hardest part was the curve where the pencil goes in. I watched many hours of tutorials along the way, and I think I have expanded my fusion360 skills greatly along the way.