
PRESS PLAY
REPLICATING AN ELECTRONIC CIRCUIT AND WRITING A FUNCTION FOR A NEW BEHAVIOR FOR A SET OF LEDS FOR #DES100
What I want my code to do
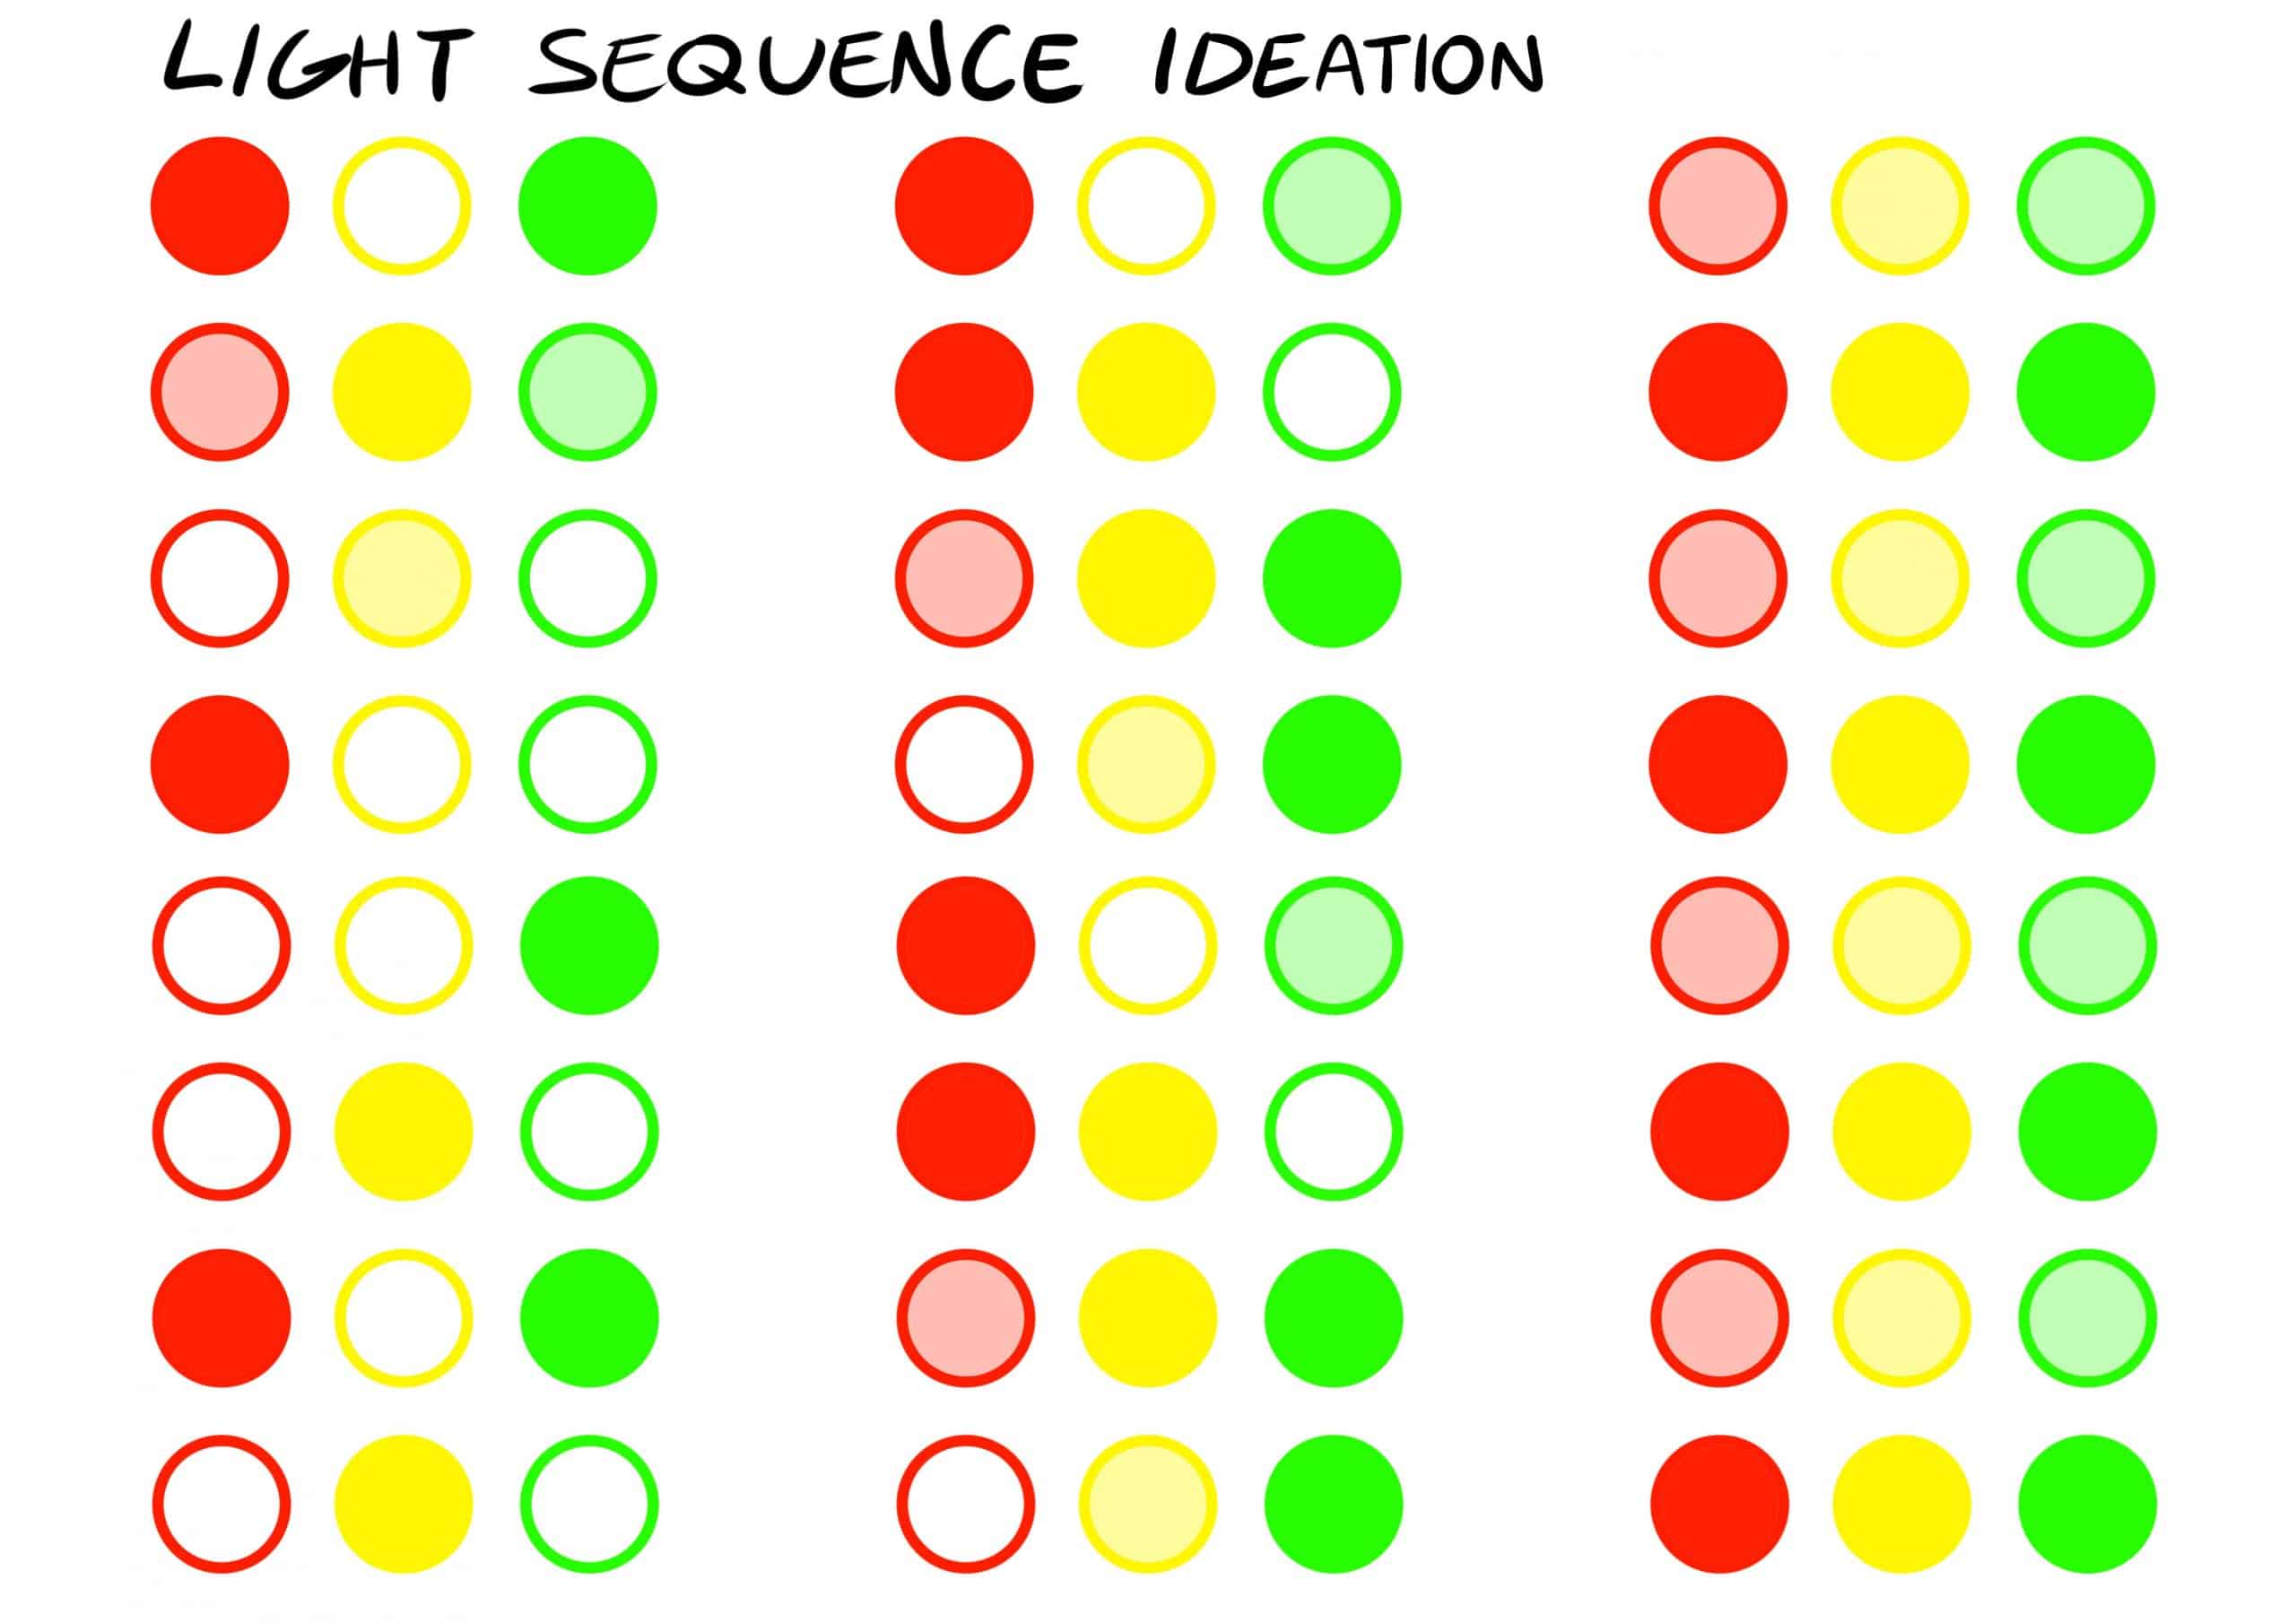
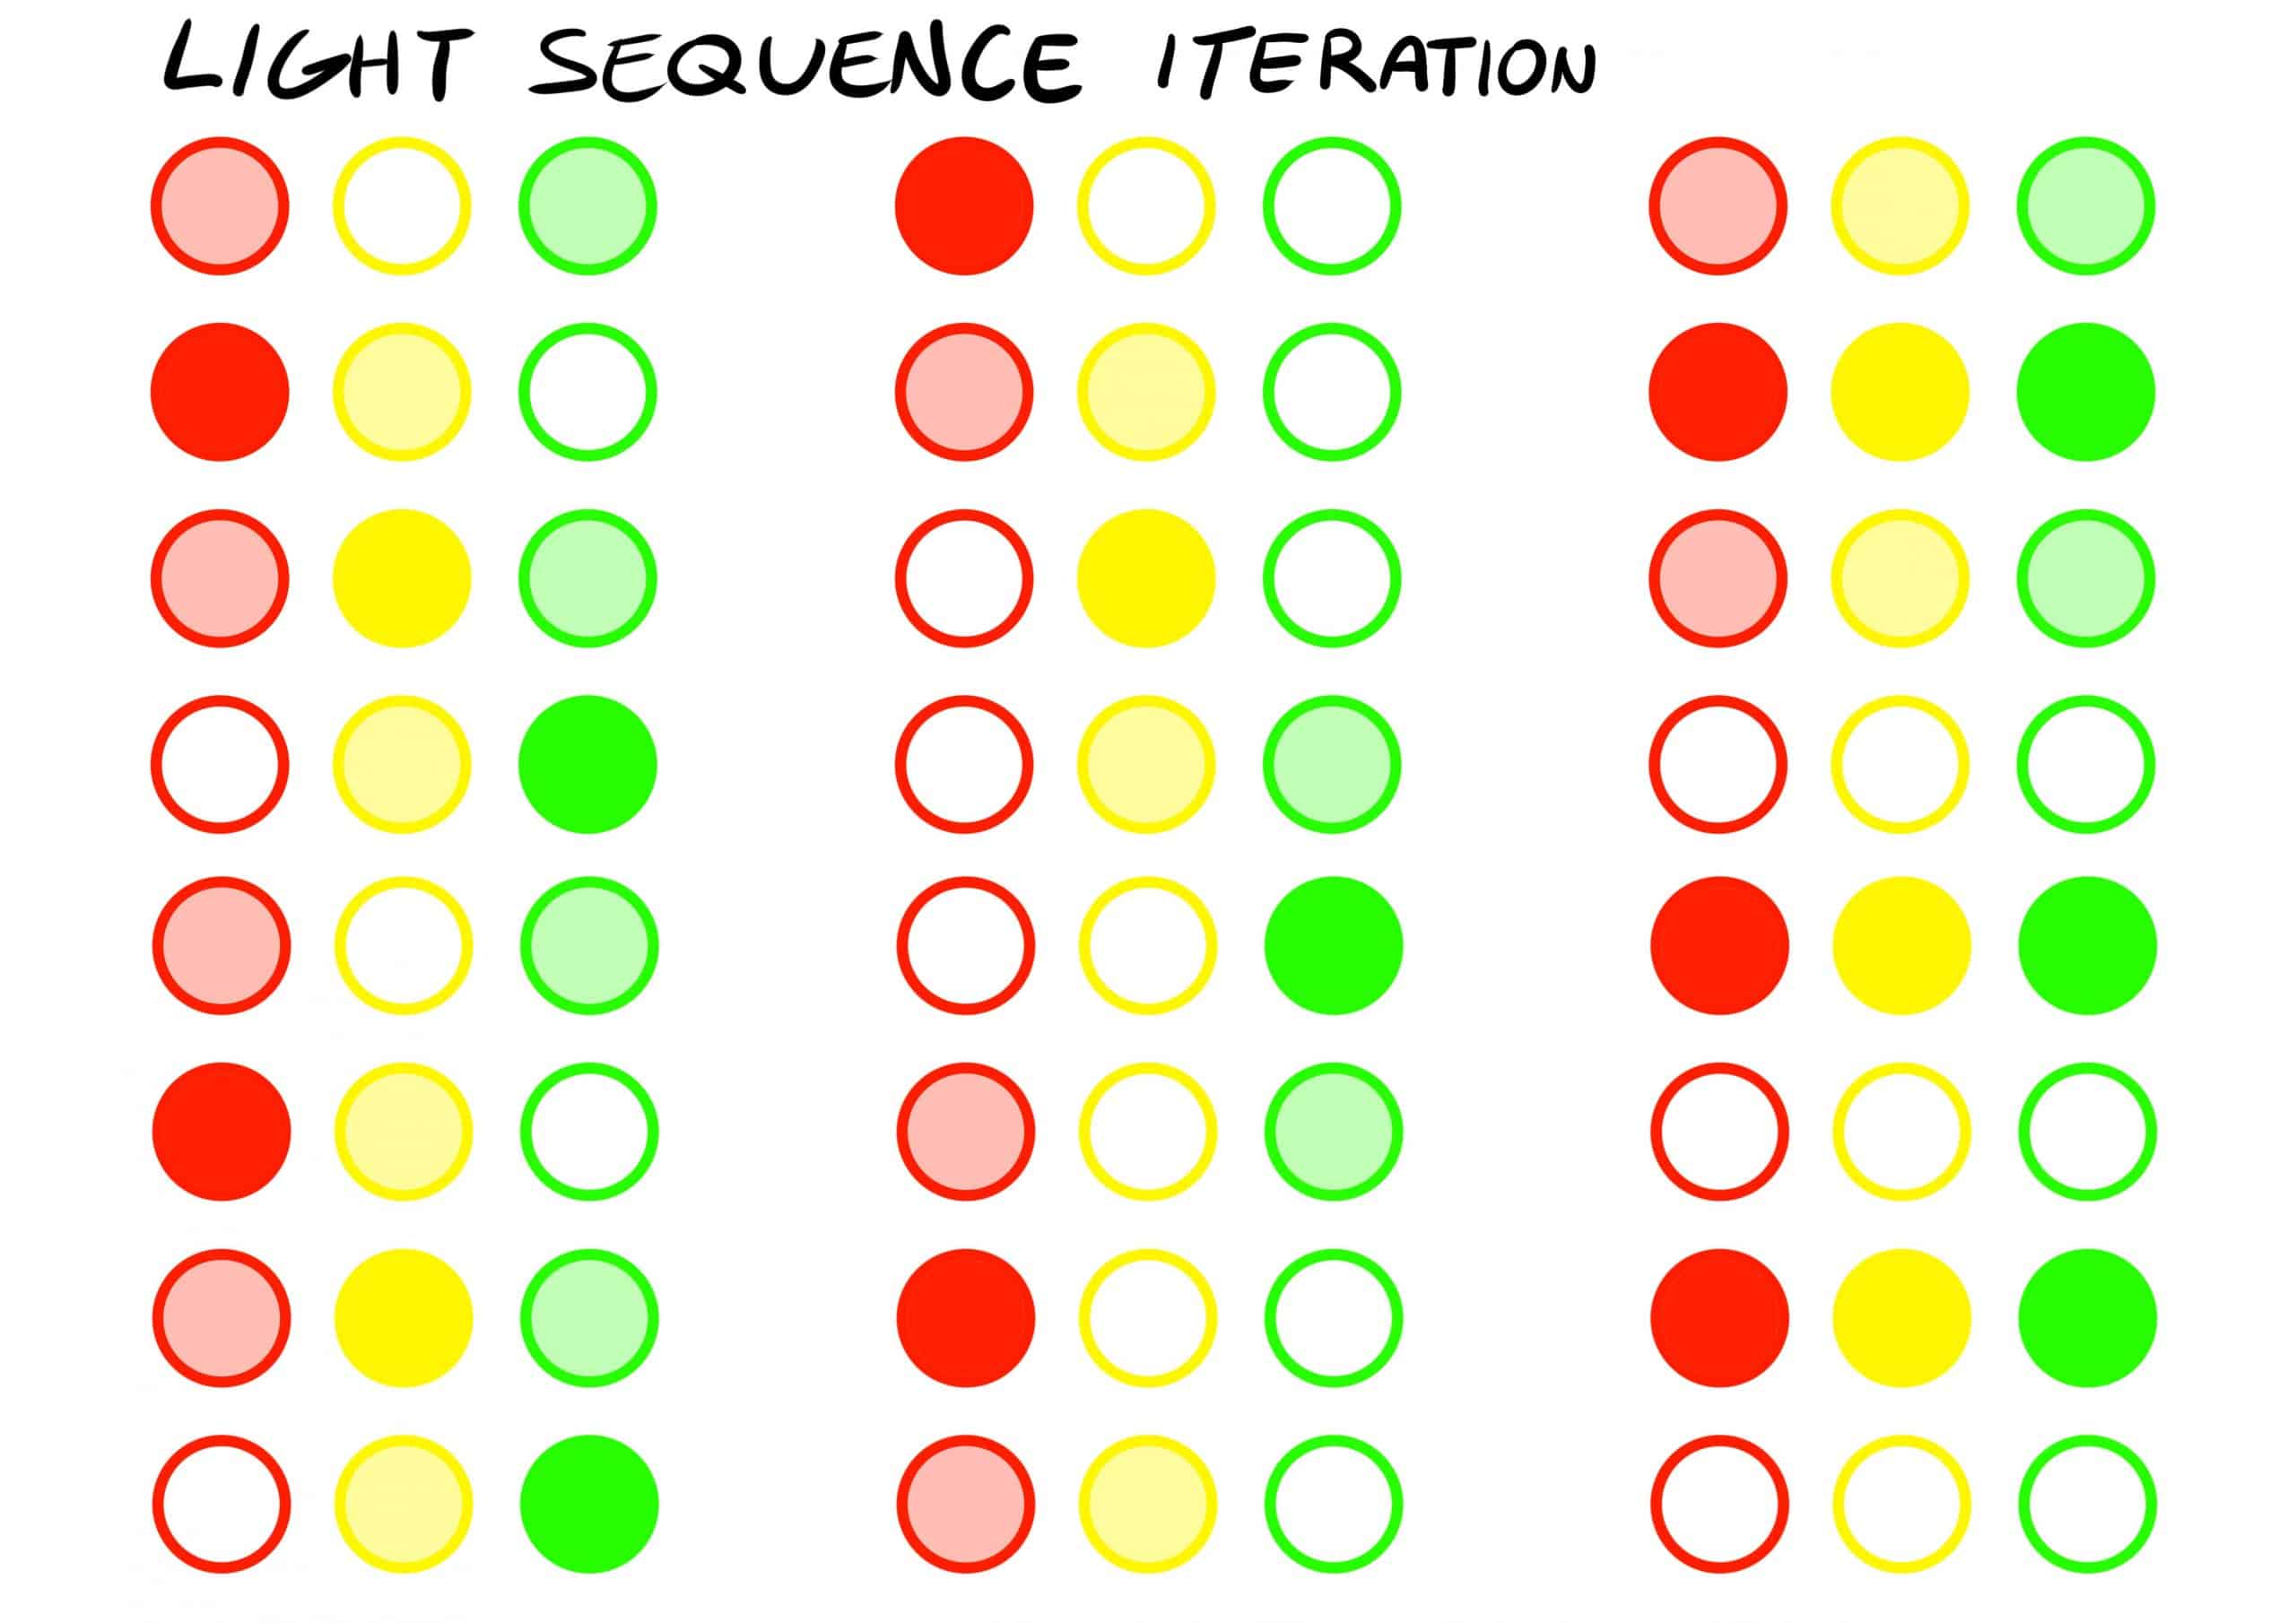
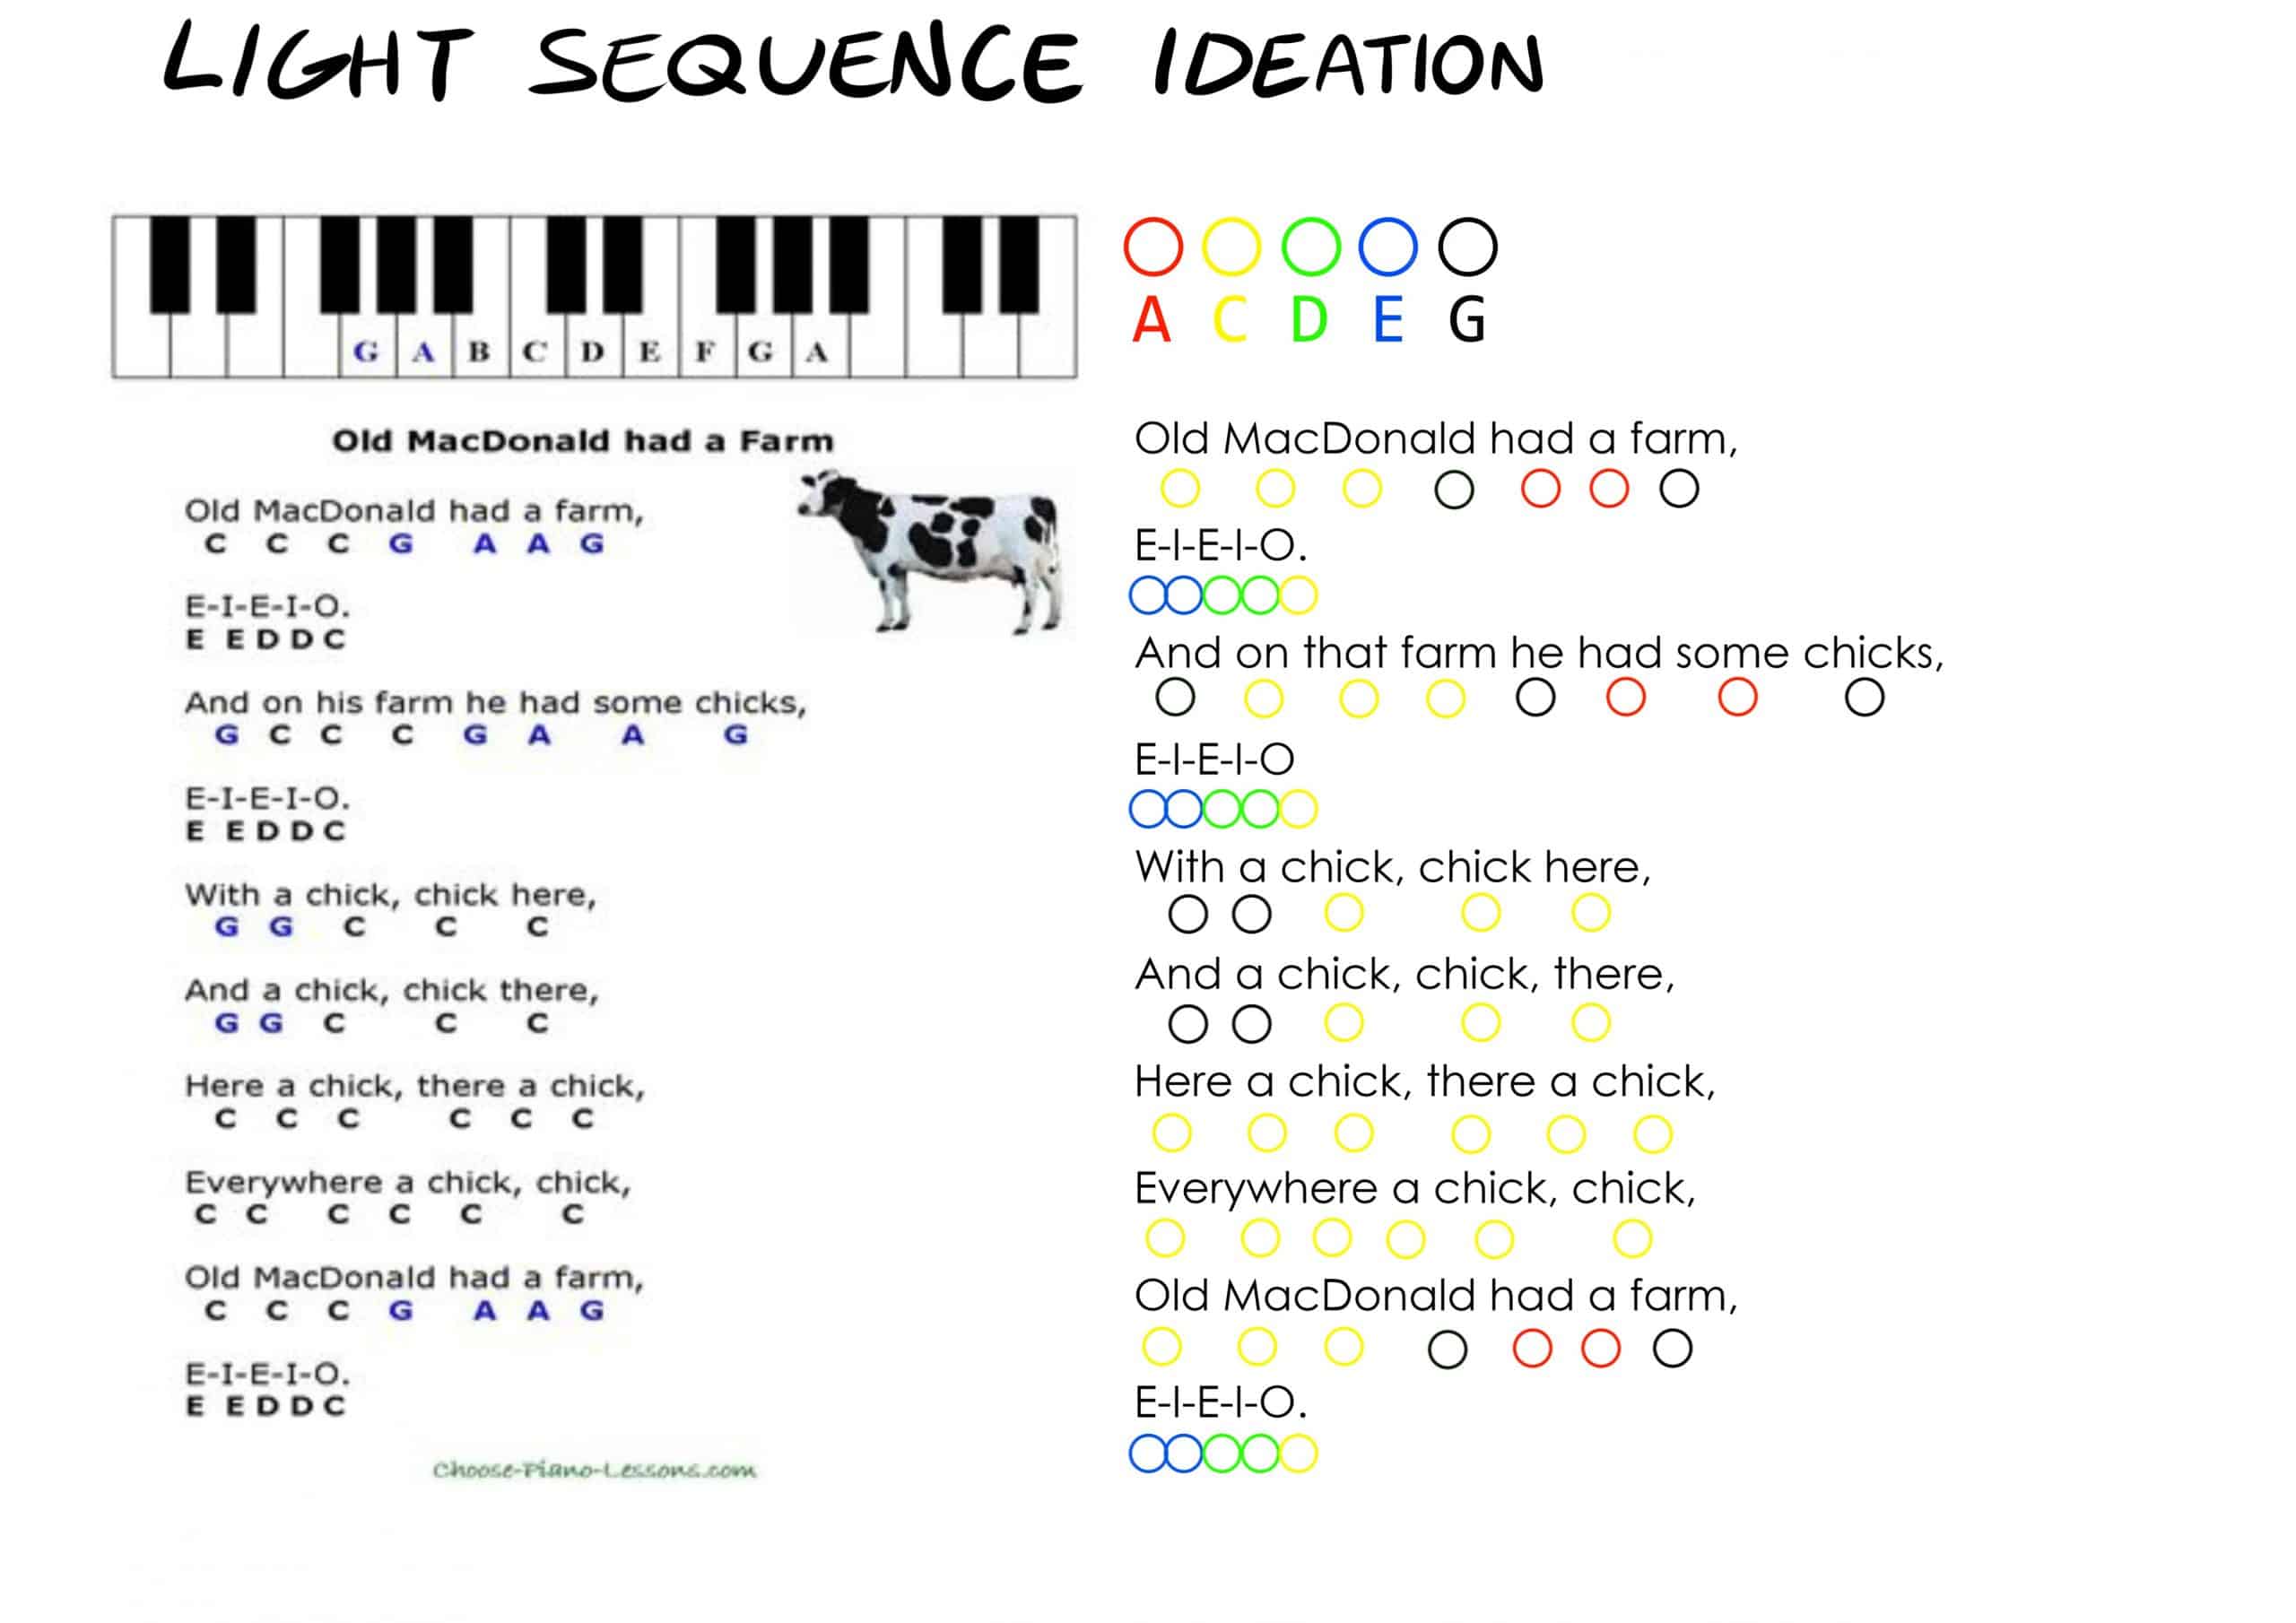
I began by brainstorming some light sequences I might like to make, but none of them really had any purpose. I decided that I will code a function for lights that flash in time with the notes of ‘Old MacDonald Had a Farm’. This could be used as a means of teaching little kids notes in a visual way, or for in a tactile book.
Replicating the circuit
I started by gathering the necessary materials. This included:
- 1 Arduino Uno
- 1 Push Button + Cover
- 6 Male-Male Wires
- 3 Resistors
- 3 LEDs
- 1 Female-Female Wire
- 1 Breadboard

I first put the LEDs onto the breadboard, with one pin on each side of the center divider. Each LED gets a corresponding resistor, connecting into the negative bus strip. The button is connected via the white wire pictured below.
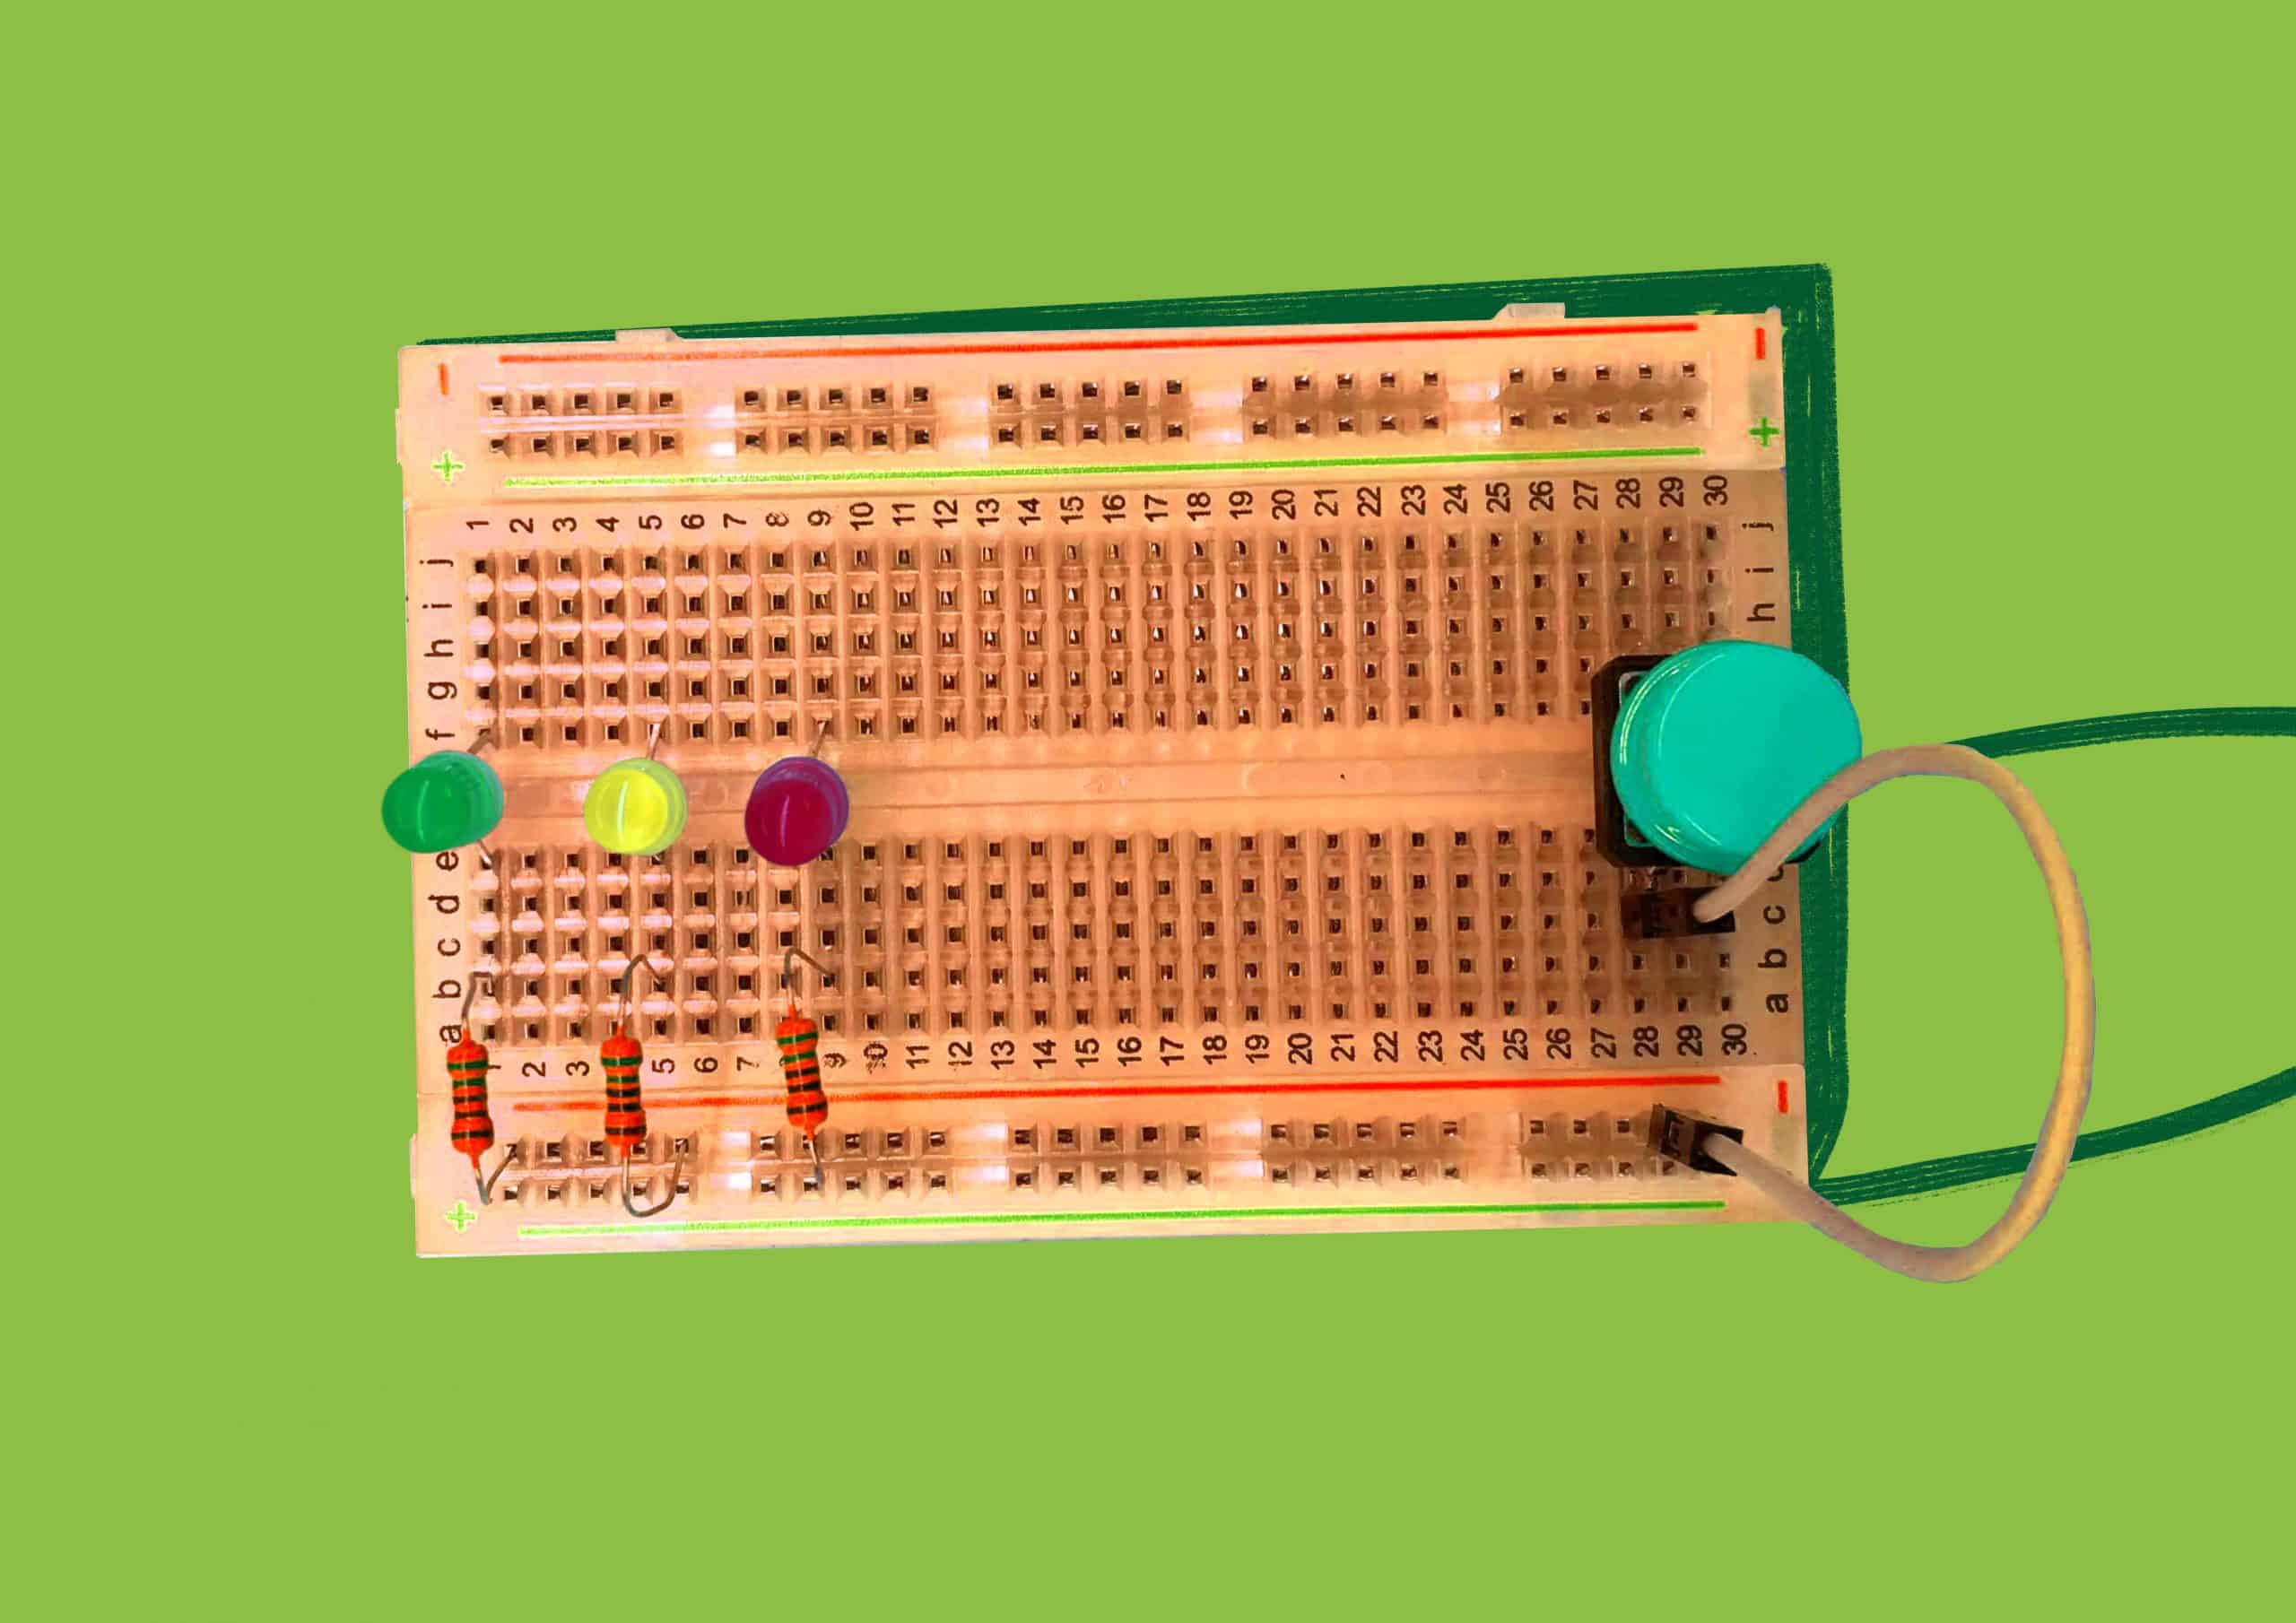
Each LED is then connected to the corresponding digital port, and the GND is wired into one of the bus strips.
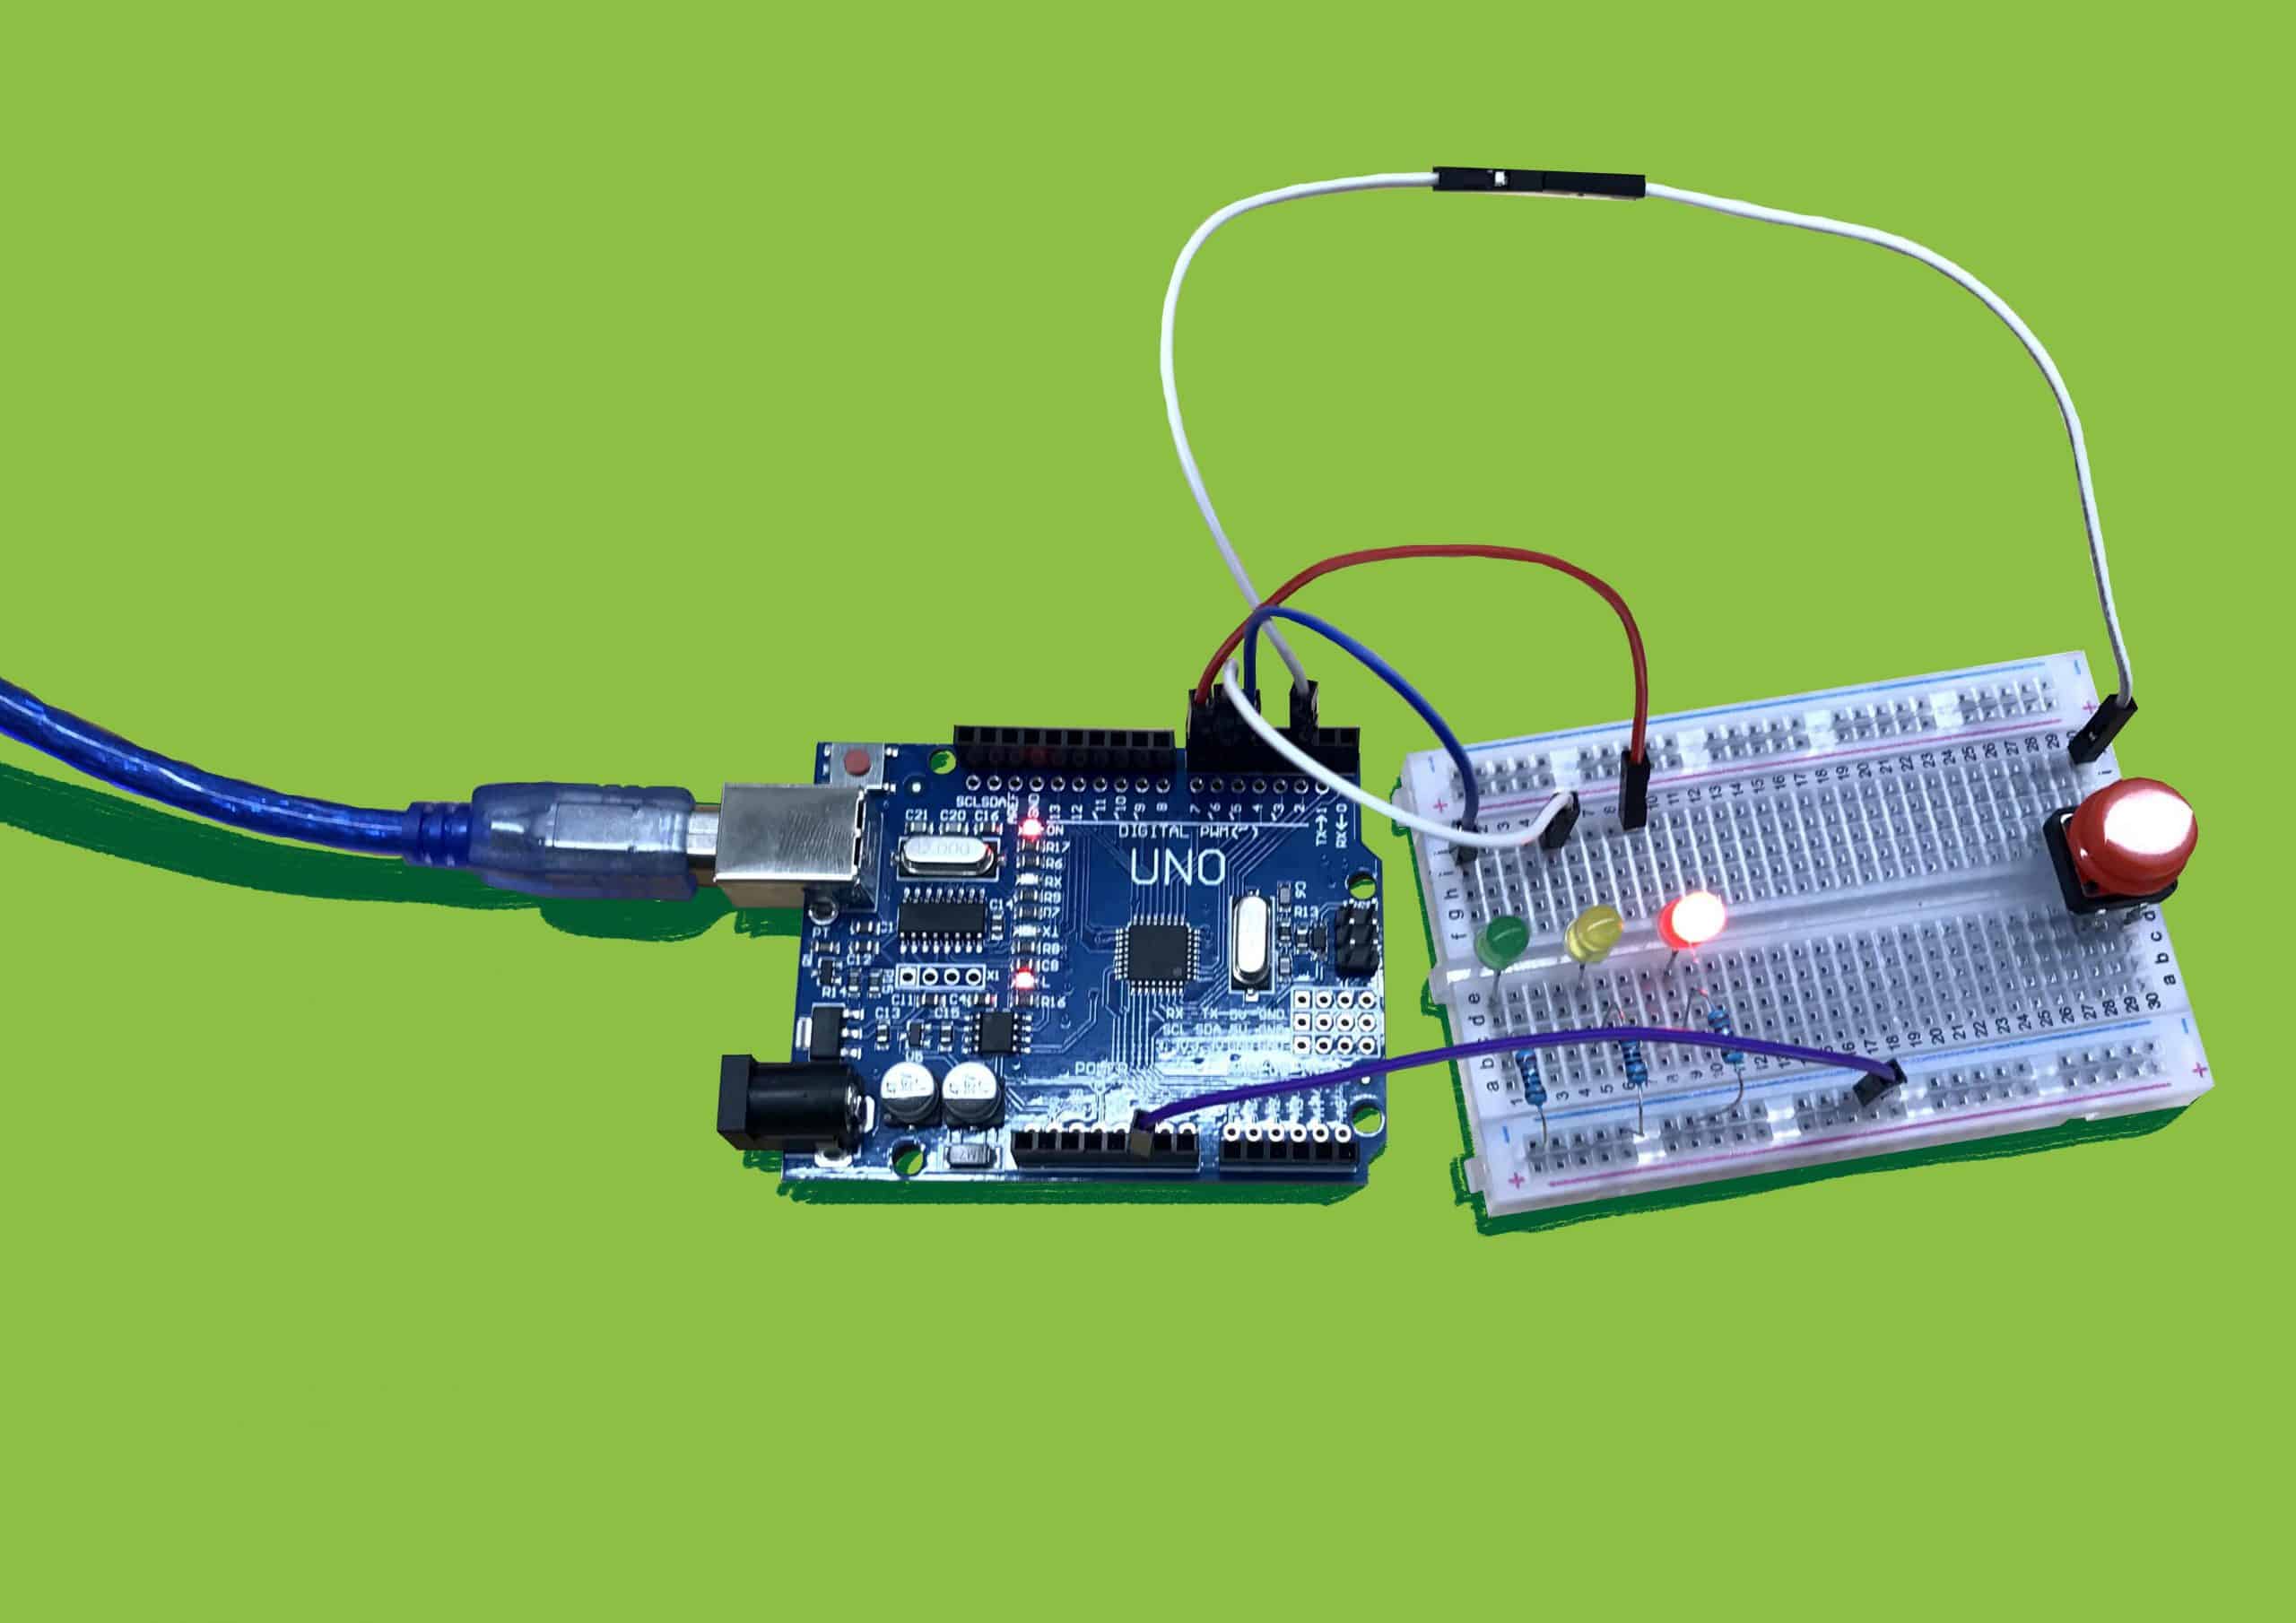
I tested the lights to make sure that they work. For the purpose of my function, I added two extra LEDs, which require two more Male-Male Wires and Resistors, and are connected in the same way as the other LEDs.
Writing My Function
I found this video super useful when figuring out the delays in my code. While it is a slow, beginner pace, I think that it suits the purpose of the lights that I have laid out, which is to help children learn.
Easy Piano Tutorial: Old MacDonald Had a Farm. (2015, April 24). [Video]. YouTube. https://www.youtube.com/watch?v=ww22nE-6PkE&feature=youtu.be
While testing the timing, I changed the white light to orange, so that I could tell when it was on easier.
I started the song and the simulation at the same time, and found that it was working for the first few notes, but became out of time soon after. There was an issue with my delay time, where I had not included it between colour swaps, so that meant that the consistency of the lights flashing was off, and the timing was subsequently affected.
I realised that my blue light wasn’t working, because the wire was one pin higher than it should be, so once I corrected that I could properly test the timing of the code so far.
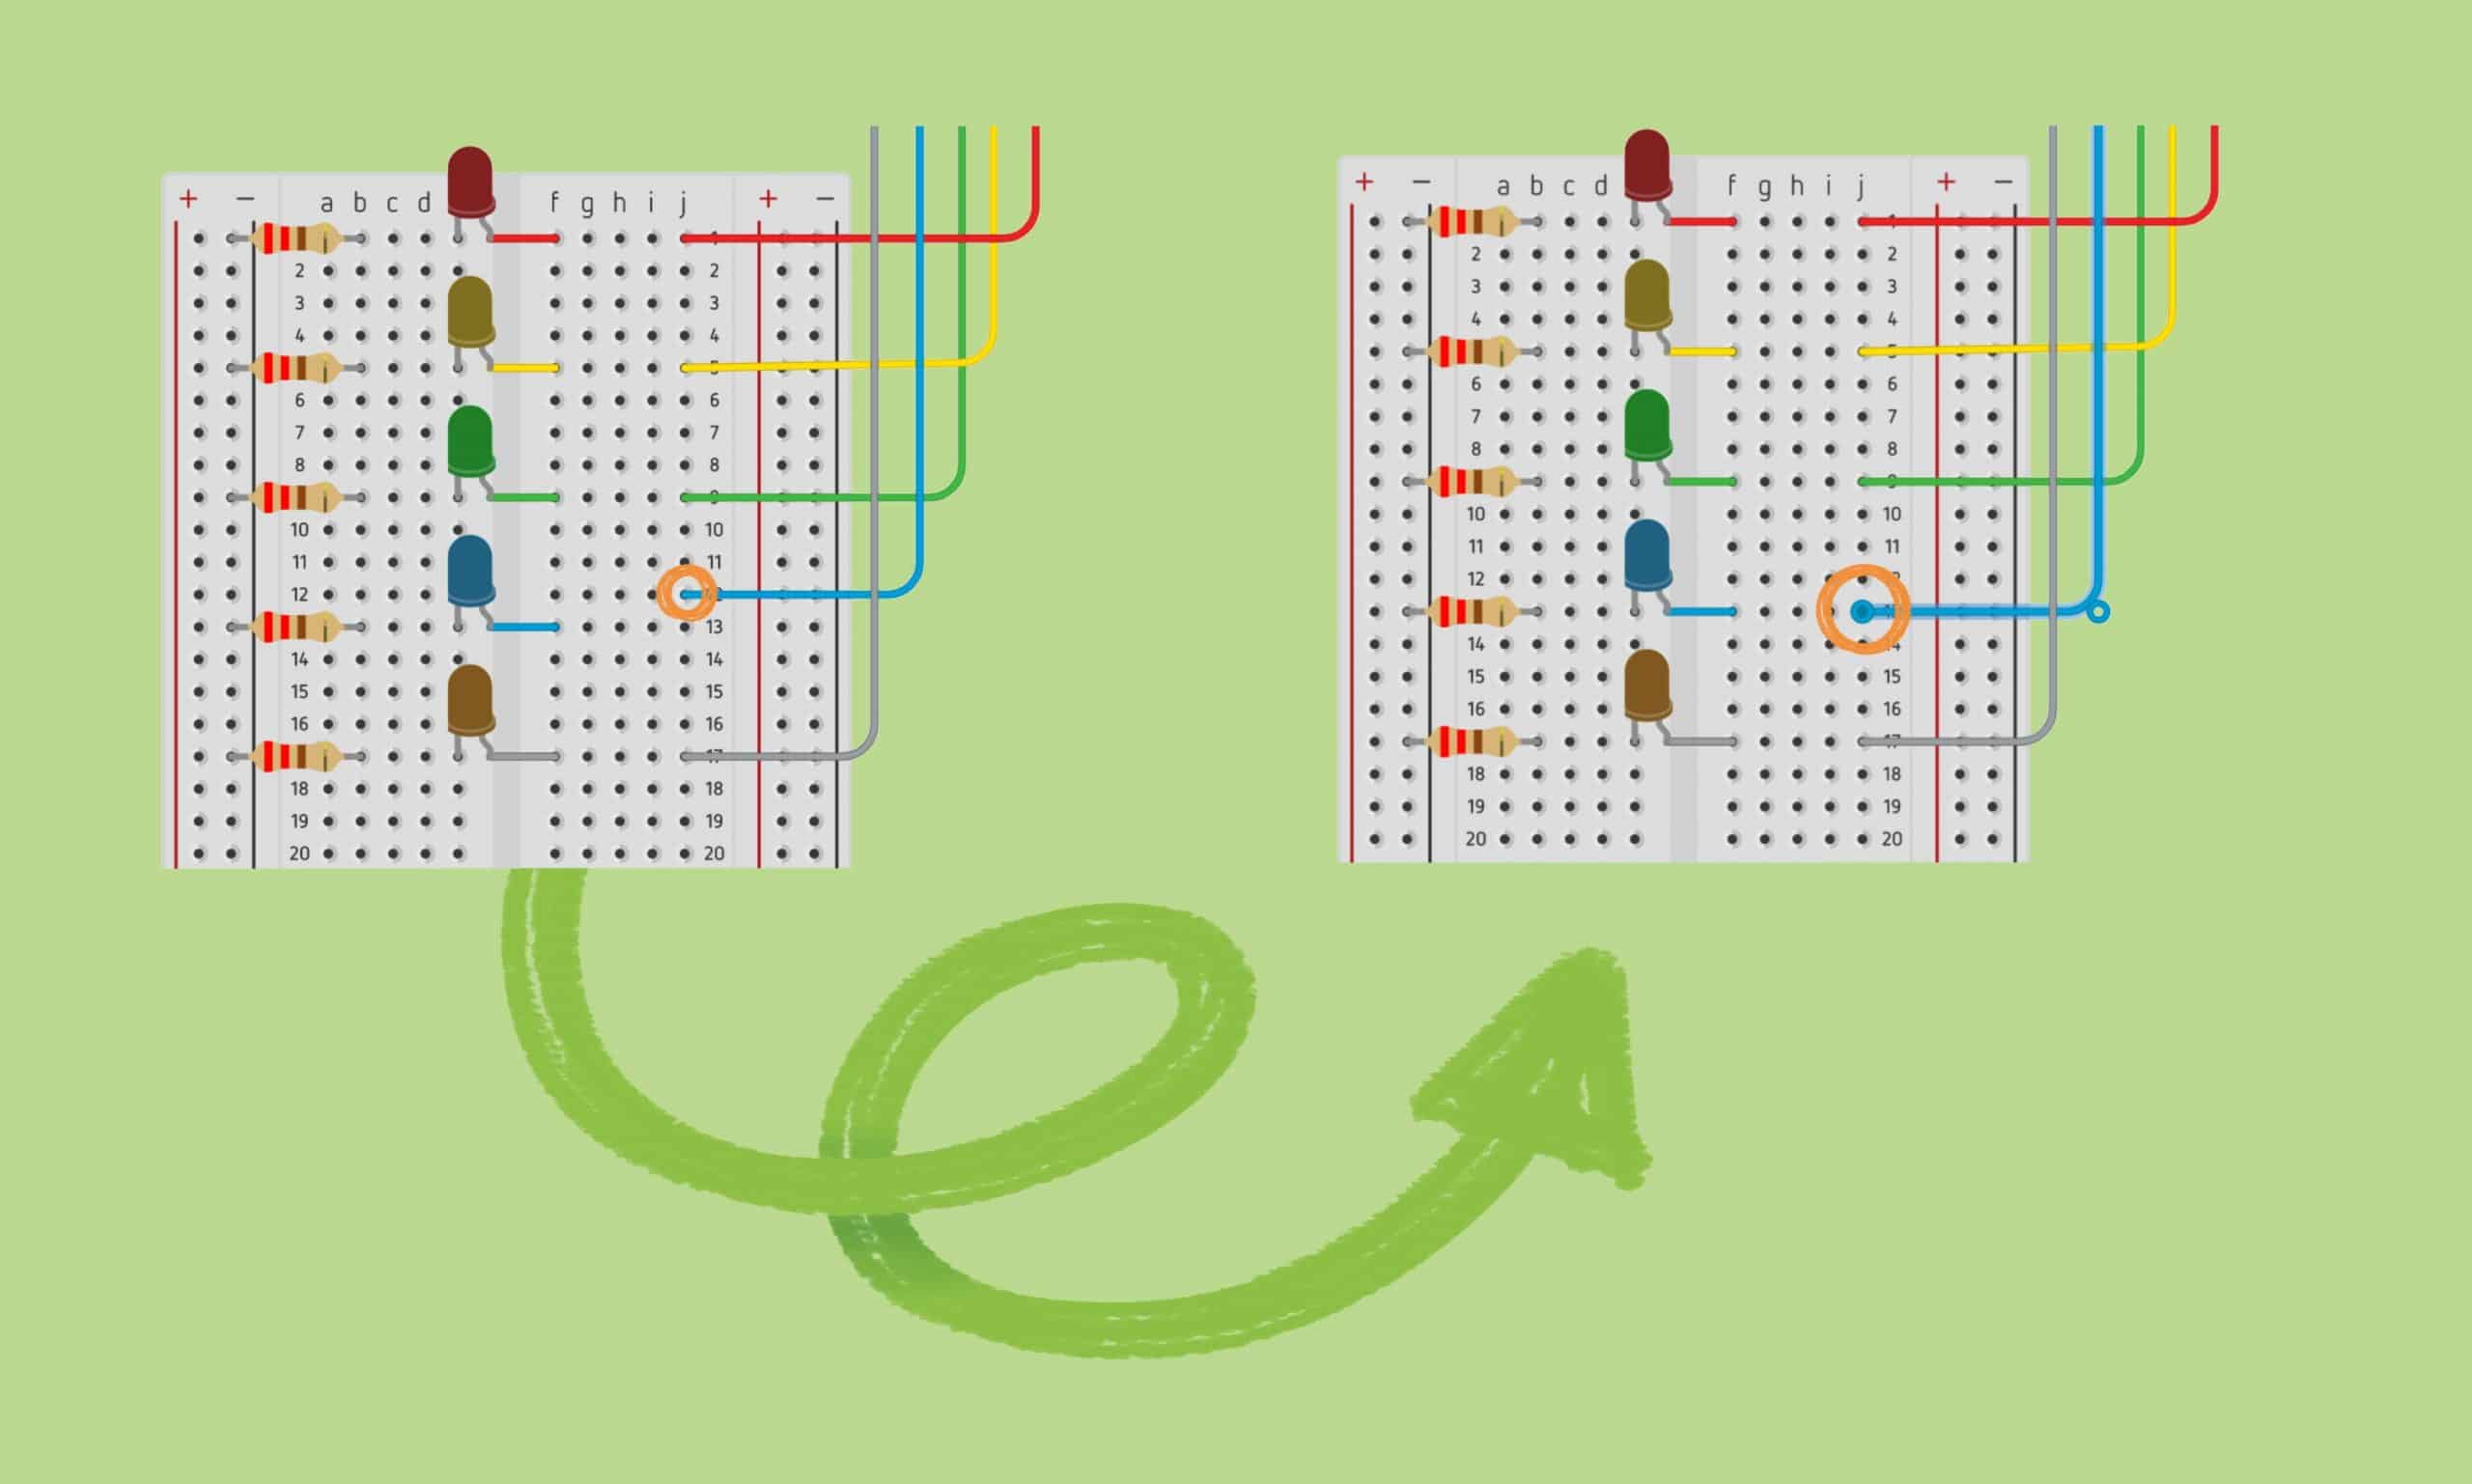
I found that the white light wasn’t working correctly in the E-I-E-I-O section, and this was because I hadn’t initialised both the blue and white LEDs as outputs, so I did that and also added them to the first behavior so that I could test that they work.

I decided I want to dim the lights in the section where the notes are held for quite a long time.
In looking at the code to see how to dim the lights, I saw that it defines an integer for the delay time, instead of repeating specified numbers throughout the code. The benefit of this is that the integer can be changed easily, and will affect each part of the code that it has been applied to. This means that if I want to adjust the speed later, I can do so easily.
int NORM = 1000;
int BREAK = 200;
int SHORT = 400;
int LONG = 2000;
To make the light fade off, I first set it to high, then started the fade.
digitalWrite(YELLOW_LED, HIGH); // turn on Yellow LED
delay(3000); //set the yellow LED on high for 3 seconds, then fade to off.
i = 255;
while ( i >= 0 ){
analogWrite( YELLOW_LED, i );
delay( WAITTIME );
i = i – STEP;
}
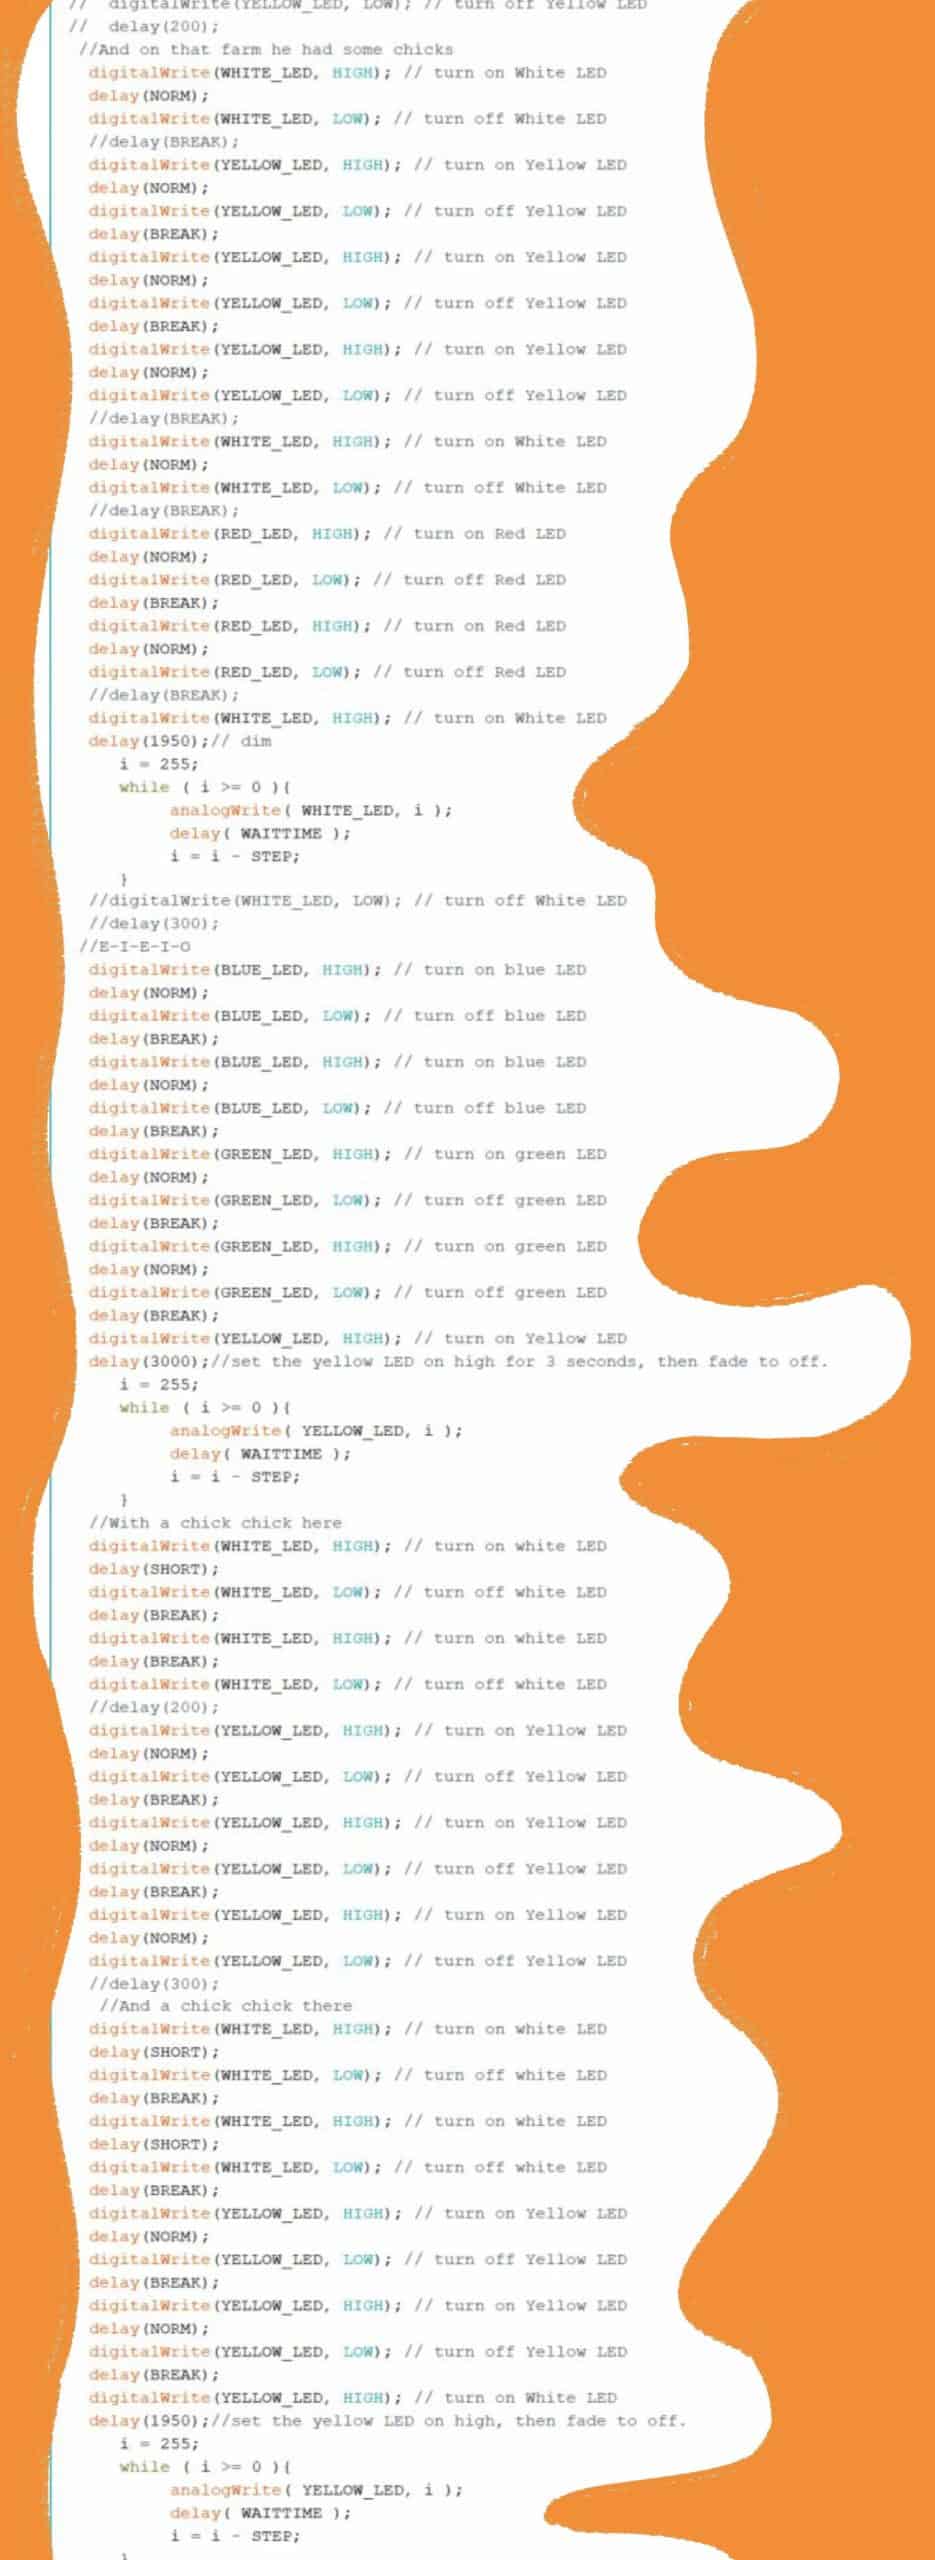
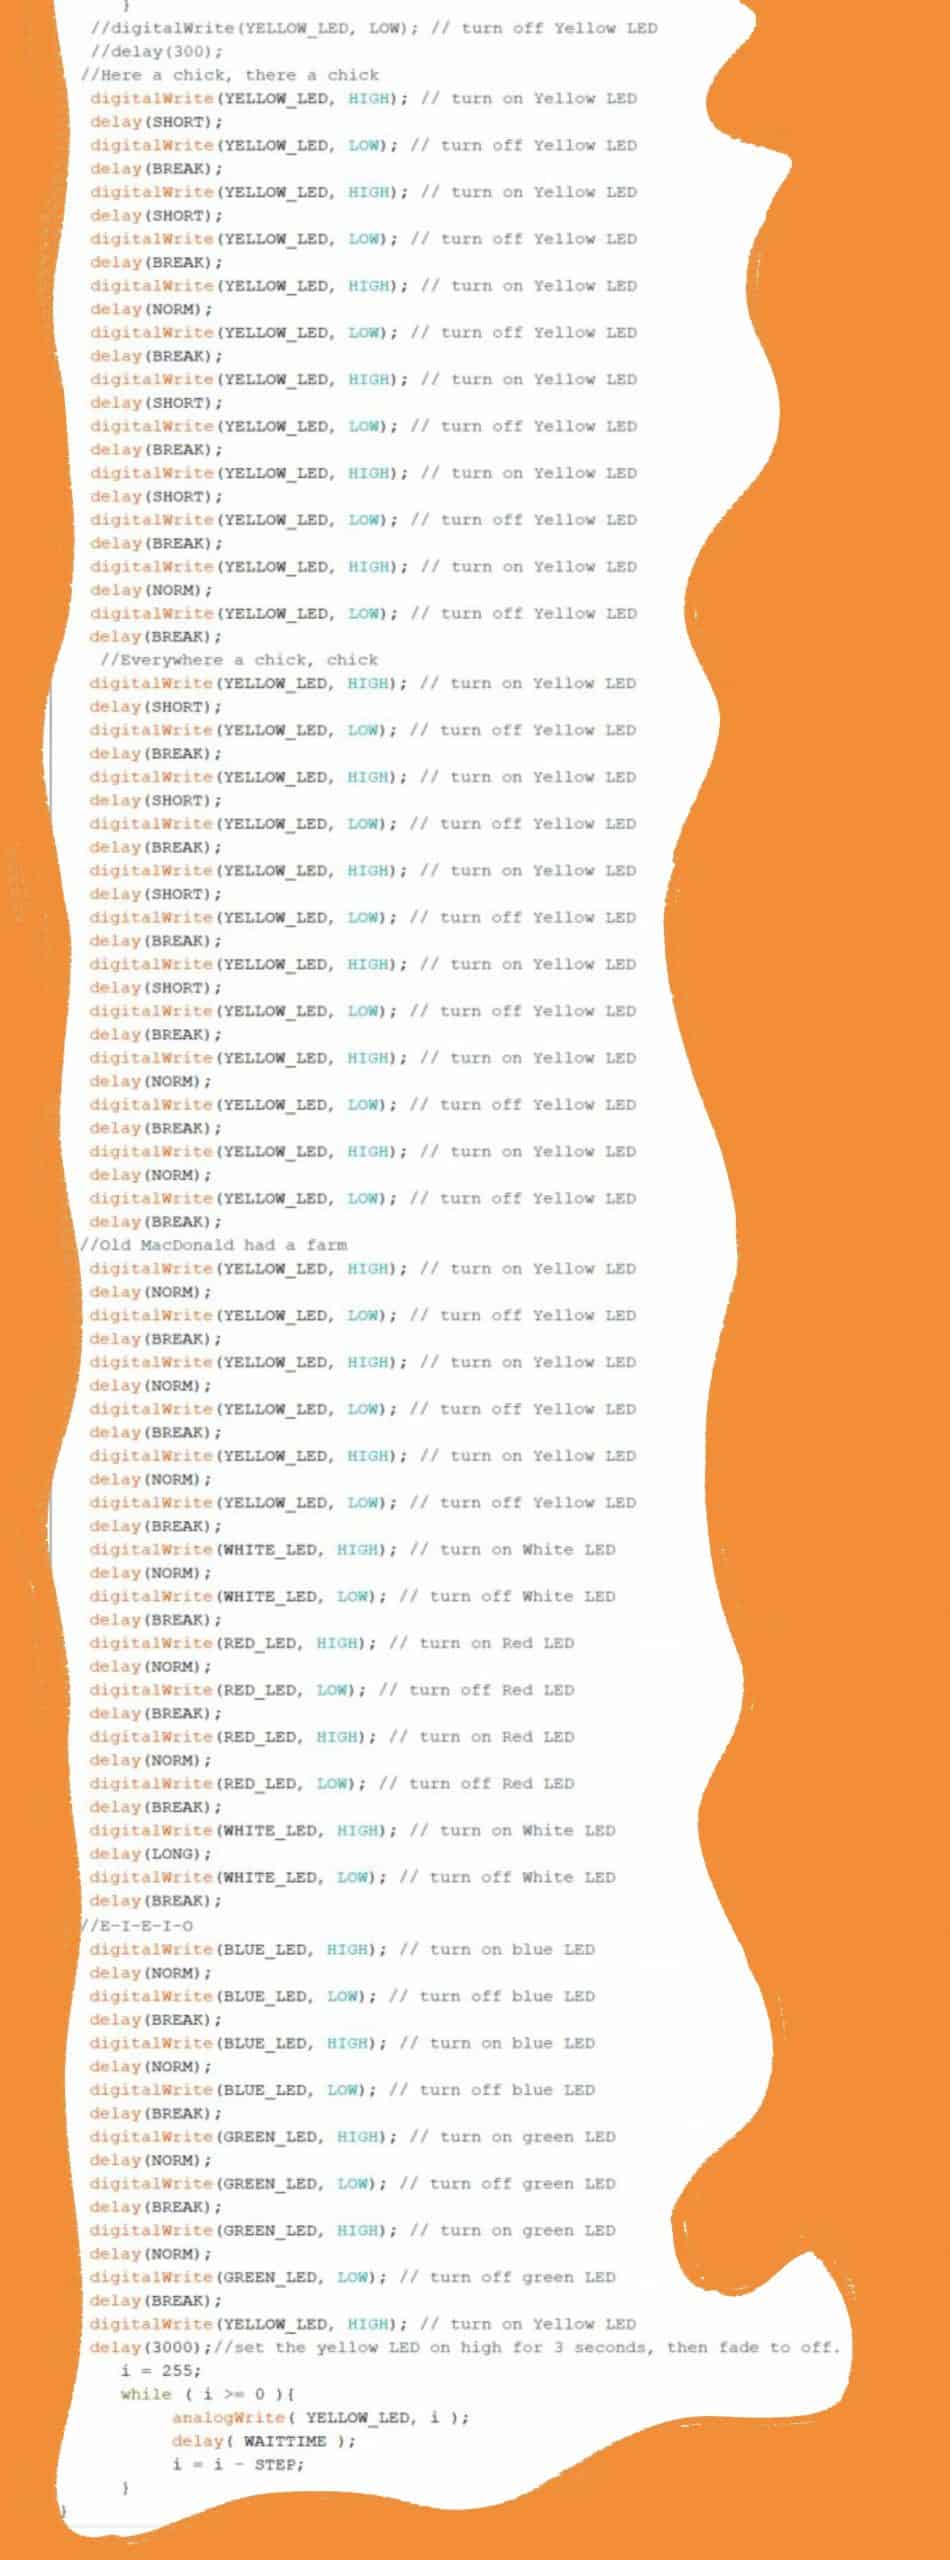
The Final Code:

REFLECTION
I’m really happy with how my lights work. I think it would be a really interesting addition to a children’s book. There is a type of children’s book called ‘Vox Books’ which reads the book aloud, and I think that adding the lights could serve to enhance the experience of these books for small children.
I went through 7 versions of my code. I think I could have consolidated it further by making the ‘Old MacDonald had a farm’ and ‘E-I-E-I-O’ sections into a class, so that when they repeat the code is not also repeating unnecessarily. I didn’t have enough time to figure out how to do this properly, but it would help in making the file size smaller if it was actually implemented into a book.