
UPCYCLING A BOX
MODIFYING AN OBJECT TO IMPROVE ITS FUNCTIONALITY FOR #DES100
Making a palette lid
I have this box that fits my paints, but it needs a lid!
I decided to make a custom one which suits my needs.
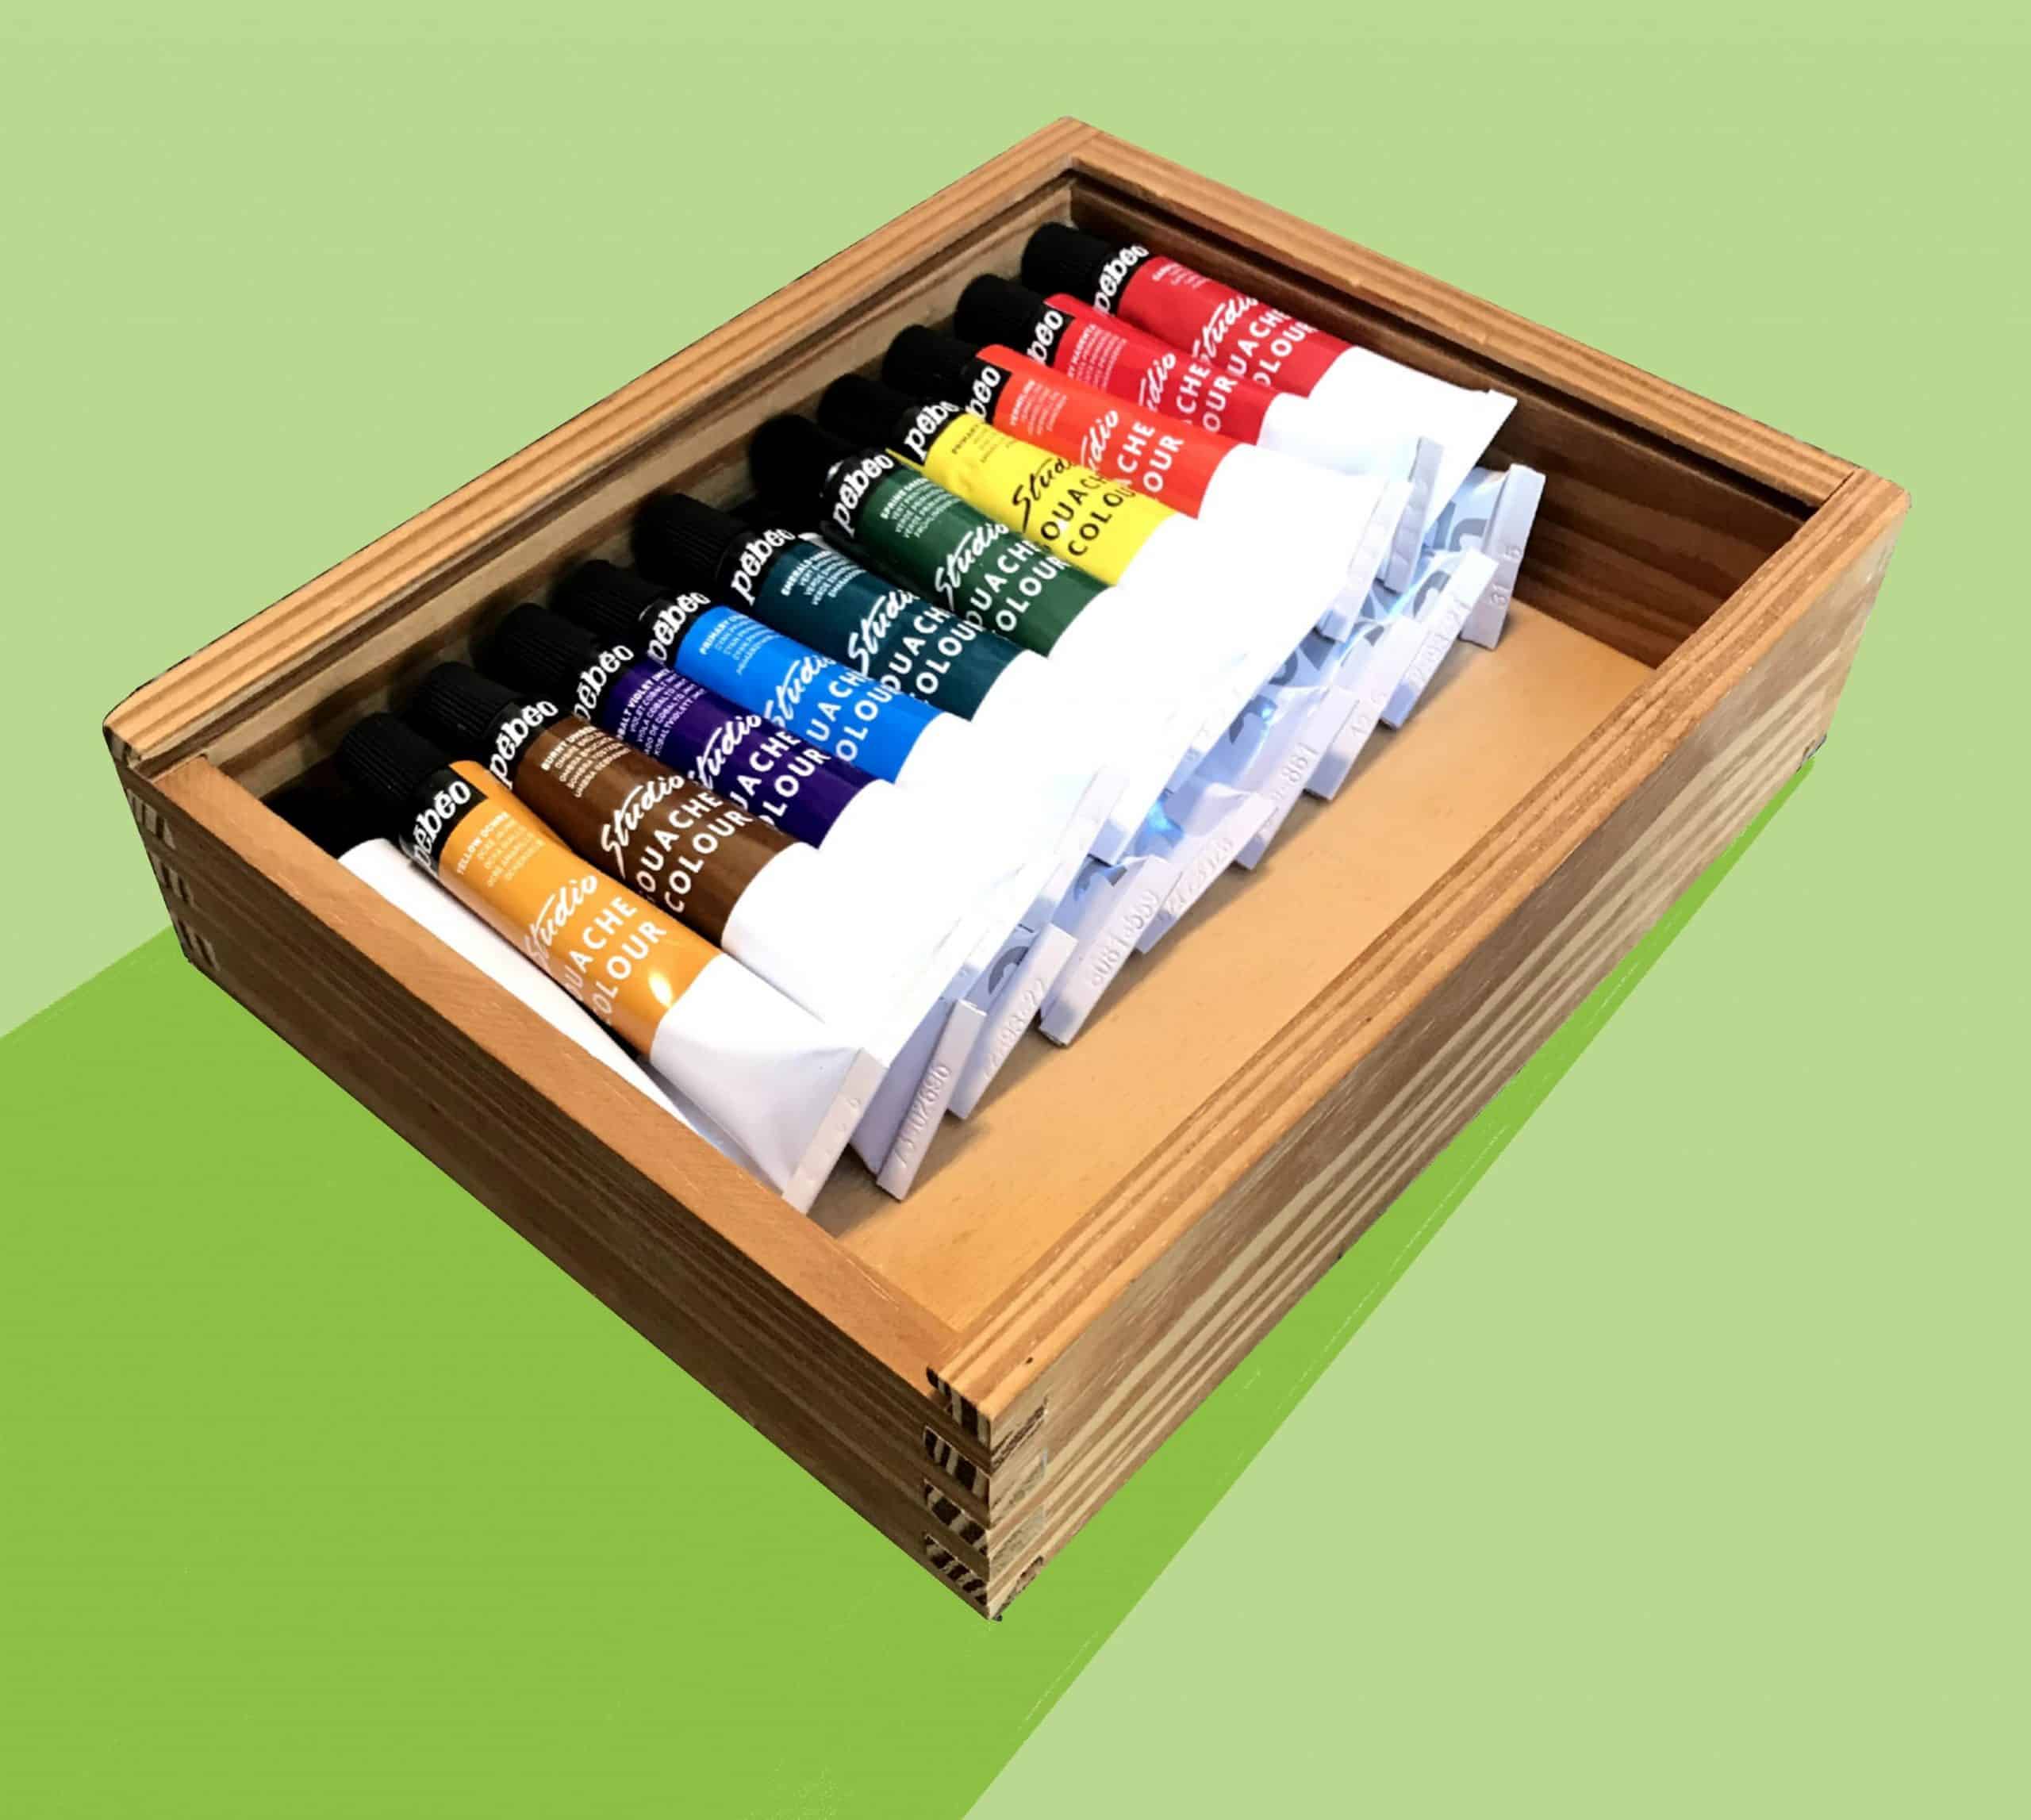
I sketched out some ideas for how to improve the functionality, by adding a lid which doubles as a mixing palette. My key considerations included:
- Material
- Lid Shape
- Border
- Colour
I had to see what I had around, so settled on cutting up the cardboard back cover of an old art book, which was just the right thickness and provided sufficient sturdiness. I will then wrap that in some thick plastic from an old bag. I decided on a rectangular lid, as upon prototyping I discovered that I don’t actually need a handle to slide the lid in and out. Furthermore, this would let me attach the plastic most securely. The border will be made out of masking tape, and the mid-tone colour of the cardboard will be perfect.


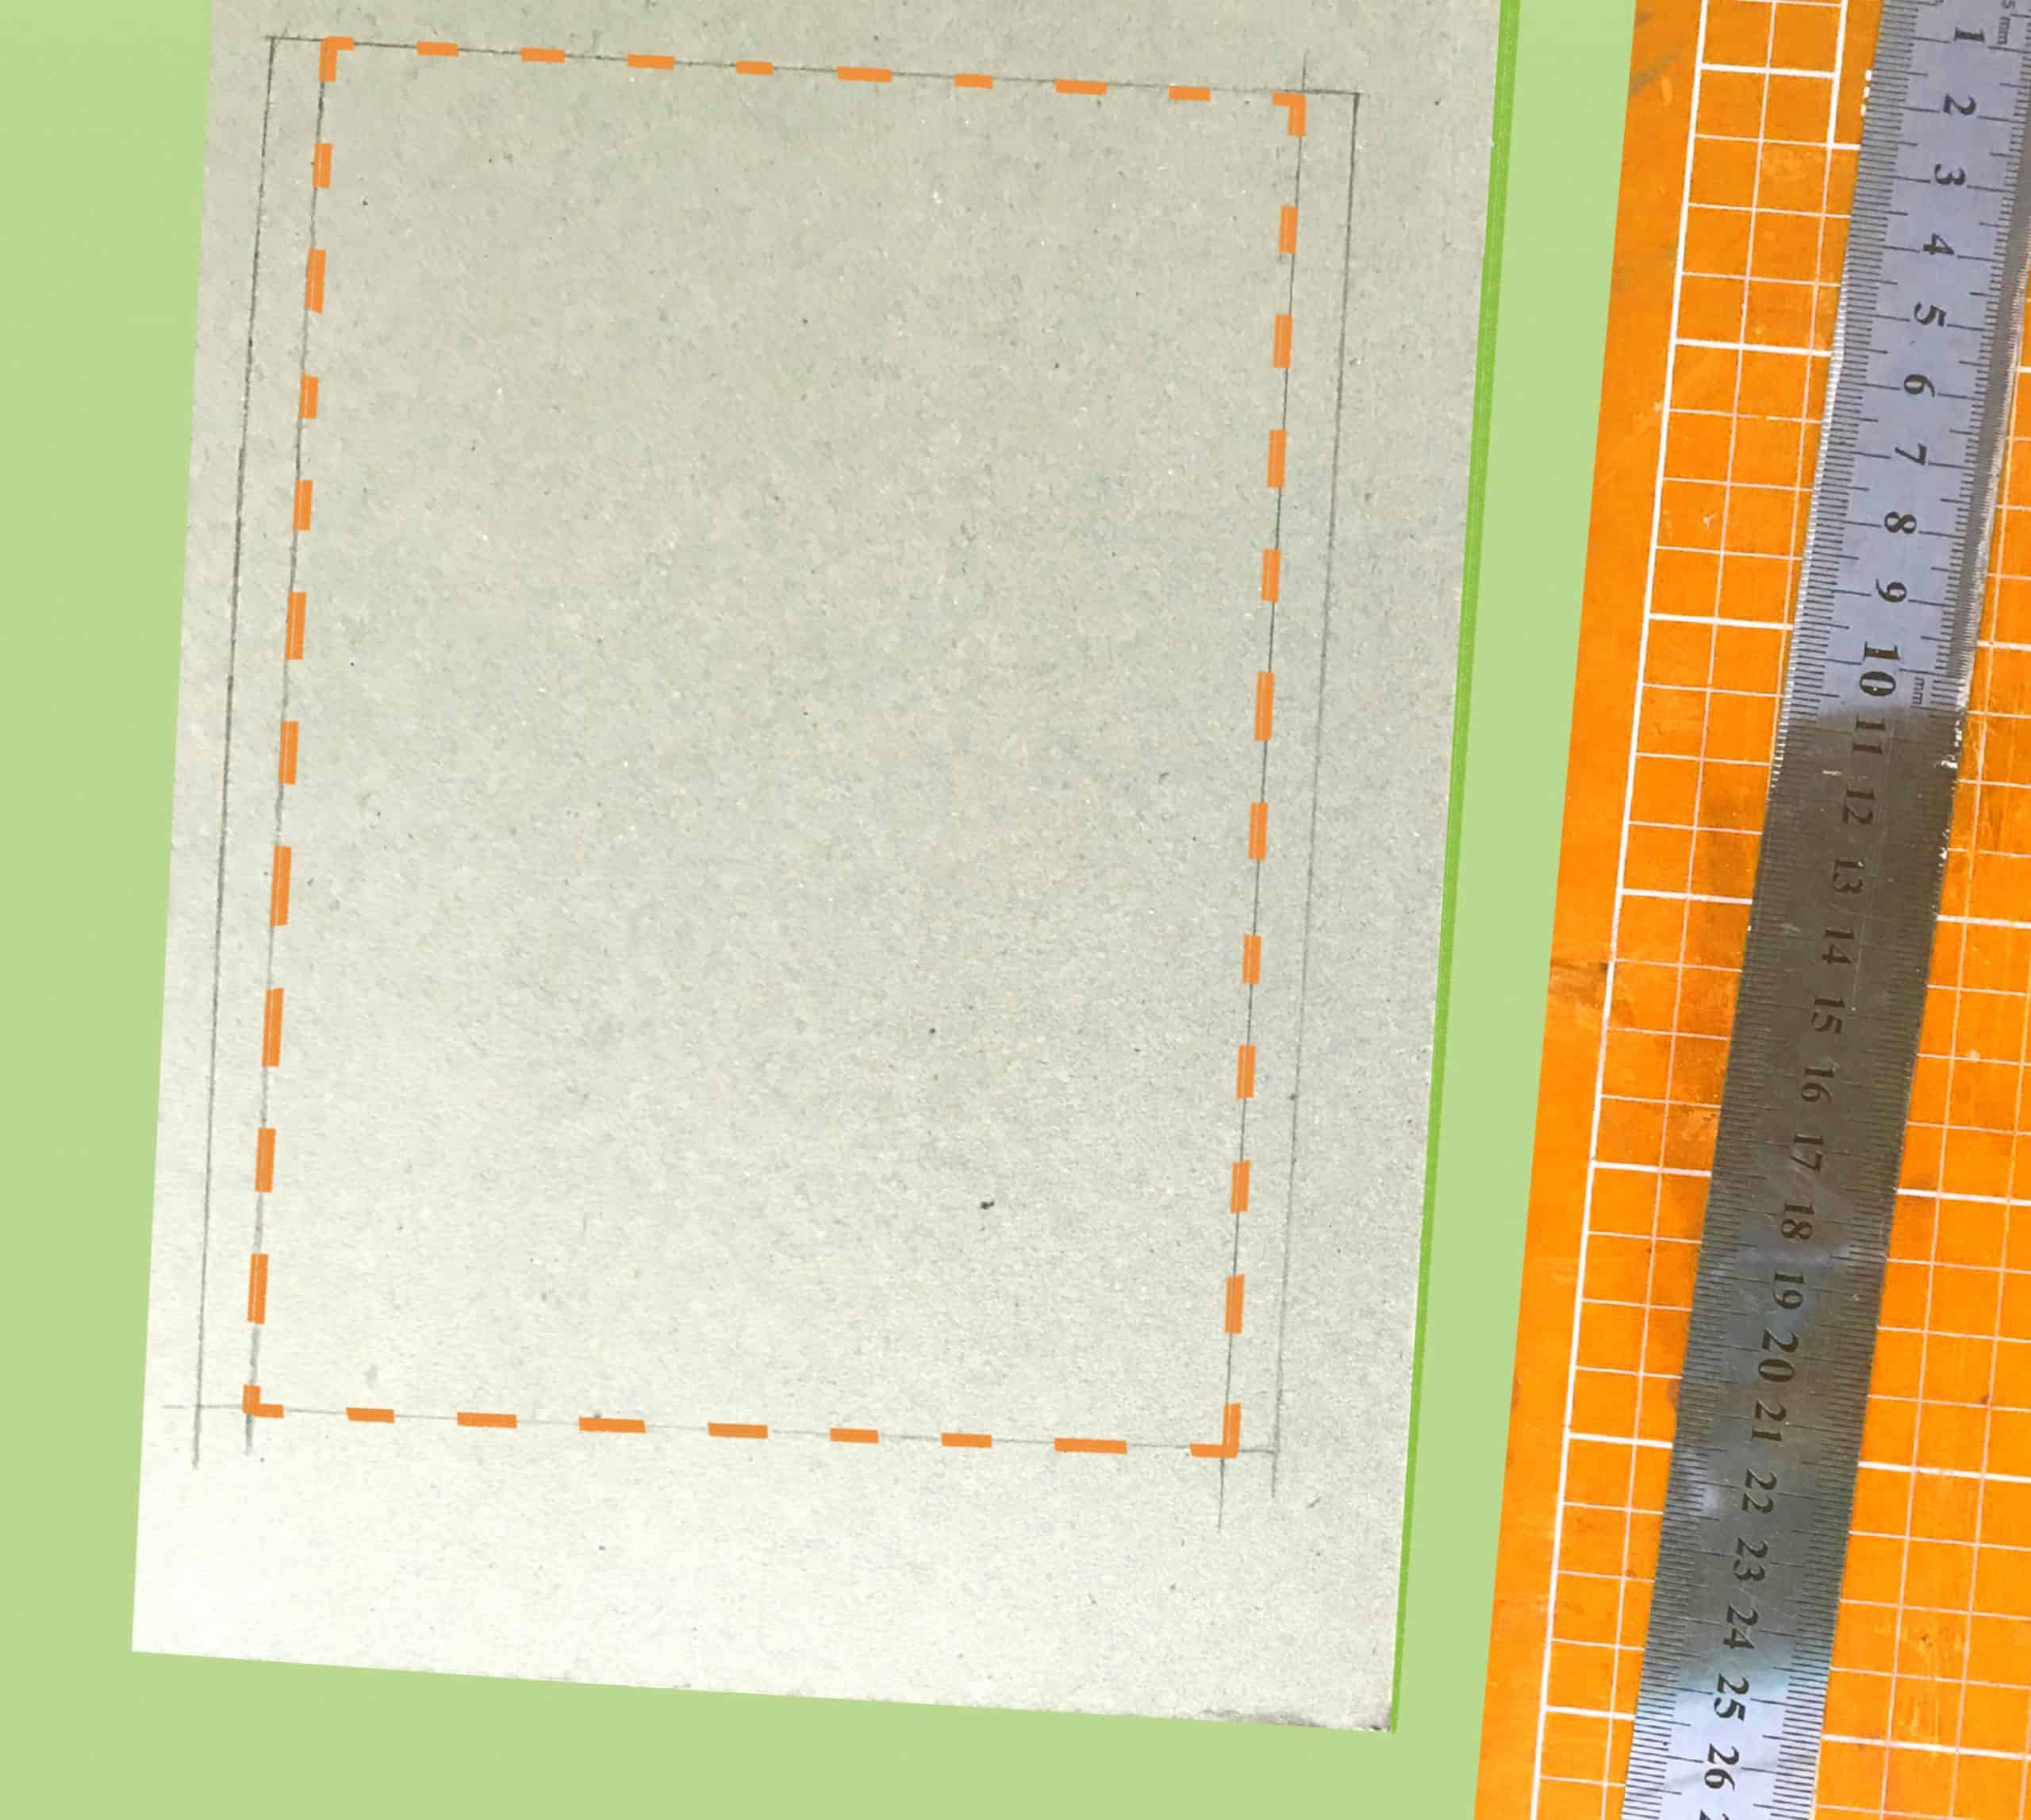
I’ve noticed that the box is slightly askew, so I flipped it over and traced around it onto the card to get a lid shape that matched perfectly. Because this will need to be inserted into the grooves on the box, I trimmed away 4mm from each side so that it fits and has room to slide easily.
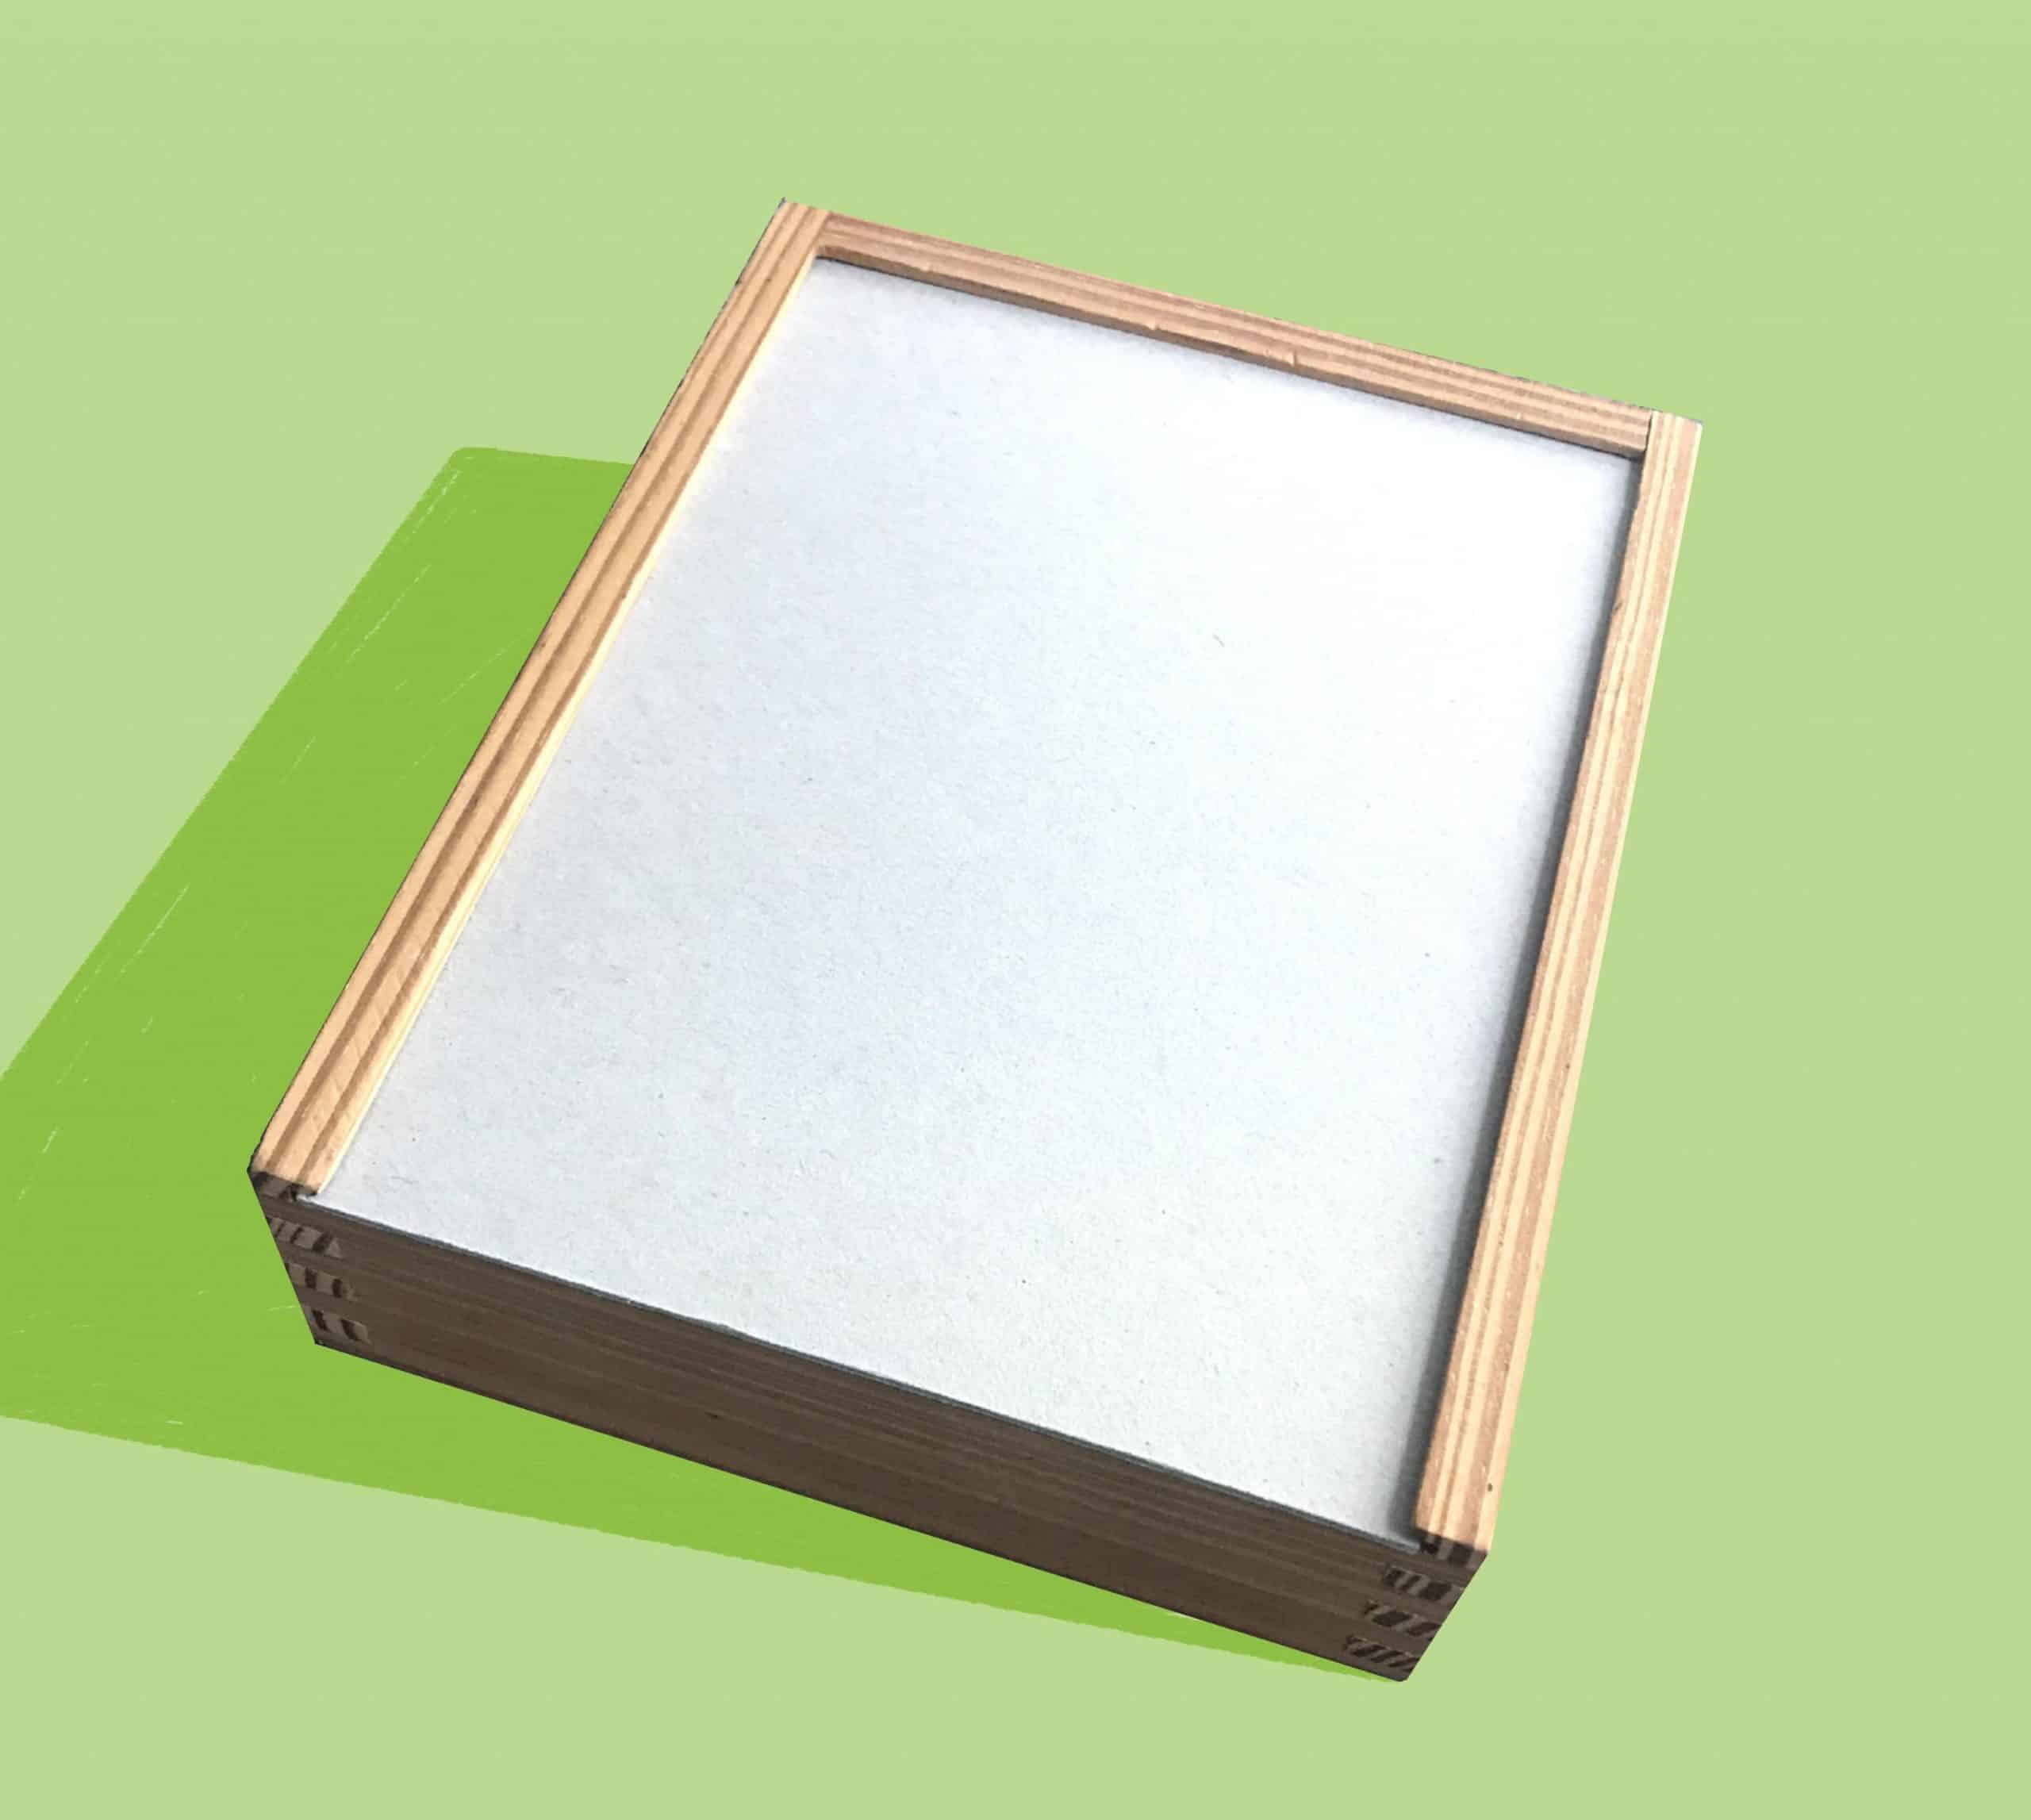
Next step – Check to see if it fits – it does! I also discovered that I do not need to make a handle as it slides super easily already.
Now to make it into a mixing palette! I cut this thick plastic bag to size, leaving 150mm tabs so that I can tape it in place later.
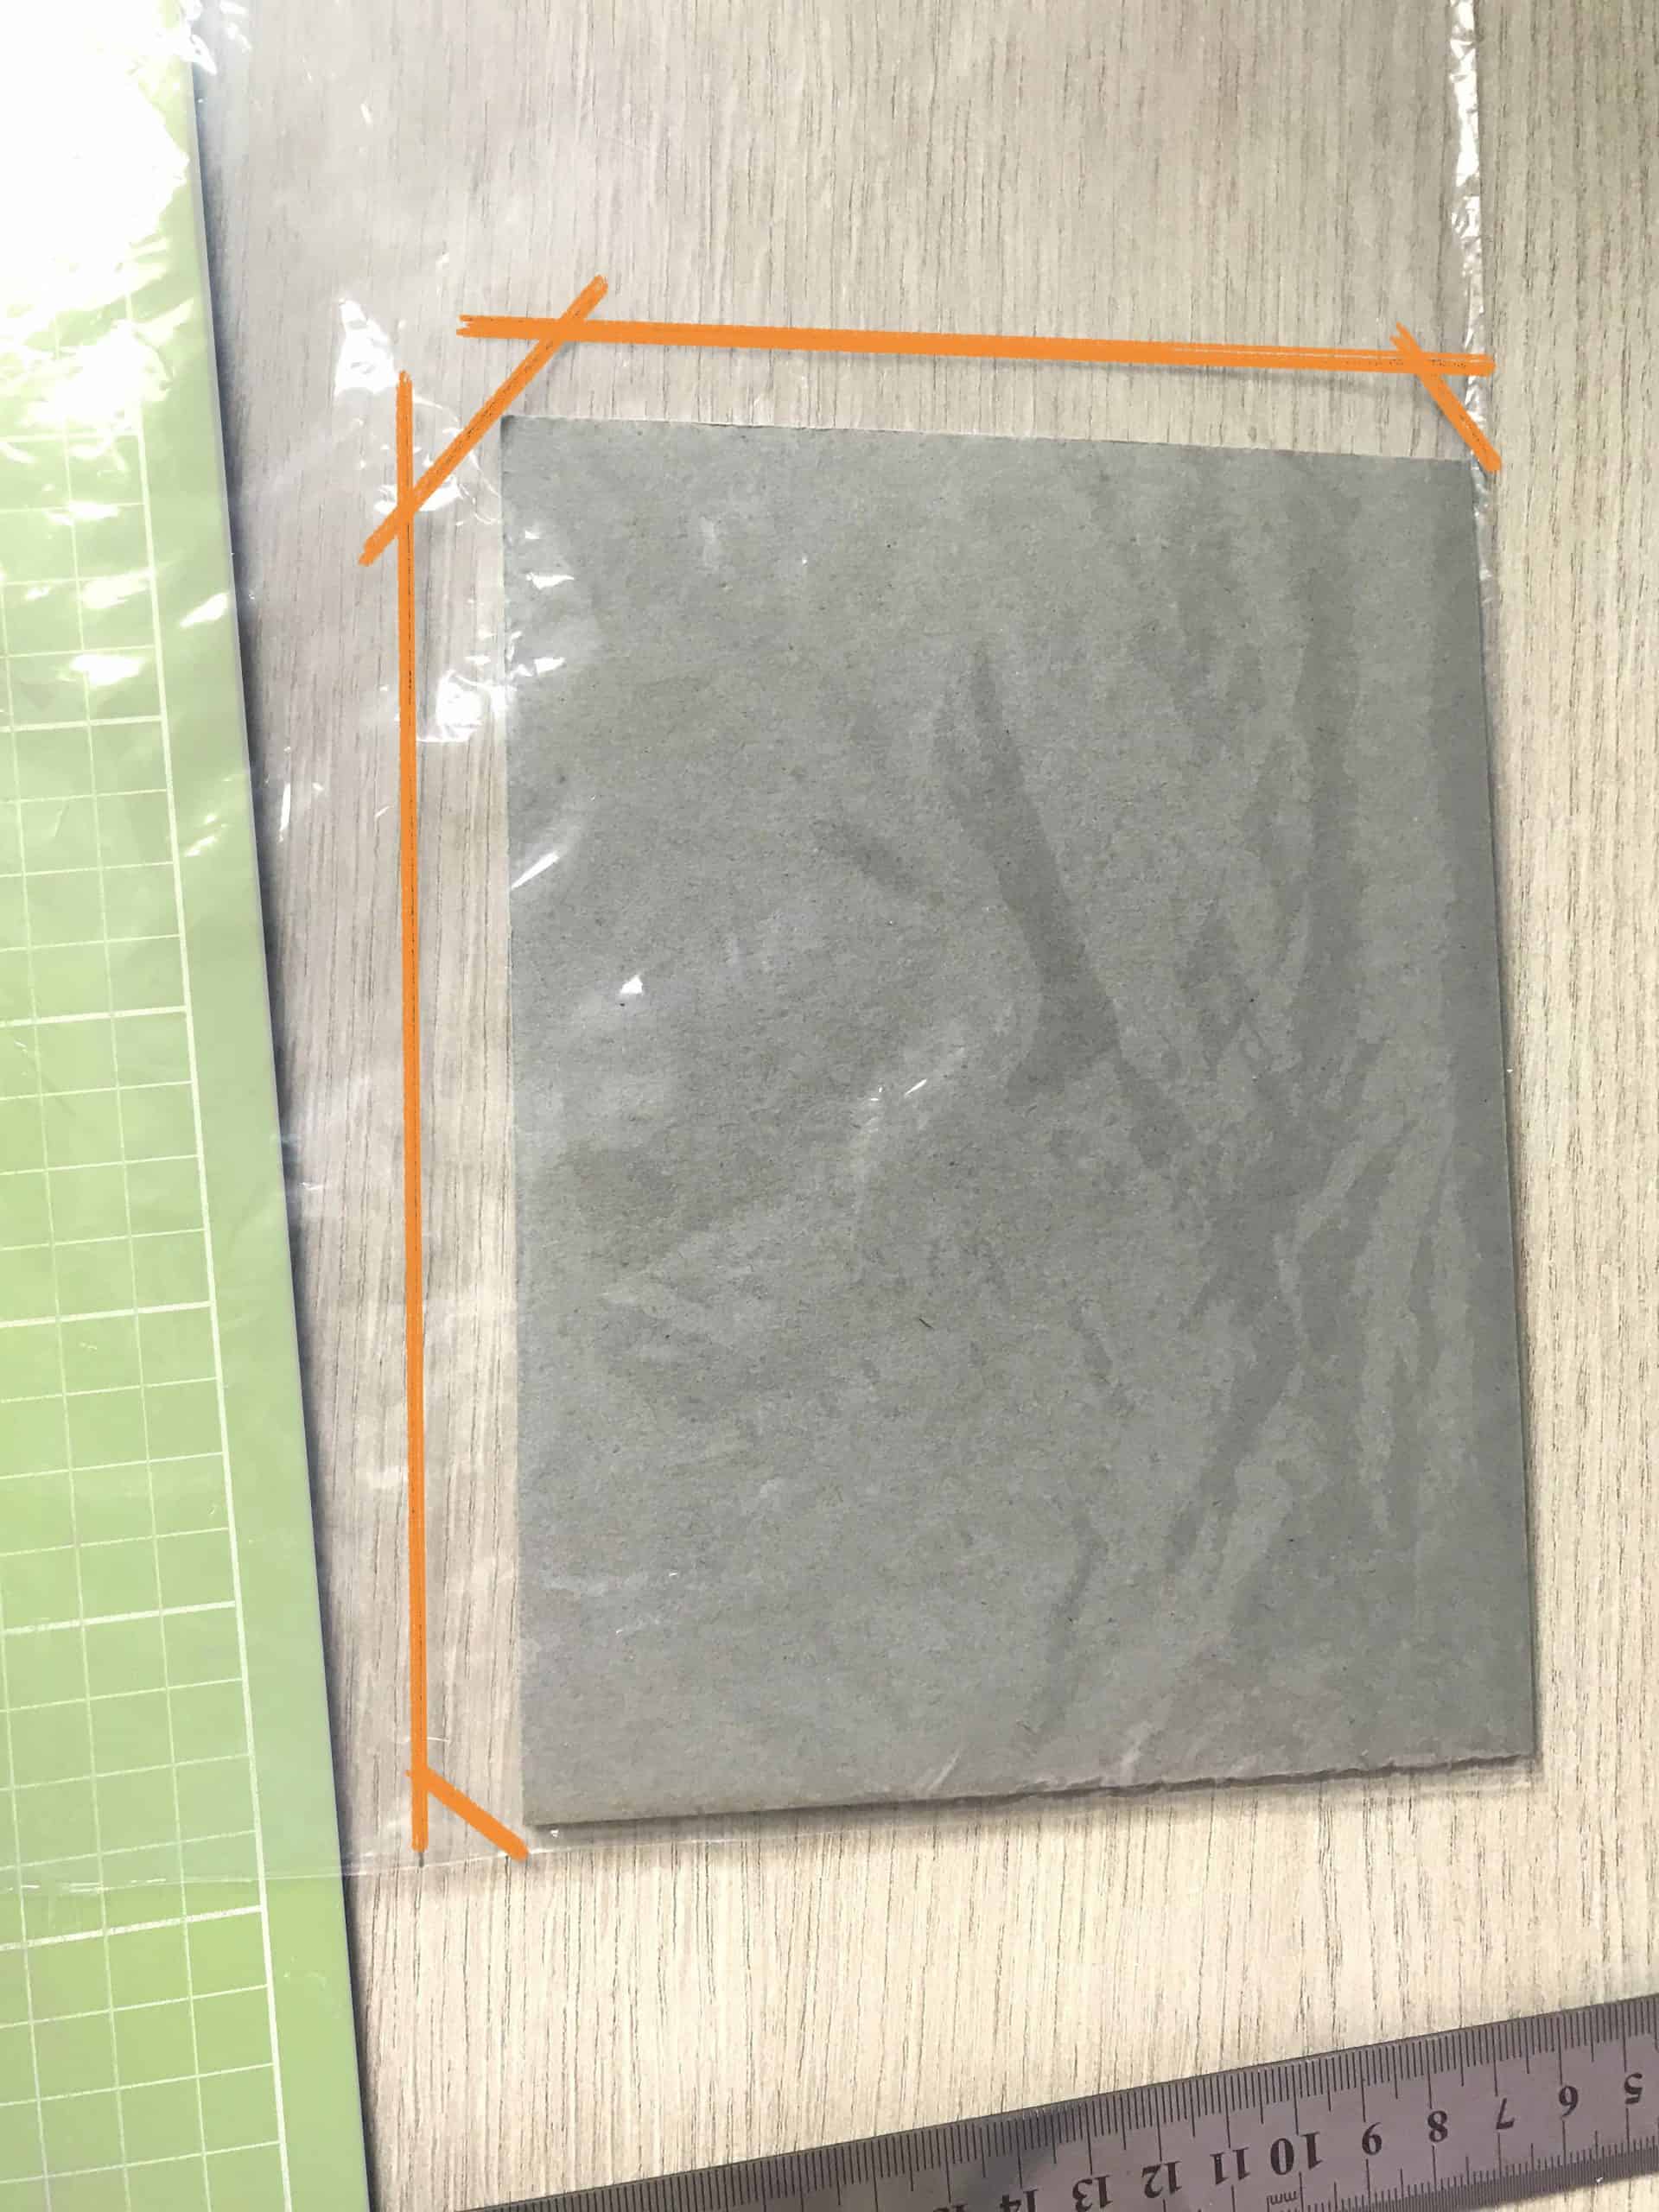
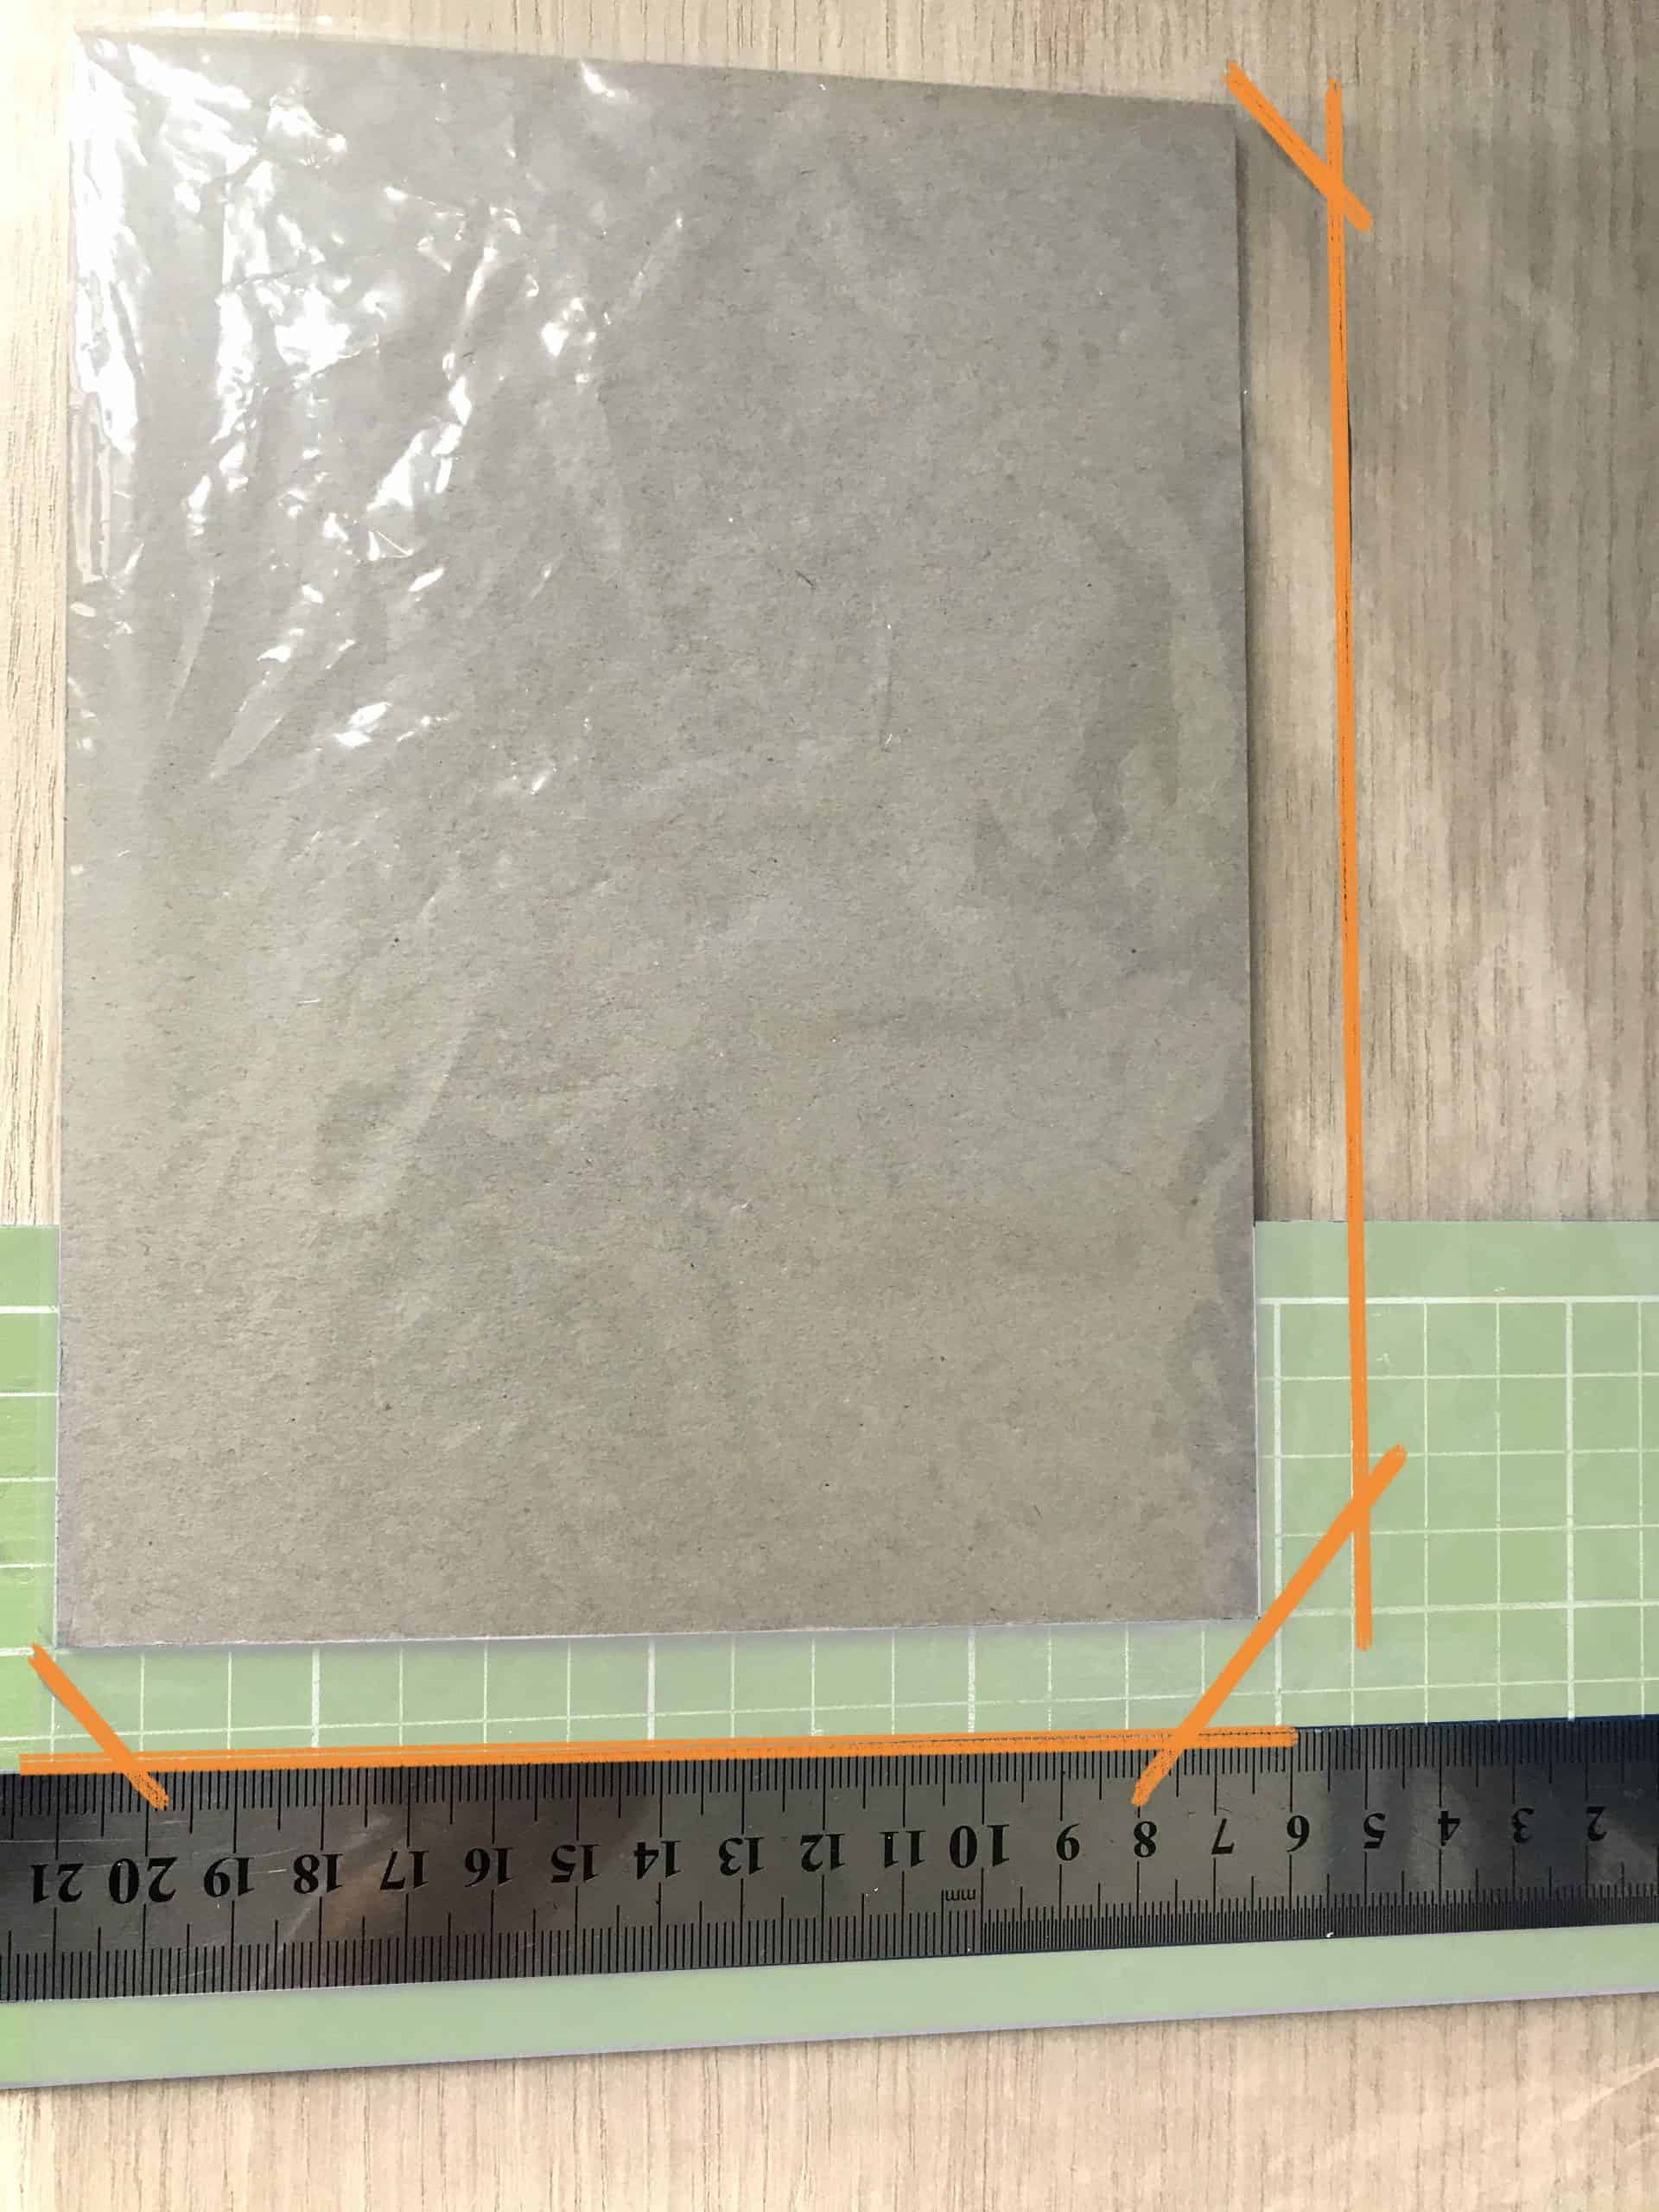
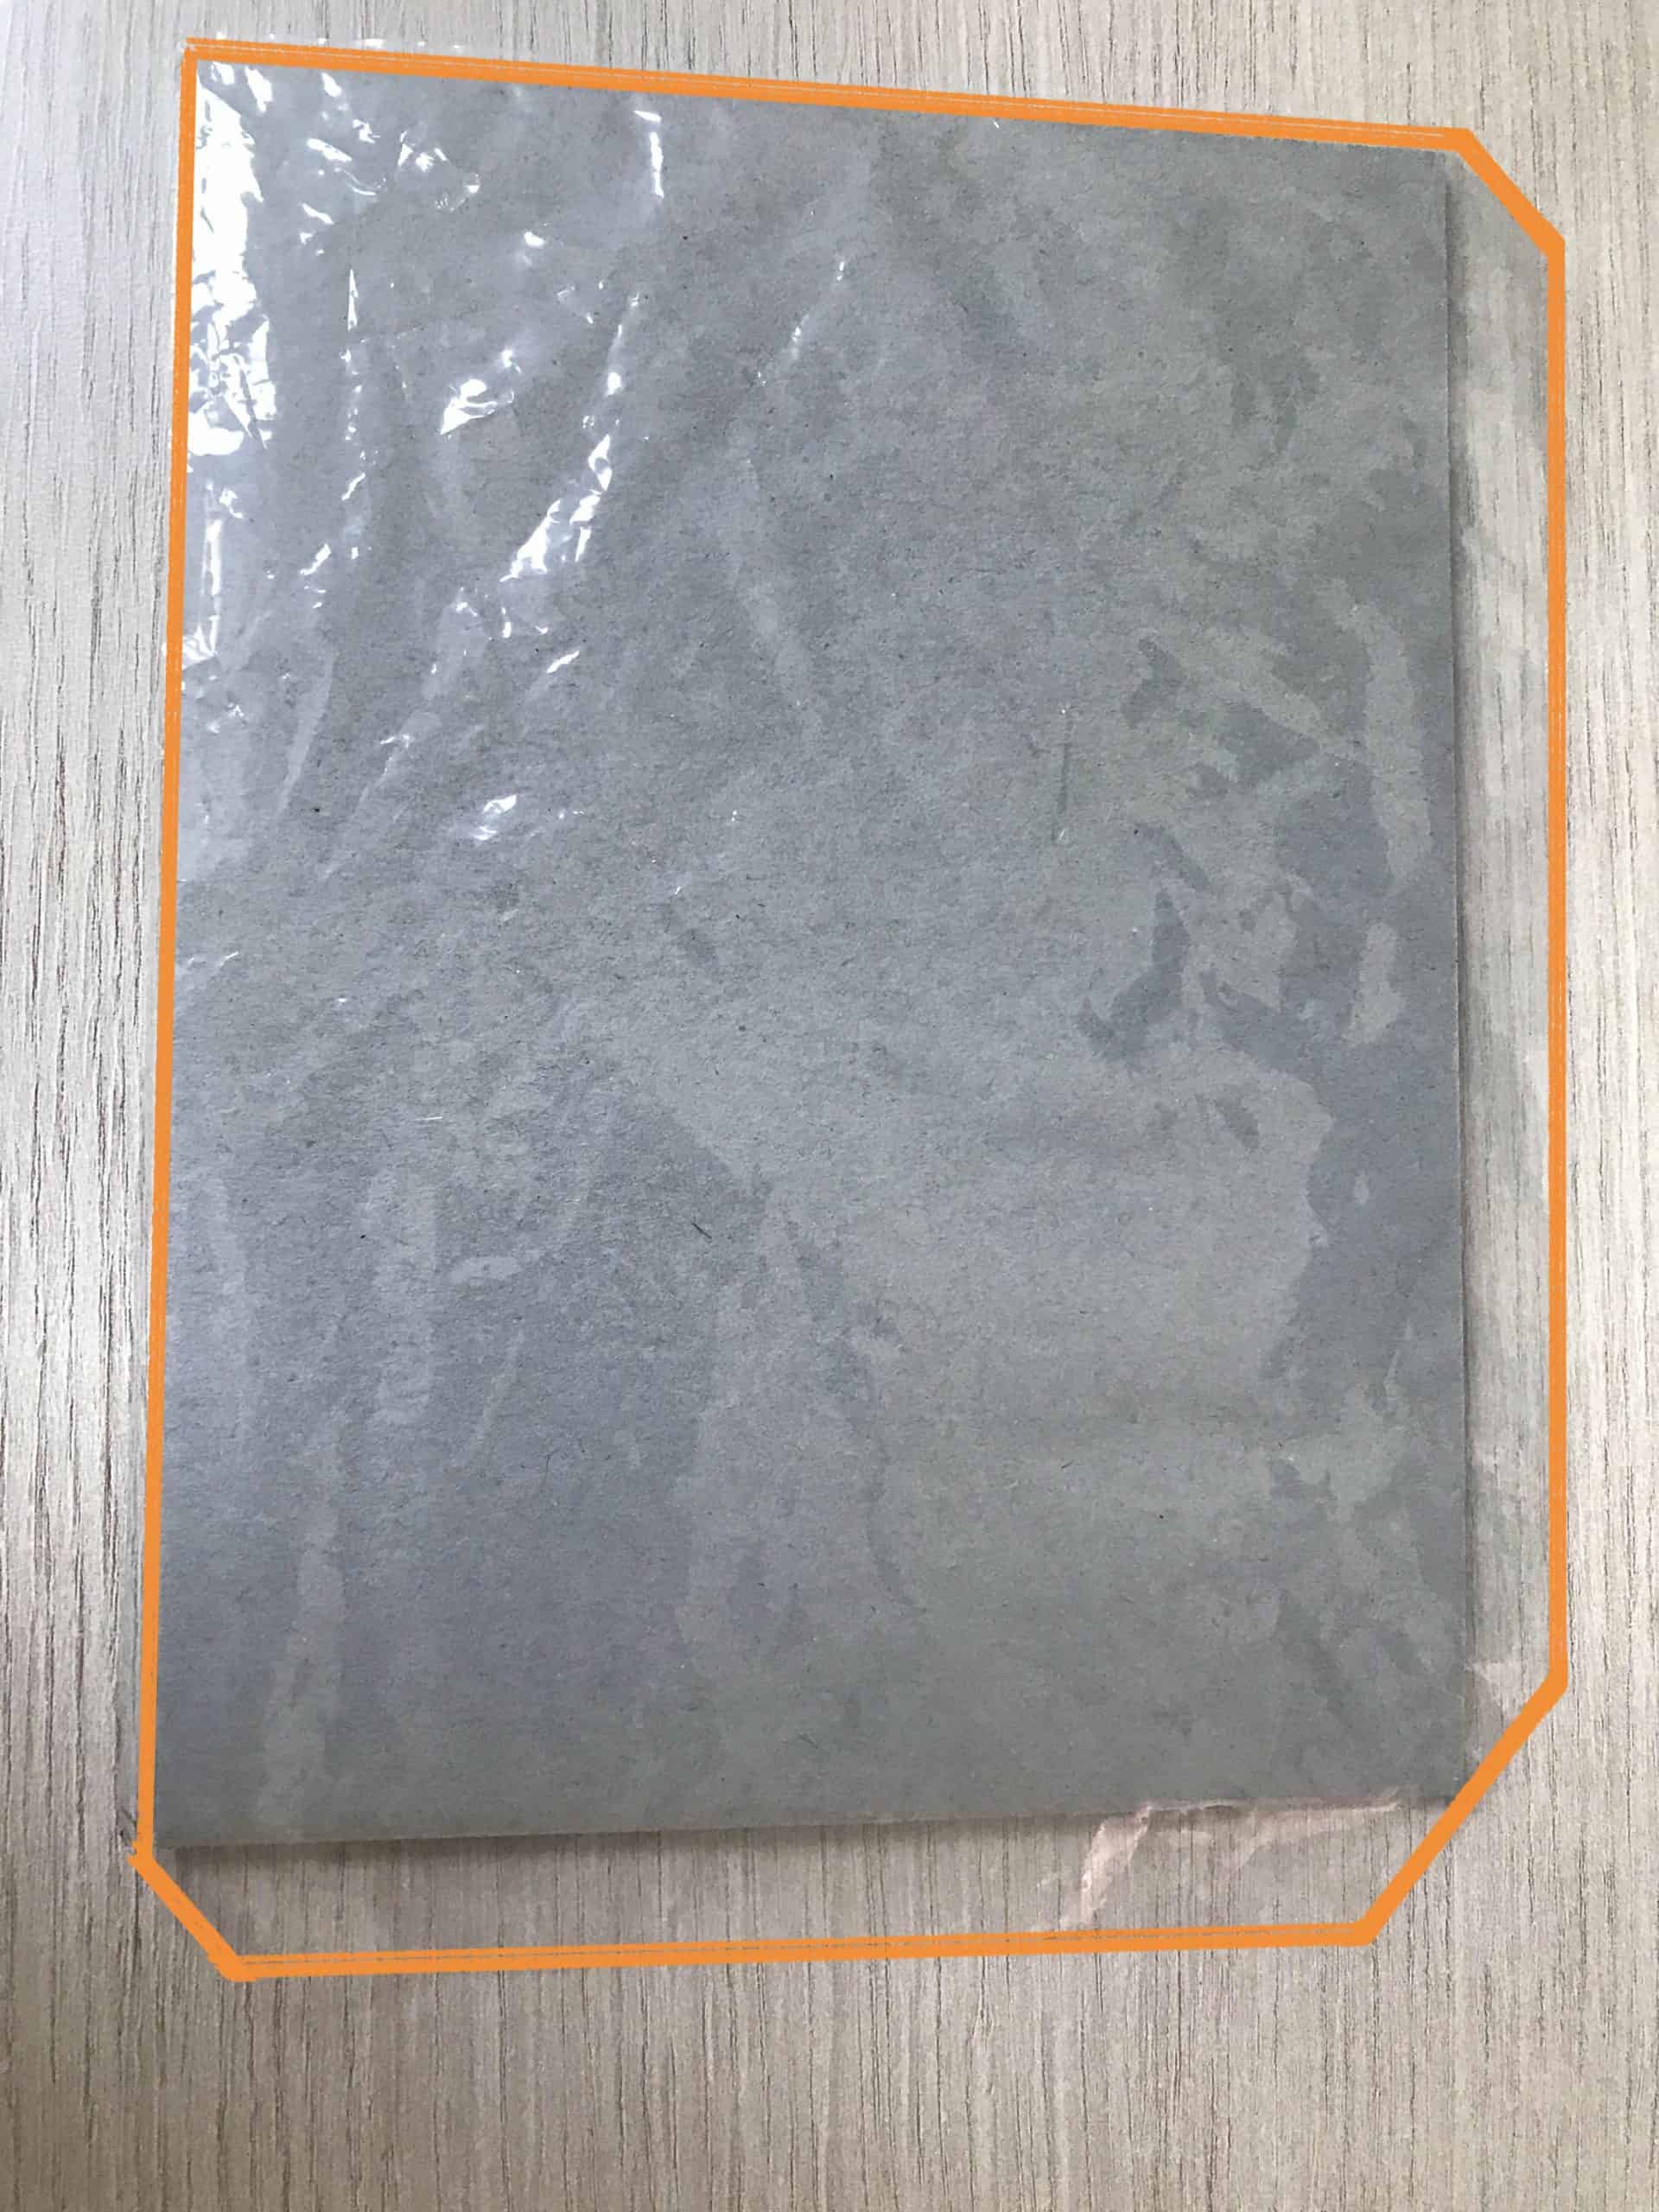
To tape the plastic, I simply slipped the card into the pouch, pulling the plastic tight before securing it.
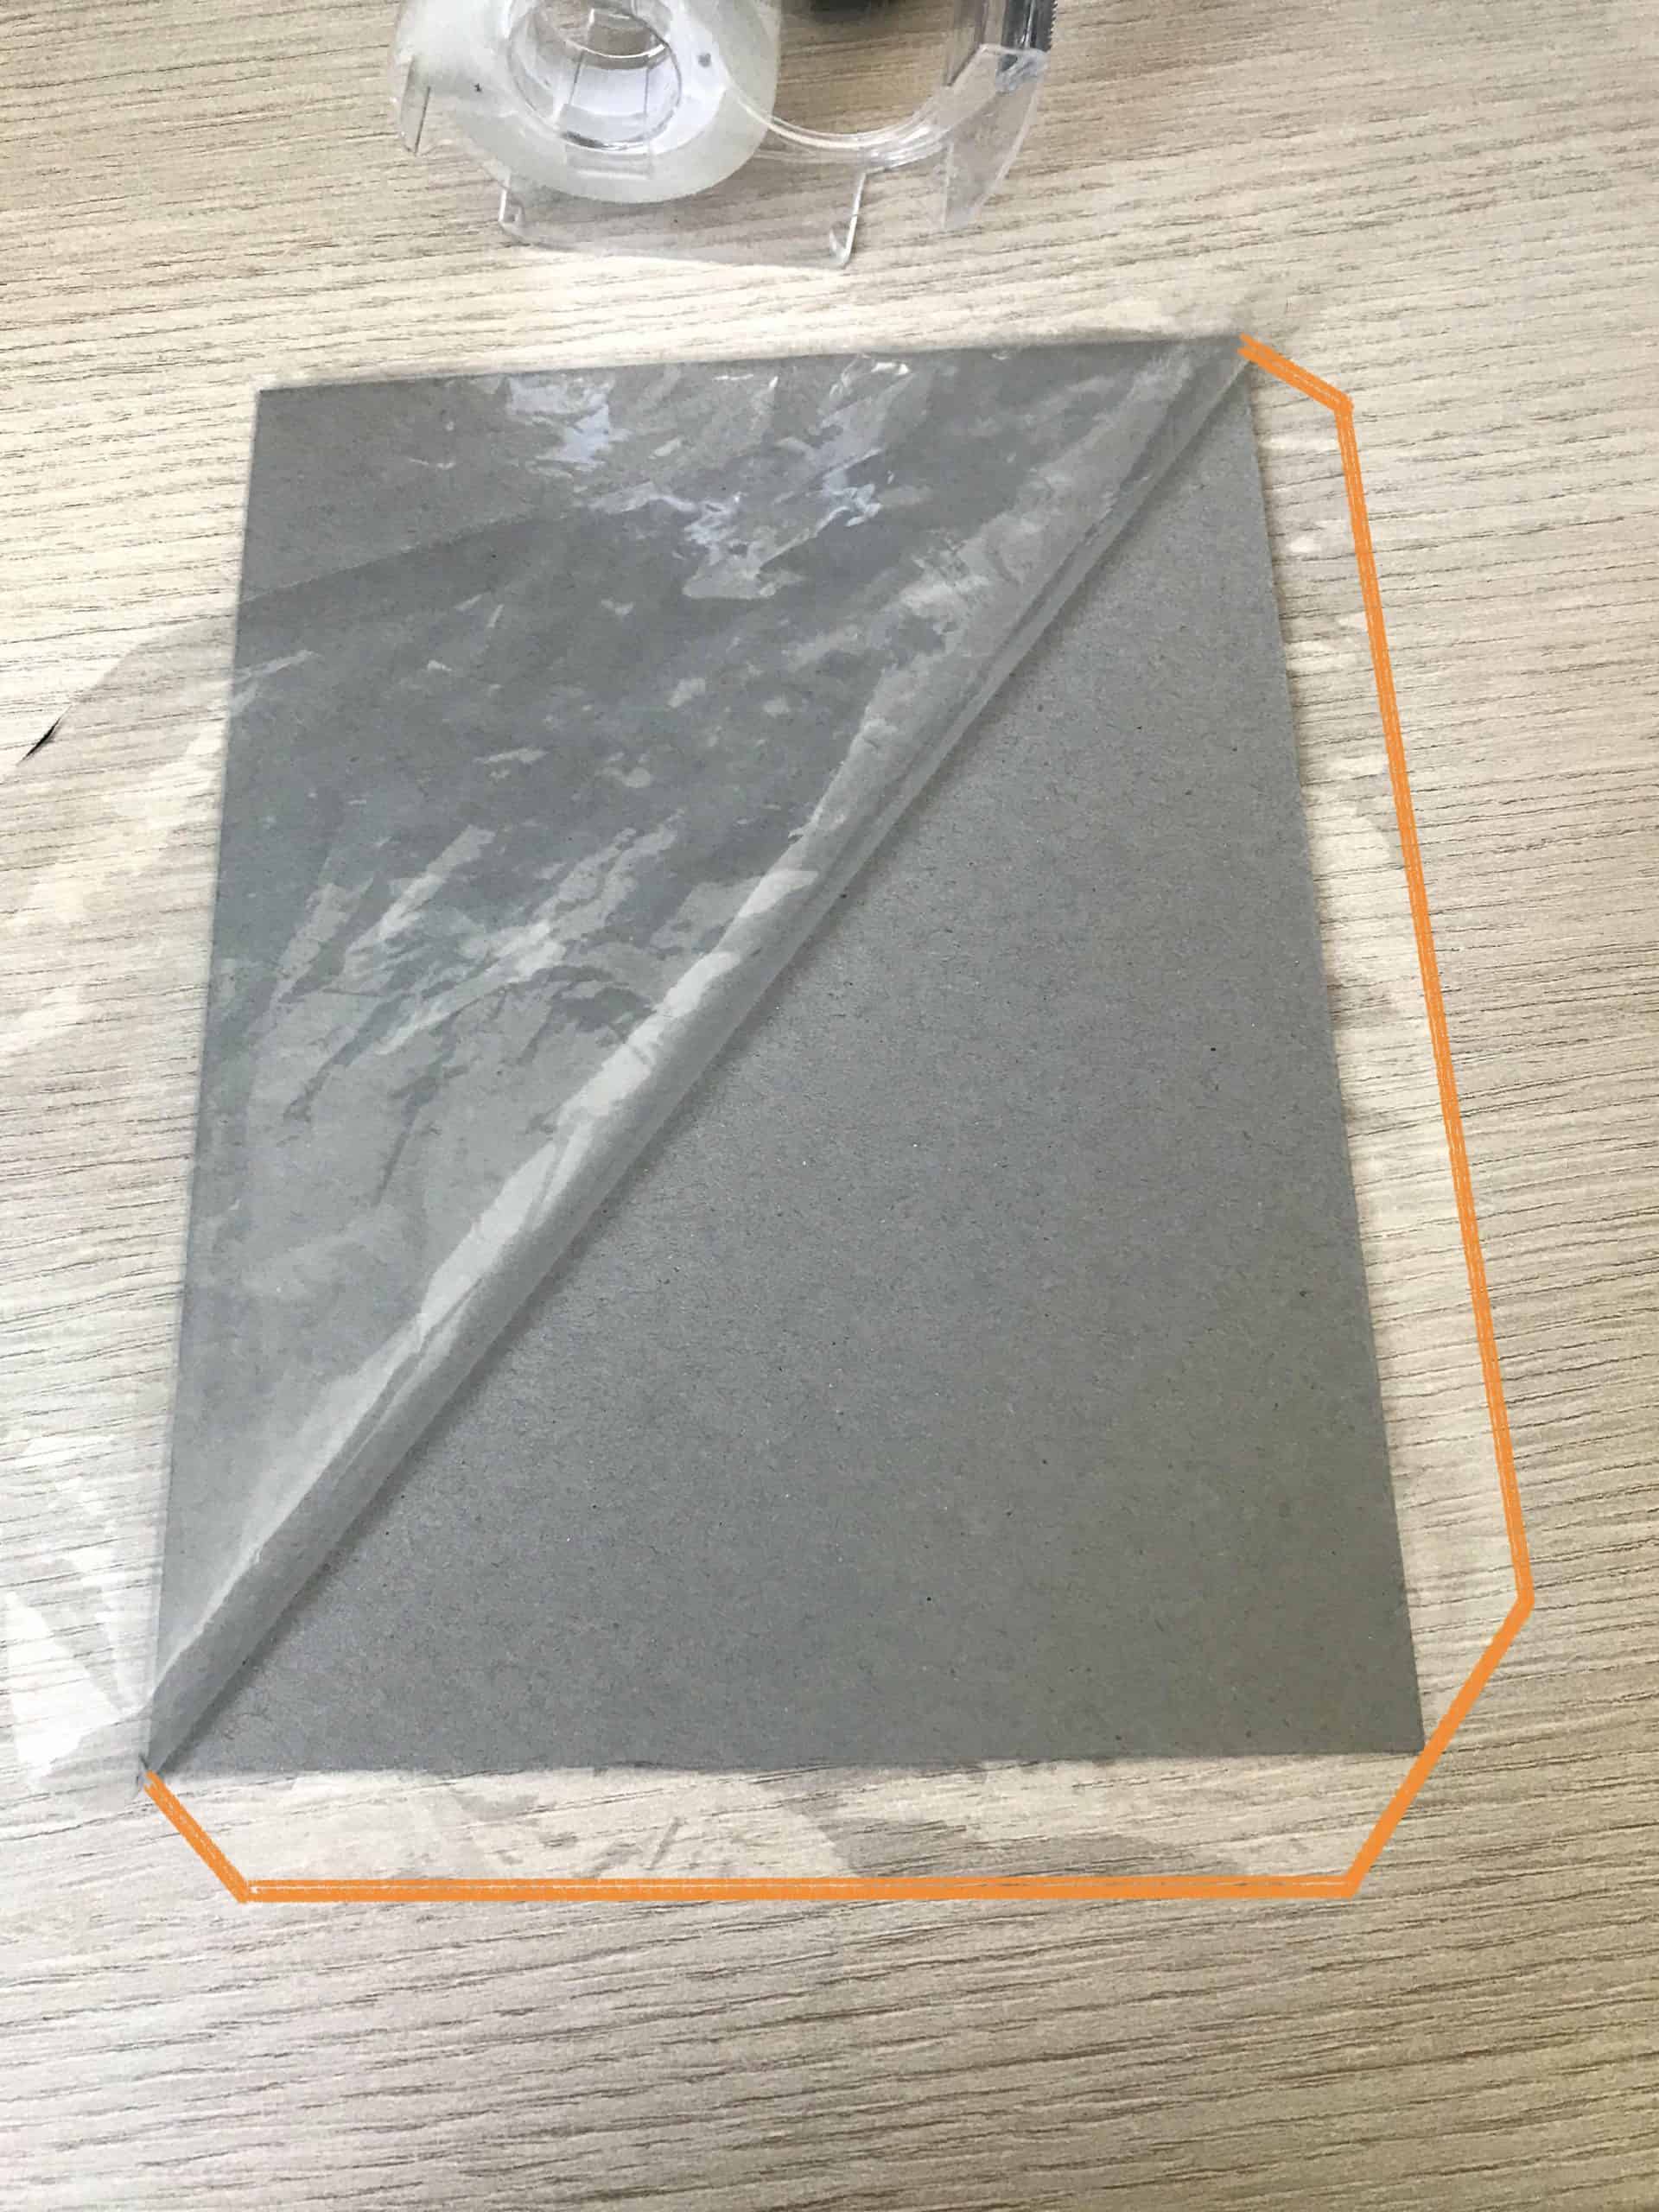
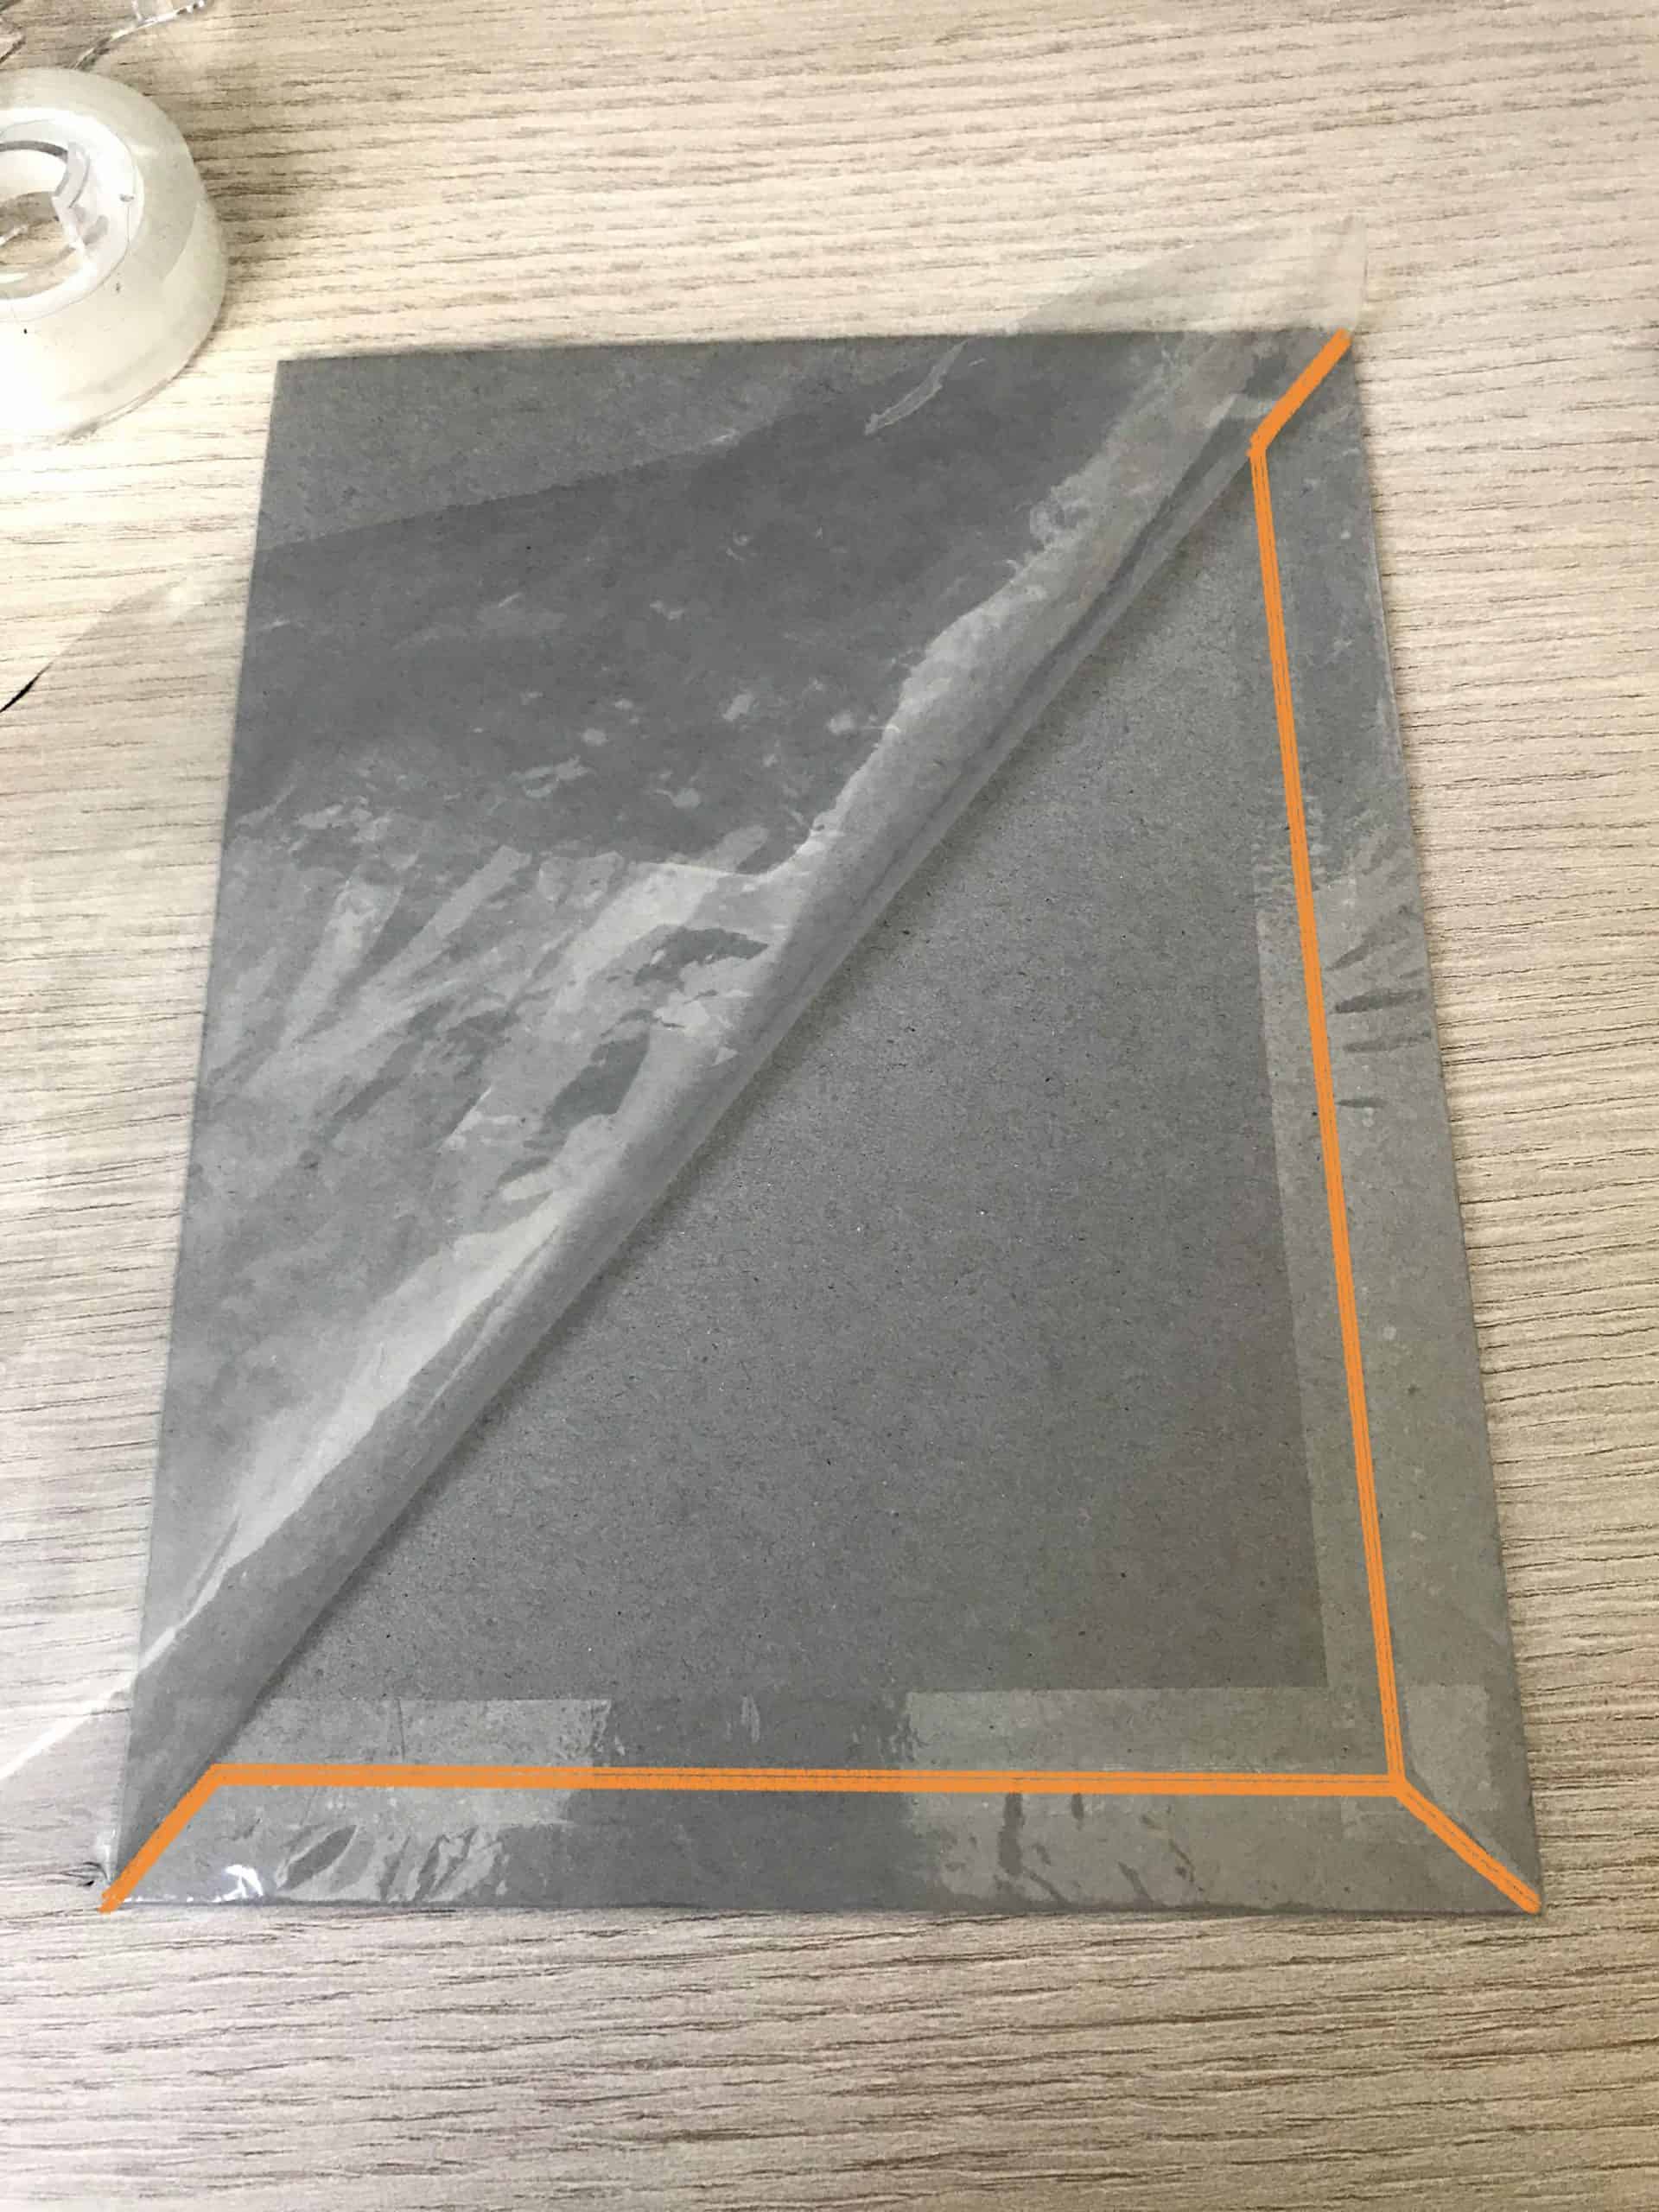
I flipped it over and repeated on the other side.

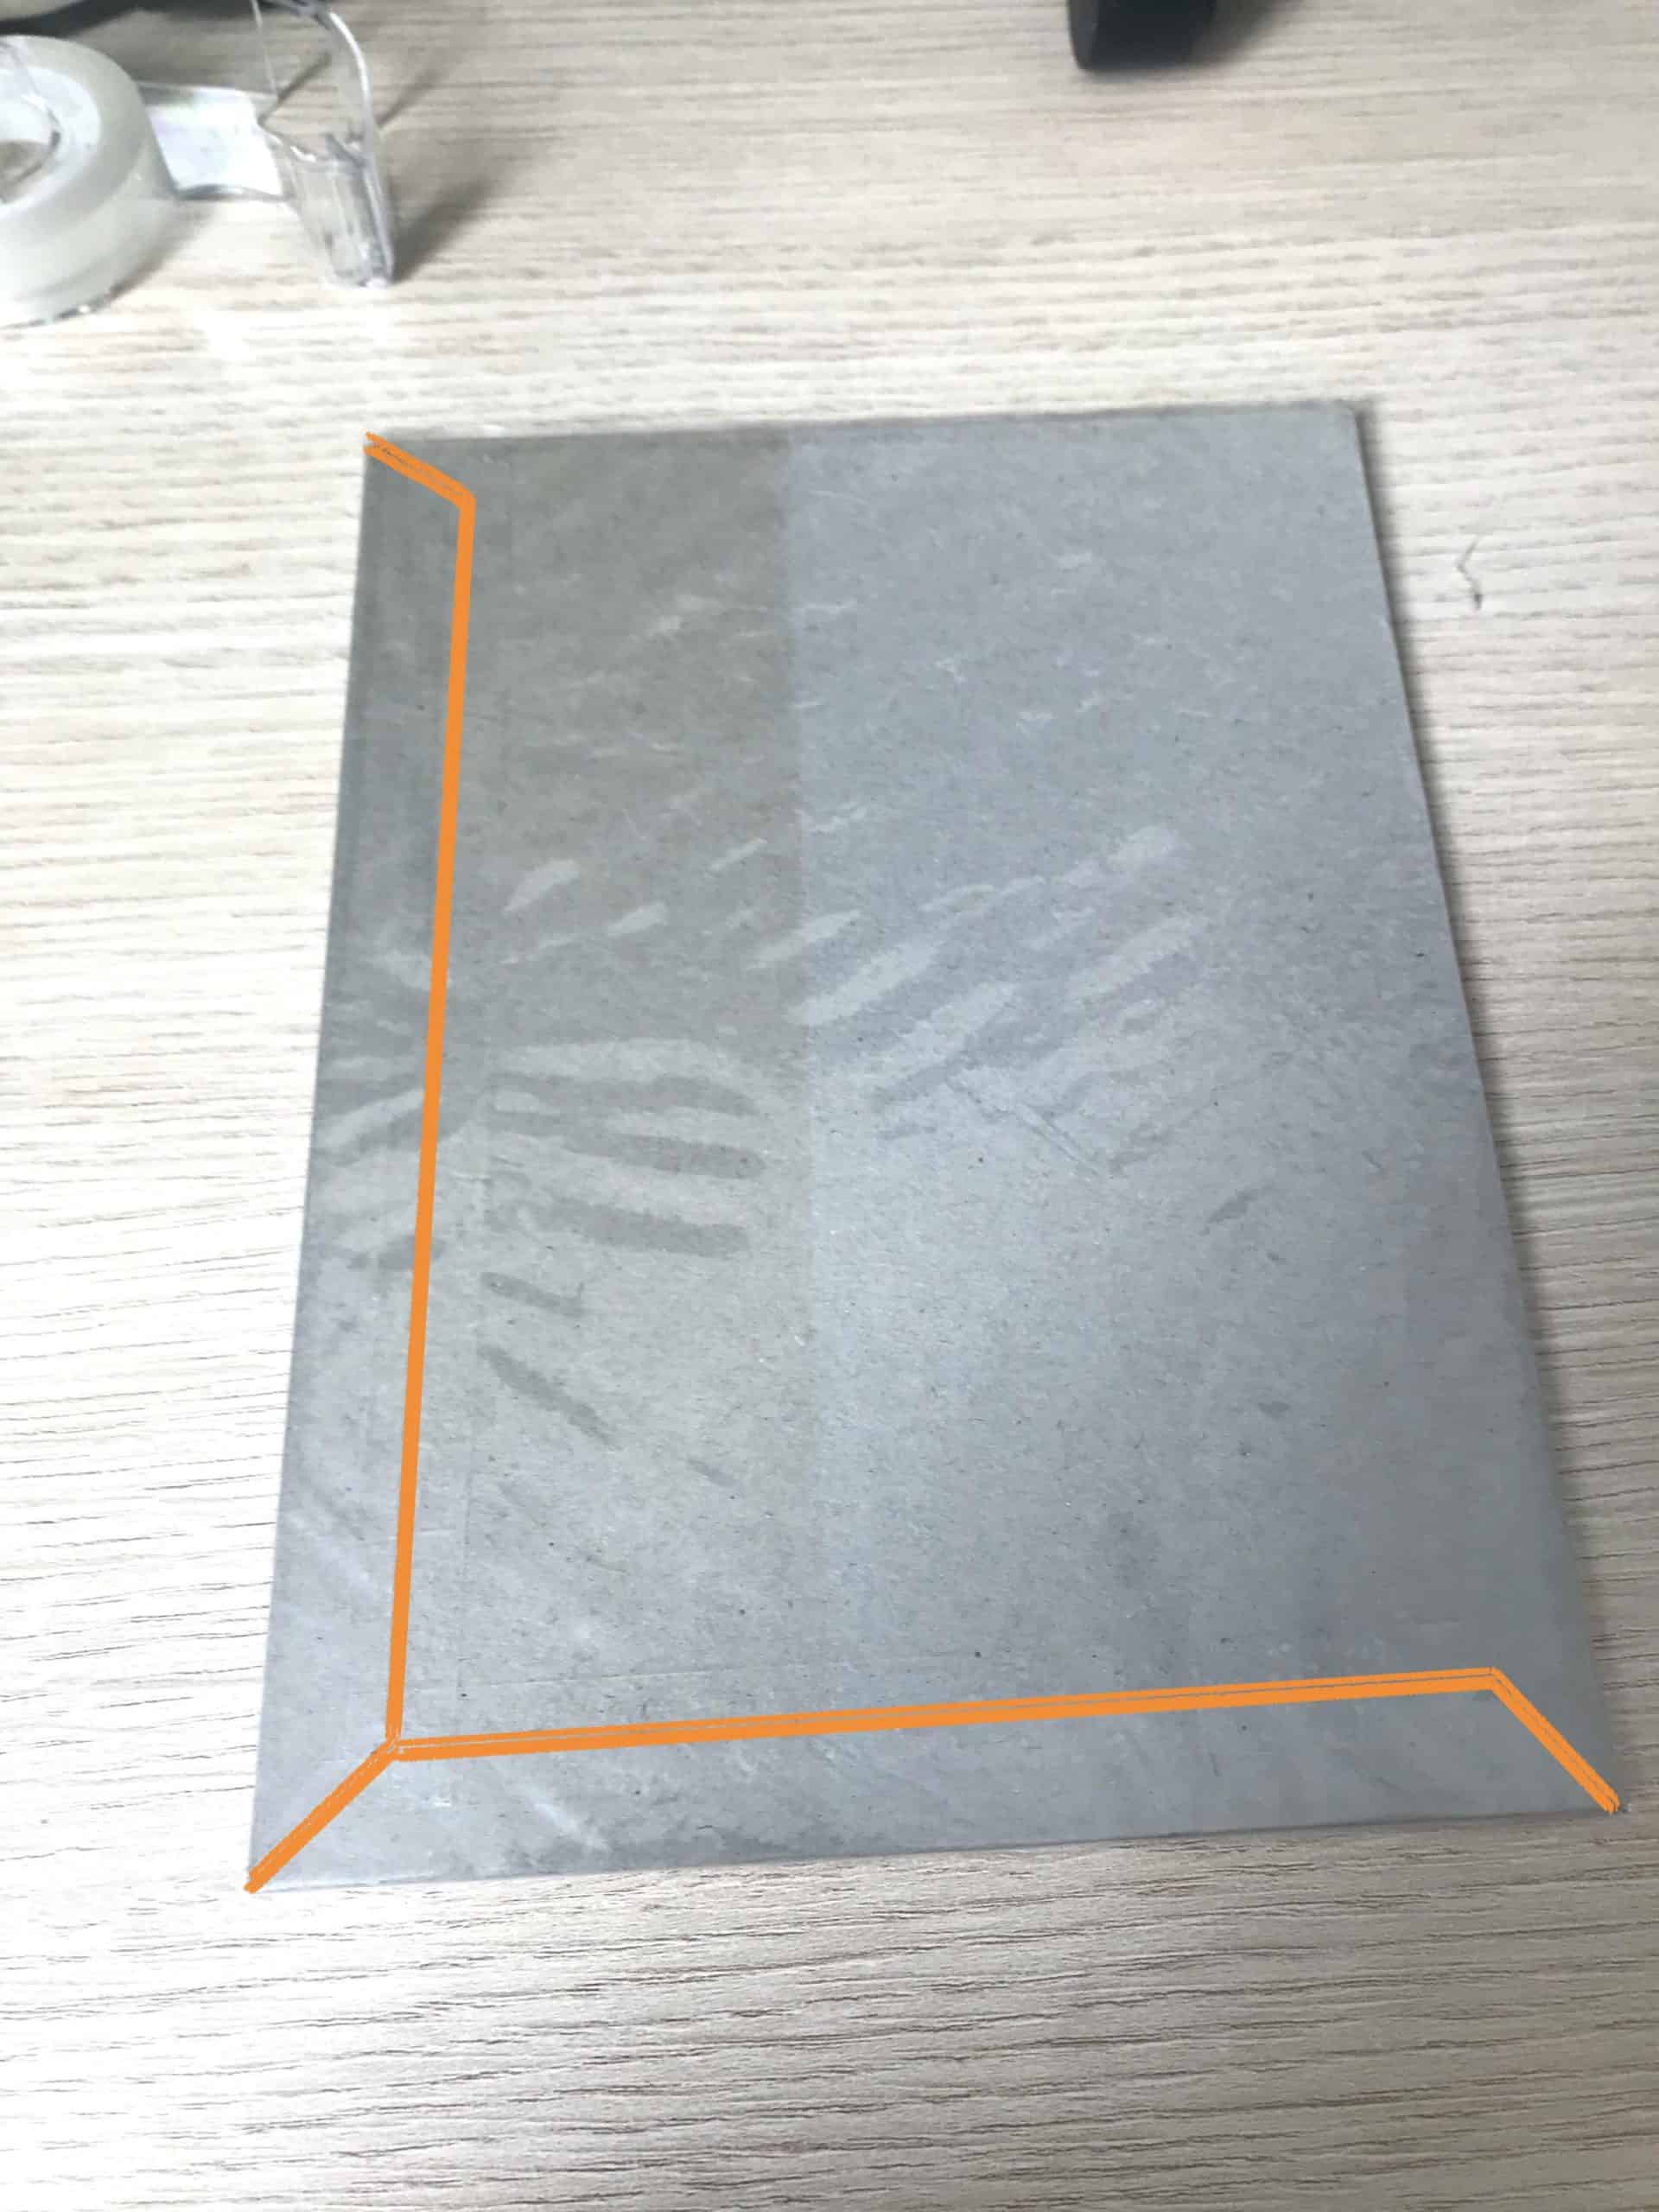
With the lid covered, I added a second layer of plastic to cover that exposed tape, and secured it with a border of masking tape, so that it can be removed for more palette space. This also acts as a guide so I don’t paint where the lid meets the box.

I traced the lid, and trimmed 5mm extra off each side so that the tape can make contact with both layers.

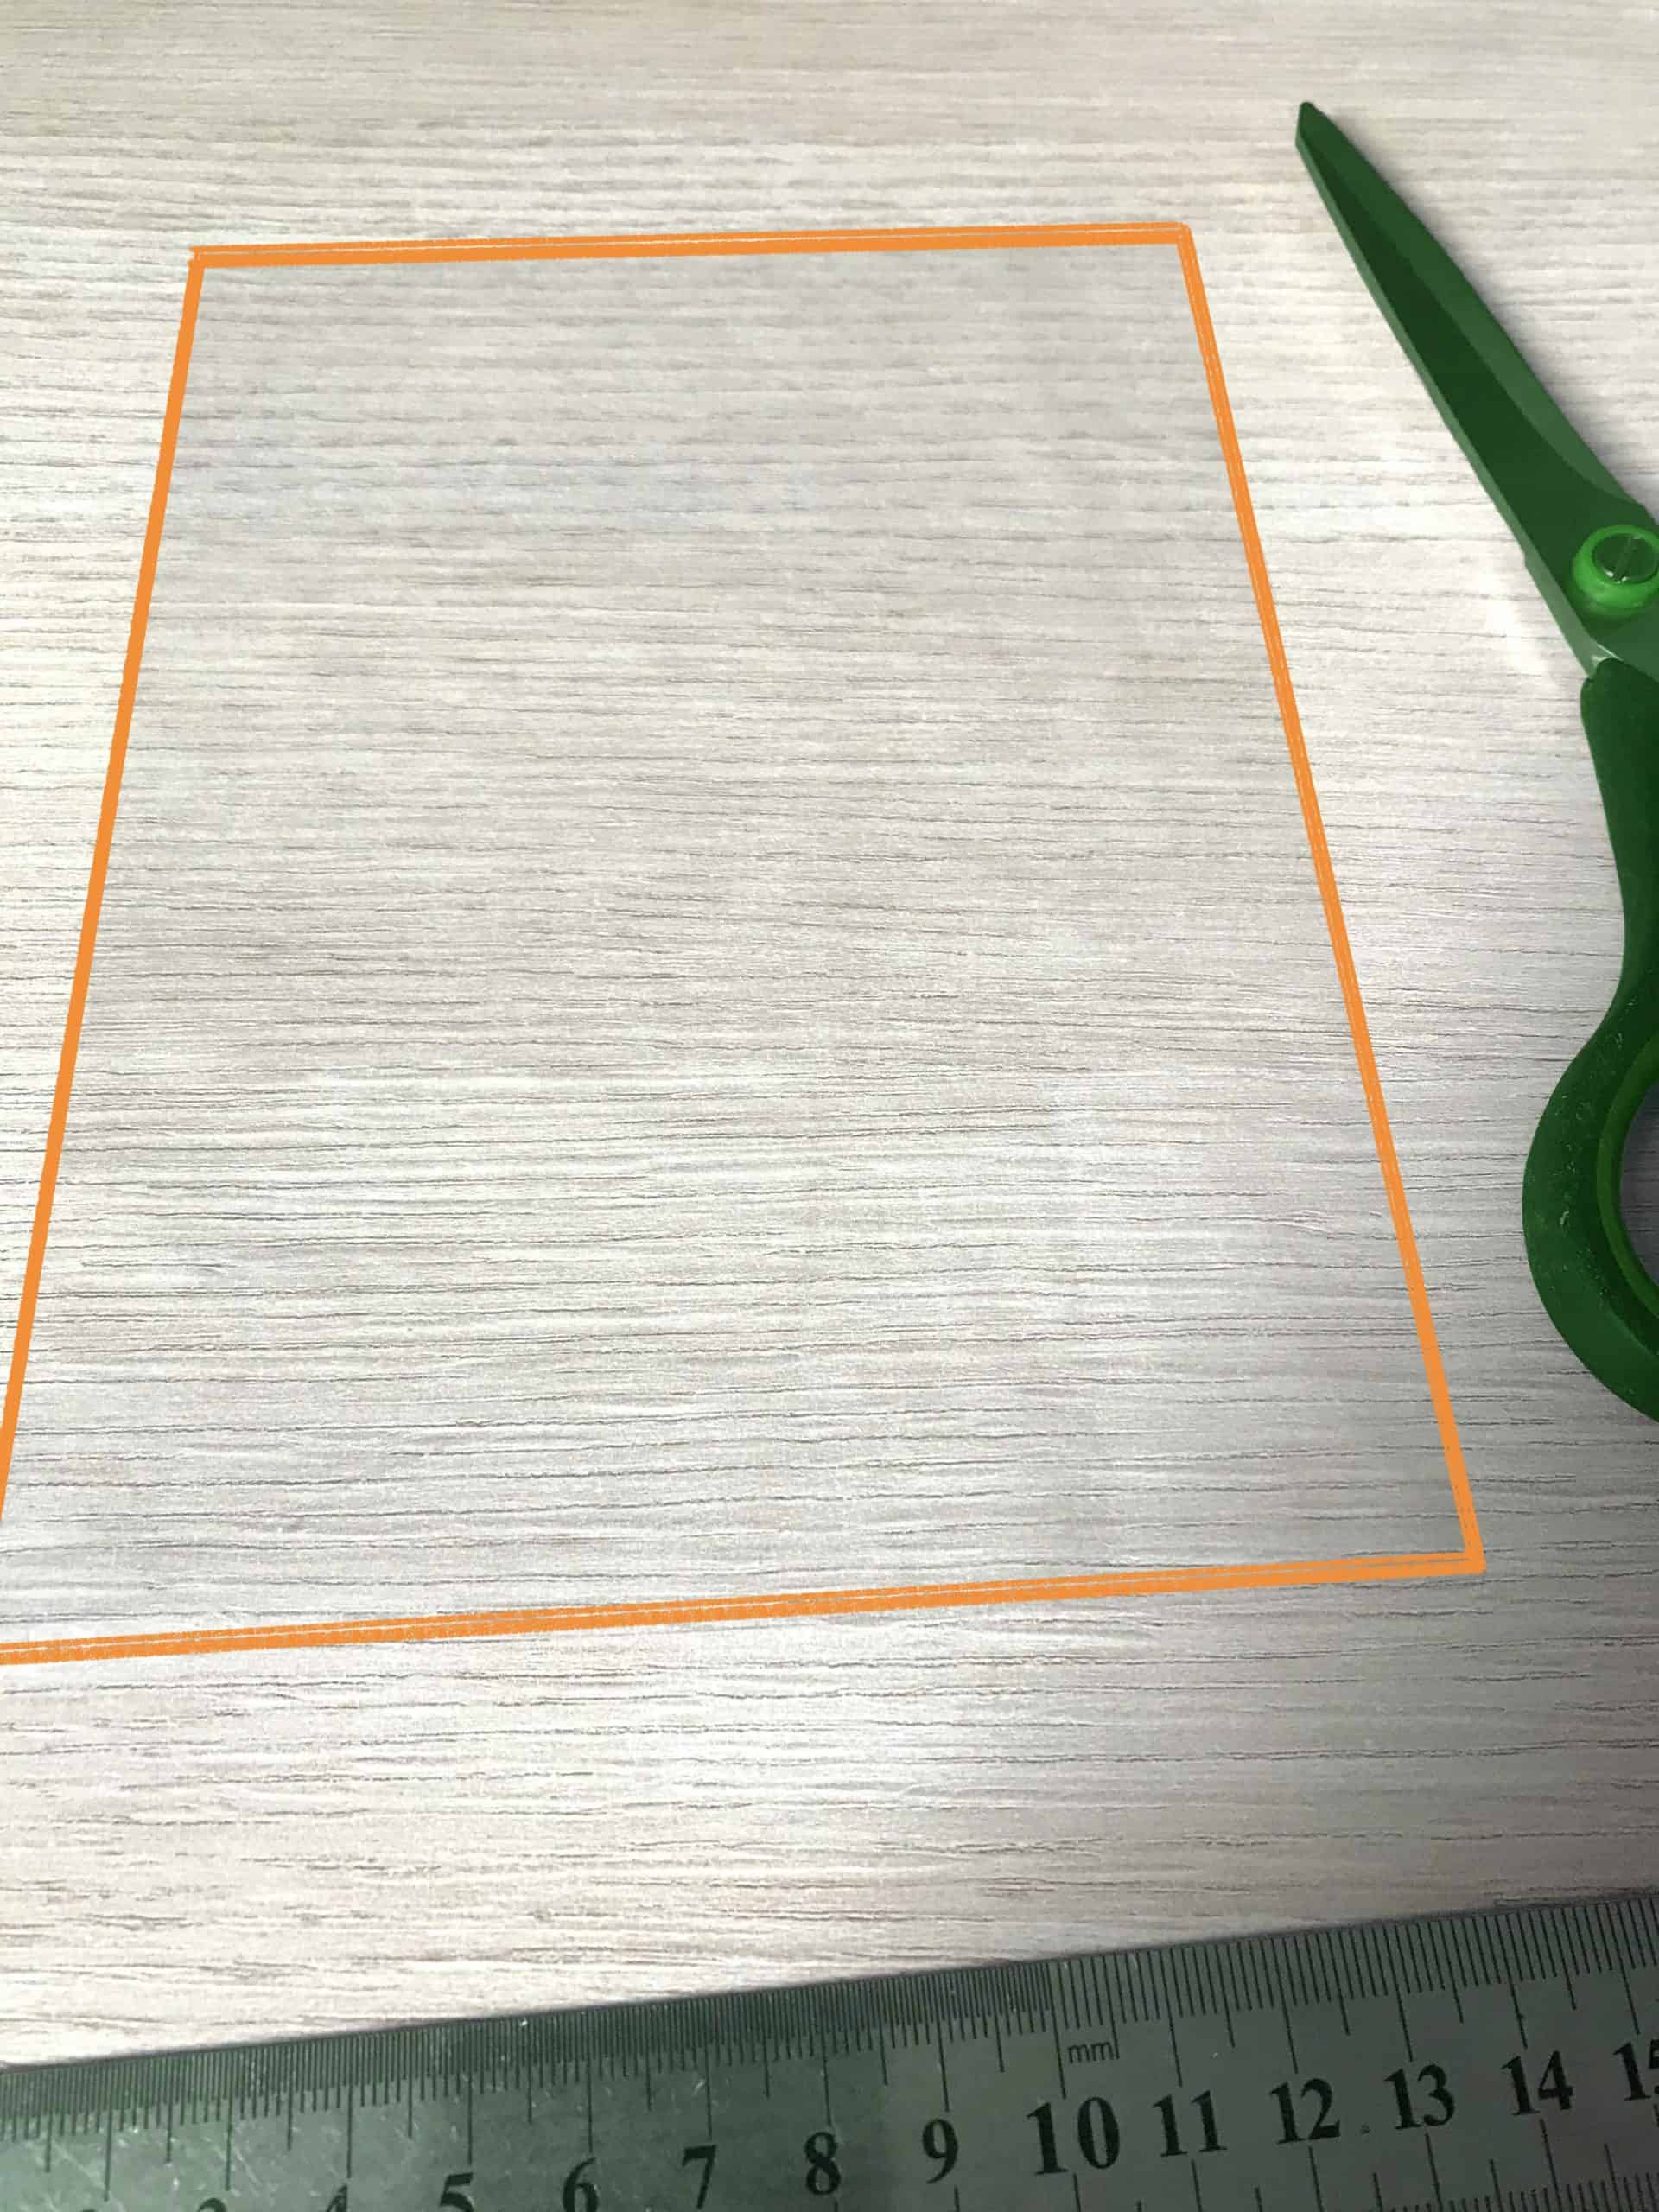
I cut the tape to size and stuck it down.

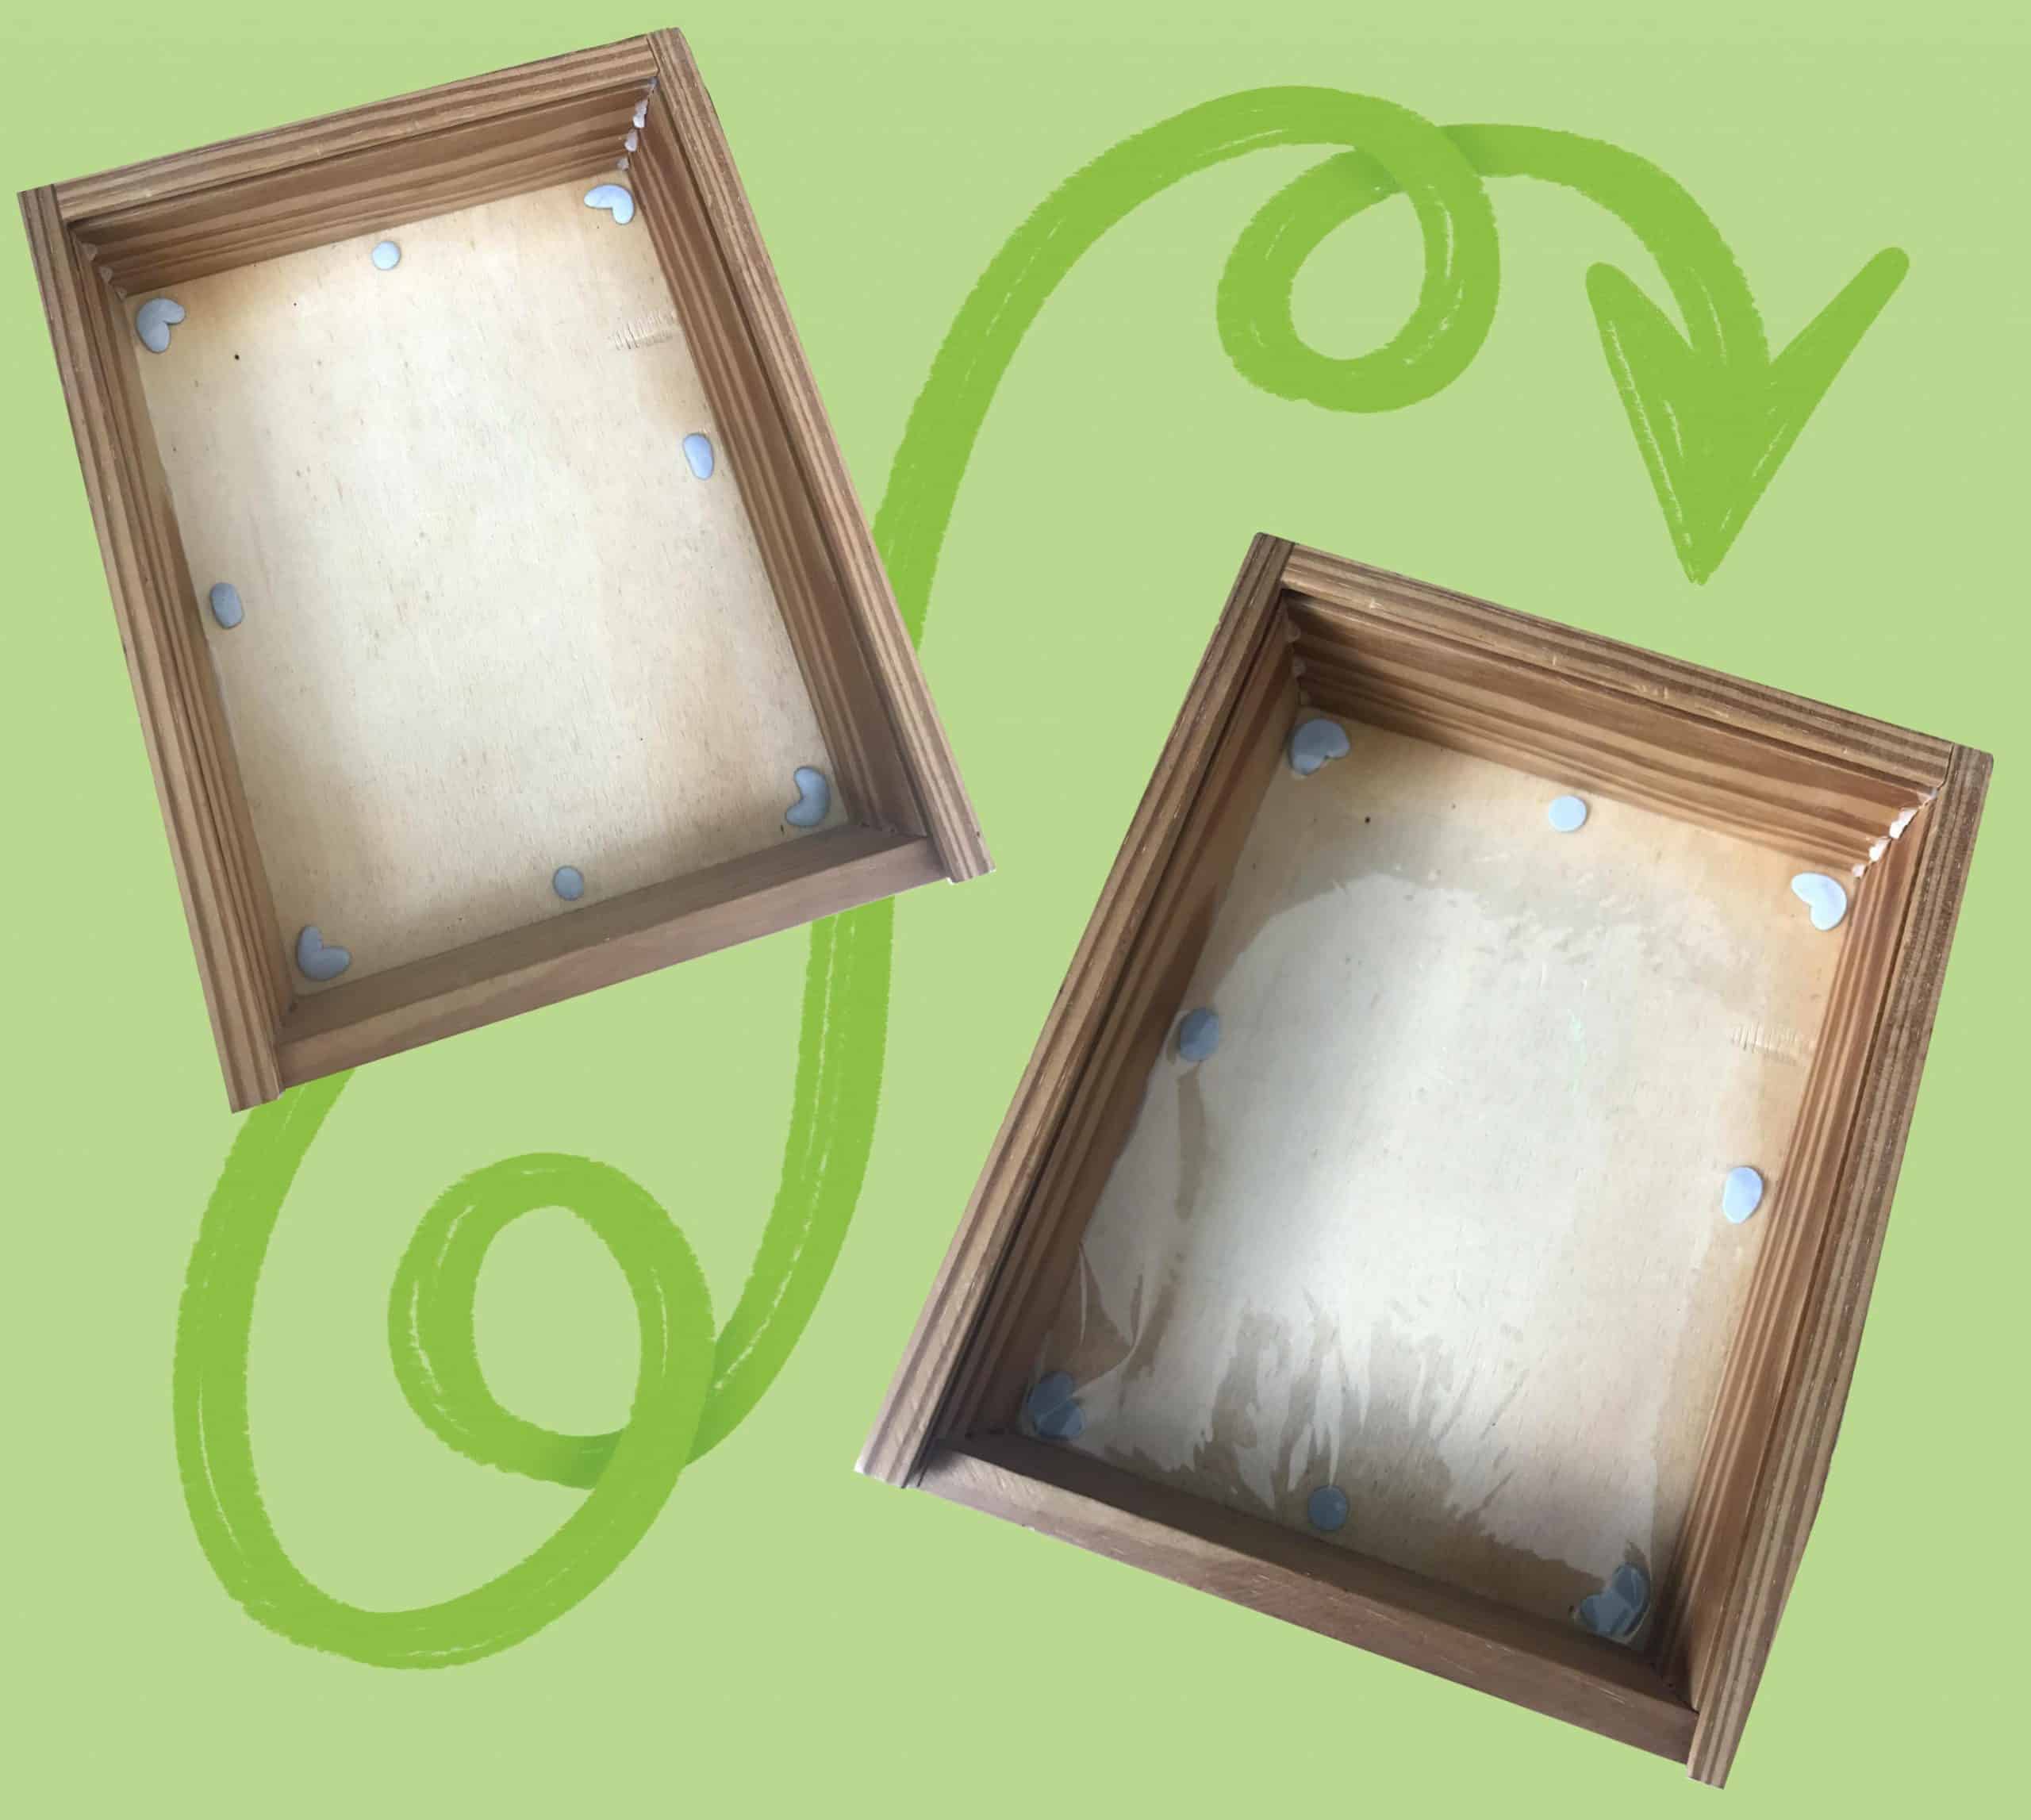
I added a layer of plastic to the bottom for ease of cleaning. I secured it with bluetack so that it is removable.
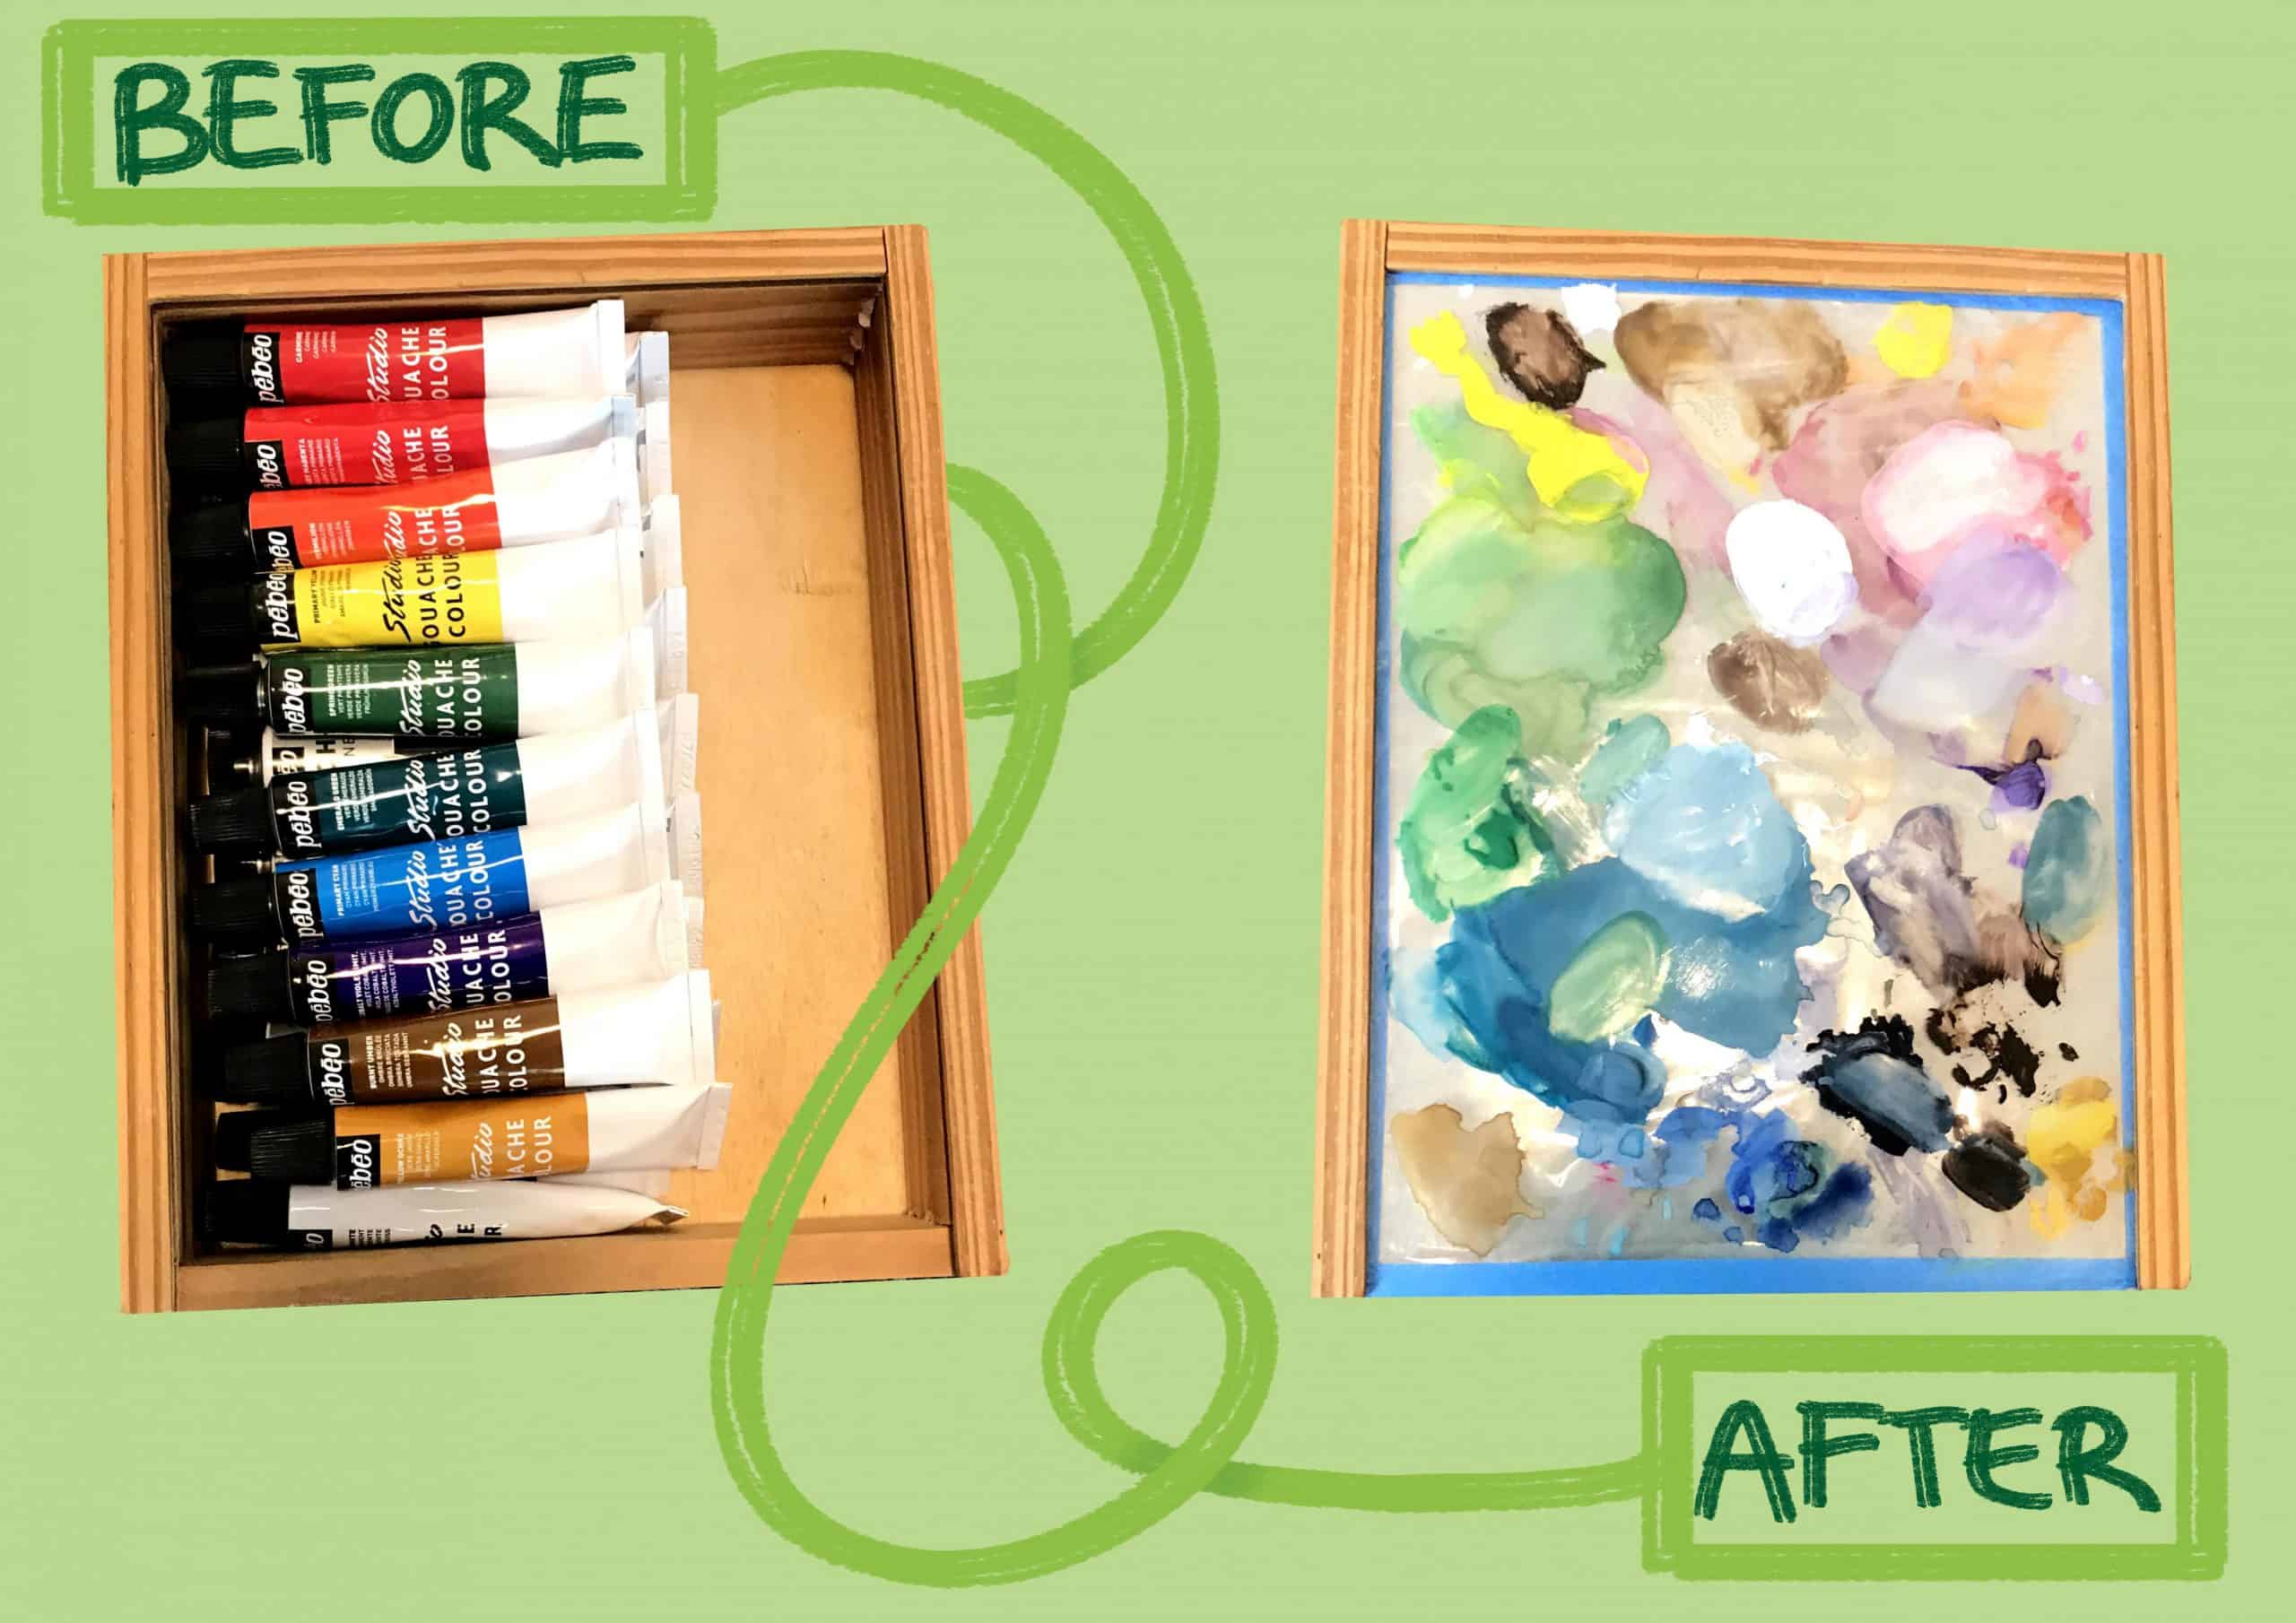
The finished product!

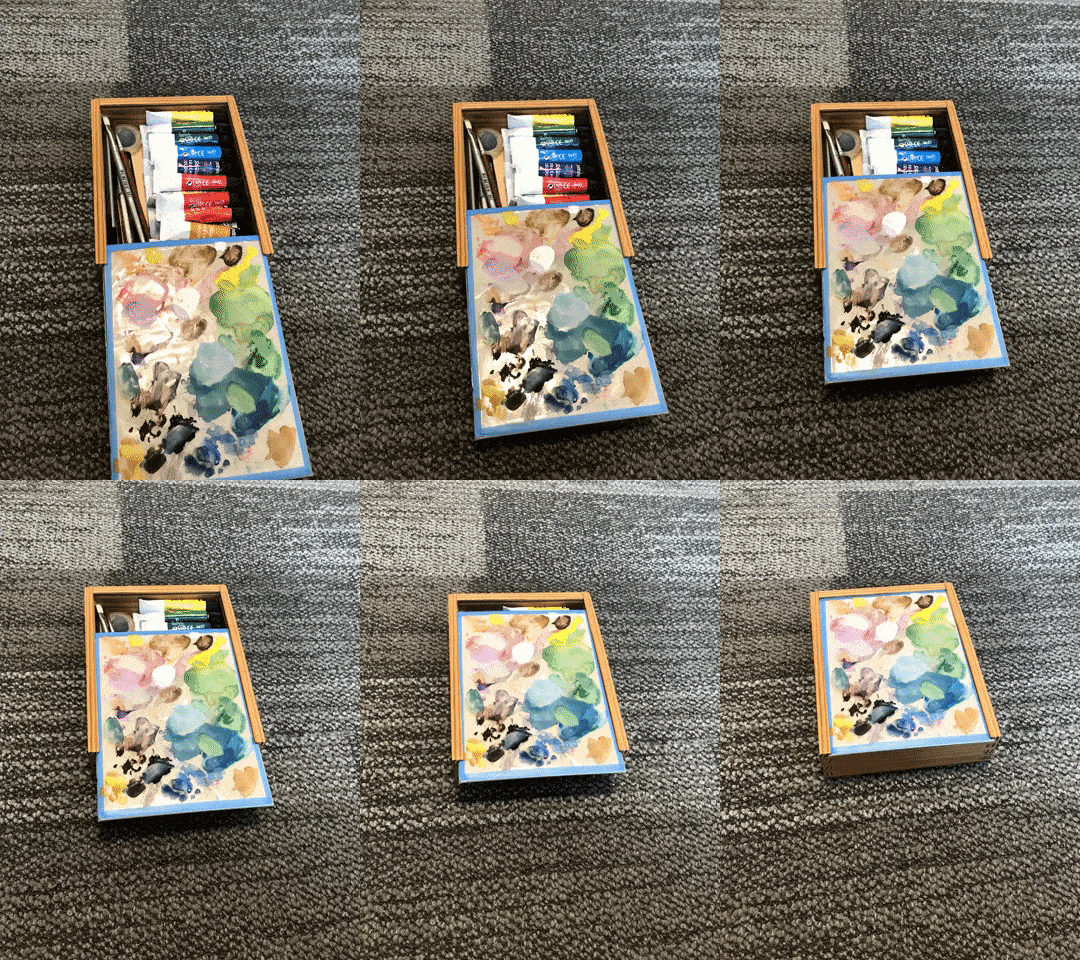
Now that this box has a lid, I can use it when travelling to transport my paints. I like the easy way it slides in and out, and the simple design that doesn’t overcomplicate the user experience.
NEXT TIME
This project would have been better if it was made entirely out of plastic, as I would not have to worry about how it would be waterproofed while designing the shape of the lid. One of my favorite designs included a lowered area for mixing paints, leaving the border raised. I think this would be better as it keeps any water from spilling, and there is no way of accidentally getting paint on the border.